How to Add Captions & Subtitles to Slack Video Meeting Recordings
Slack is an overwhelmingly popular instant communication tool that’s used by small businesses and large corporations alike. It’s best known for its chat-based features, which allow team members to create discussion threads while tagging others, sharing files, and keeping everyone on the same page.
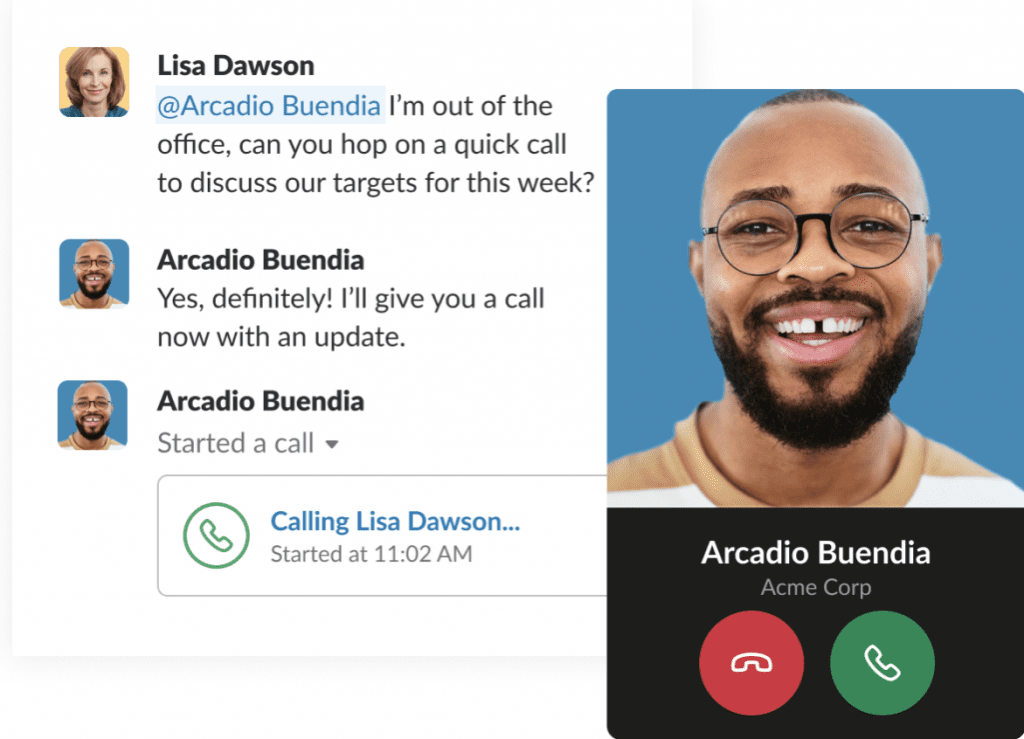
In addition to the standard instant chat options that it’s well-known for, Slack also allows users to connect through video calls. Sometimes, there’s no alternative to actually jumping on a call, seeing each other, and screen-sharing to go over the information. Whether you’re trying to solve a problem, hammer out project details, or even train new contractors or workers, Slack’s video calls are inherently useful.
It’s important to remember that you can record these calls with a little extra work, and it’s typically a good idea to do so. In this post, we’re going to take a look at how you can add closed captions and subtitles to Slack video meeting recordings, making them more valuable.
How to Record Slack Video Meetings
Slack doesn’t have native recording features for their video calls, meaning you’ll need to take a few extra steps beyond just clicking a record button.
If you choose to use Slack’s native video calling features, you can use a screen-capturing tool like Camtasia to record the call.
Another good option, however, is to use third-party integrations with Slack. Slack has integrations with multiple voice and video call platforms, including Zoom, Google Hangouts, Skype, and Cisco Webex Meetings.
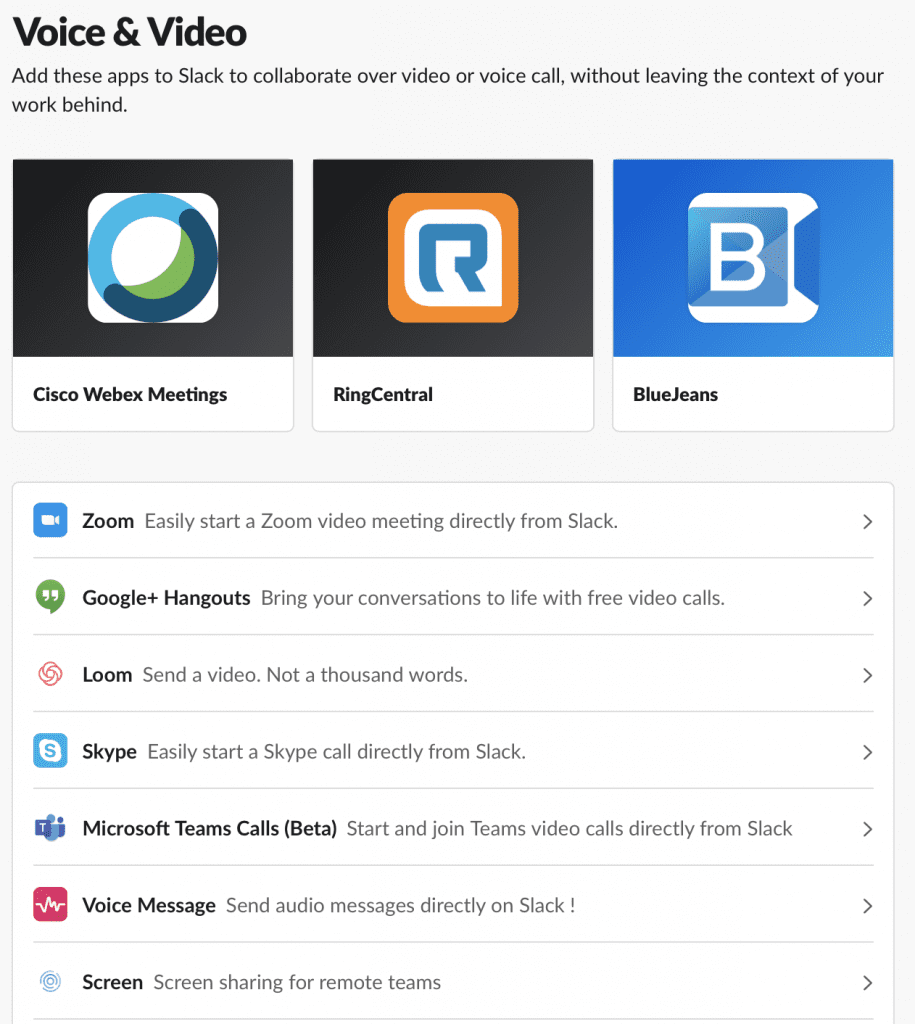
Most of these tools offer native call recording, which you can use to save the voice or video long after it’s over.
How to Add Captions & Subtitles to Slack Video Meeting Recordings With Rev
When you’re ready to add captions and subtitles to Slack recordings, captioning services like Rev’s will be a game-changer.
The process is simple. Start by getting the file of the recording from the Slack meeting (see the previous section), and then upload the file directly to Rev. You can do this by uploading the video meeting recording file from your computer.
Rev offers quick turnaround times, and most captions are available within 24 hours or less, coming back to you with a 99%+ accuracy guarantee.
As a result, you can quickly add closed captions and subtitles to your Slack recordings, turning a quick video call into a valuable resource within 24 hours. All you need to do is open the video file with the video editing software of your choice, and then look for the option to add closed captions with an SRT file.
You can see how to add captions with Adobe Premiere Pro and Camtasia on our blog. See our full guide on how to add caption files to different video platforms here.
Why You’d Want to Record Slack Video Meetings
There are a number of reasons why you’d want to record Slack video meetings.
If it’s important enough for a video call, there’s a good chance there will be at least some information in that recording that would be beneficial to have later on.
If you’re on a call with a client, for example, and are hammering out the details of the scope of work, the pricing, and the deadlines, having access to the information agreed-upon in the call (and proof that it as agreed upon) is a huge asset. You don’t need to worry that you remembered wrong or wonder about miscommunication.
Sometimes a video meeting also has pertinent information that can be reused again in the future. Let’s say you’ve hired a freelance graphic designer to help you with graphics for social media, and you walk them step by step through the onboarding process for your company on Slack. If you save this video recording, you can essentially turn it into an onboarding tutorial, allowing you to send the video or Slack video transcript to future contractors instead of needing to walk each one through it manually.
Why You Want to Add Captions & Subtitles to Slack Video Meetings
If you’re using a Slack video recording for internal or external use and not simply saving it to archive, it’s a good idea to add captions and subtitles to the video before sharing it.
Captions and subtitles, first and foremost, allow for full accessibility. Anyone who is deaf or hard of hearing may not have been able to understand the video either fully or in part; closed captions make it possible for them to totally understand everything that’s happening in the recording.
Not only is this good for inclusivity, but it’s also essential from a legal point of view. The Americans with Disabilities Act (ADA) requires that organizations provide equal access to all individuals, regardless of their disabilities. Your business could be subject to a complaint or even an ADA lawsuit if anyone trying to watch the video is hard of hearing and there are no closed captions, subtitles, or transcripts.
It also allows people to watch the content without any sound. Sometimes this may be necessary; if your team is working in a noisy environment (whether it’s from home with young children or in a buzzing office), it can be easier for them to read closed captions than trying to understand every word in the video.
Final Thoughts
While Slack hasn’t made native video recording the most seamless process in the world, the many integrations they offer keep it relatively simple. Taking the time to add captions and subtitles to Slack recordings will improve the value of the calls themselves, making them more useful for your company long-term. This can save time and money while improving efficiency, so it’s definitely worth the extra effort.


Subscribe to The Rev Blog
Sign up to get Rev content delivered straight to your inbox.