How to Transcribe Audio to Text


Rev › Blog › Transcription Blog ›
Transcribing audio to text is a straightforward way to help improve your workflow and make your content more accessible. To convert your audio files to text, you’ll only need access to a word processor, an audio player, and a few hours of your time (depending on the audio file size).
Whether you’re a journalist, researcher, interviewer, educator, in the entertainment industry or simply need to take meeting notes, audio transcriptions can help to boost your productivity, letting you make the most of your working day.
In this guide, we’ll explain what audio transcribing is, how it can benefit your workflow, and how to actually transcribe your audio files to text. Of course, if you’re looking to transcribe your audio files accurately and quickly, Rev’s professional audio transcription service converts your audio or video files into text with a 99% accuracy guarantee.
So if you’re interested in learning how to transcribe your audio files to text, whatever the reason, here’s everything you’ll need to know.
How to Transcribe Audio to Text
Before you begin transcribing your audio or video files yourself, remember that with Rev’s professional audio transcription service, you can upload your audio files or video URLs and let Rev do the work. With a 99% accuracy guarantee, you can rely on Rev’s team of experienced transcribers, allowing you to focus your time elsewhere. Here’s how you can easily convert your audio files to text using Rev:
1. Upload Your Audio File
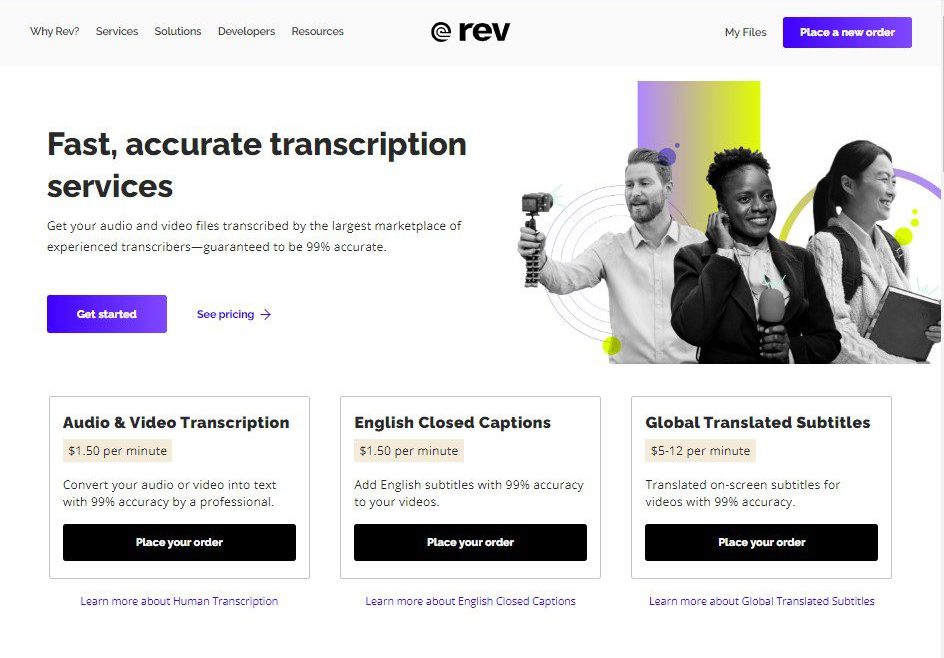
To begin, visit Rev.com and select our Audio and Video Transcription service. Here, you can either upload your audio or video files directly to Rev’s secure network or paste the URL of the audio or video file you’d like transcribed. Whether you’re looking to transcribe voice recordings, phone calls, podcasts, you can share any type of audio or video files you’d like. If the file can be played with a media player, Rev can transcribe it.
You can choose between human audio transcription service, which offers 99% accuracy for $1.50 per minute, or AI-powered automated audio transcription service, which provides a more affordable but less accurate alternative at 25 cents per minute.
If you’re in a rush, both options offer extremely quick turnaround times. Rev’s premium human transcription service has an average turnaround time of 24 hours for a 30-minute file. Alternatively, the automatic transcription service can convert the same audio file to text in around 5 minutes. Keep in mind that shorter audio files will have shorter turnaround times with both services.
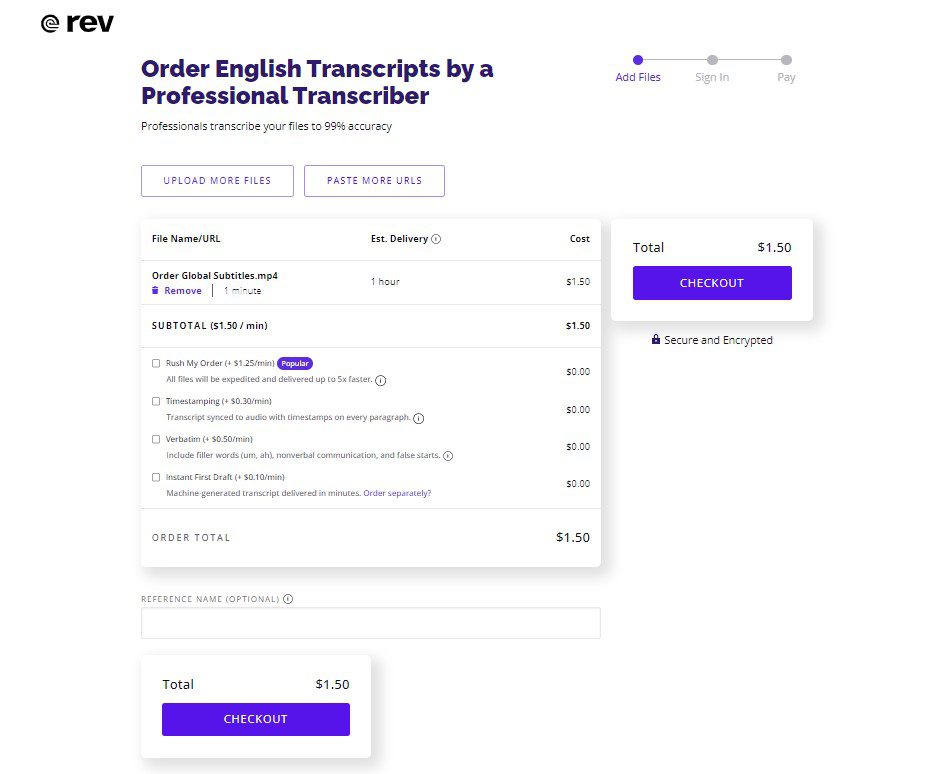
2. Choose Custom Transcription Options
Once you’ve uploaded your audio file, Rev offers a number of additional options to choose from. With Rev, you can tailor your audio transcription to your personal needs. These options include:
- Rush My Order – For an extra $1.25 per minute, Rev delivers your transcriptions up to 5x faster. With longer files, Rev splits them up into multiple segments to allow a team of transcriptionists to work on your file simultaneously.
- Timestamping – To easily identify key moments in your media file, Rev offers a timestamping service for an extra $0.30 per minute. Having your transcript synced to your audio file, with timestamps on every paragraph, is useful while editing your content, allowing you to quickly find specific moments of your file.
- Verbatim – For your transcript to be as accurate as possible, with every “um”, “ah”, and “like” kept true to life, Rev provides the option for your audio file to be transcribed verbatim for an extra $0.50 per minute.
- Instant First Draft – If you’re running on tight deadlines, for an extra $0.10 per minute, Rev can deliver an AI-generated transcript in minutes, letting you get to work straight away.
3. Receive & Download Your Text File
After Rev has finished transcribing your audio files to text, you’ll be notified via email. Once complete, you’ll be able to download your transcript instantly, ready for use.
To ensure your transcript is just right, you can use Rev’s Transcript Editor to make edits, highlight key text and even take notes, making reviewing a breeze. Once you’ve finished, you can download your transcript directly from within the editor. To try out some of its features, why not test Rev’s Transcript Editor for yourself?
How to Transcribe Audio Files to Text Yourself
If you have the time to spare, learning how to transcribe your audio files to text on Mac or PC yourself is a good way to save you or your business some money – just remember that patience is key.
1: Set Up
While the process itself isn’t complicated, transcribing audio files to text can take much longer if you don’t set yourself up in the best way. To start, make sure your word processor and audio file(s) are easily accessible. As you’ll be rewinding your audio file frequently, having them both close to hand helps you avoid switching tabs and potentially losing your place.
2: Find Your Shorthand
When transcribing audio files to text, you’ll find that some things, like speaker’s names, will come up repeatedly. To save you time, you can use a shorthand for text you know you’ll be commonly writing (e.g. P in place of Peter).
If you’re the only person that will be using your transcript, you’ll already know what the shorthand refers to. However, if you plan on sharing the transcript with others, you’ll need to either provide your list of shorthands or replace them with the full word once you’re complete using a find and replace tool.
3: Write What You Hear
This part is as straightforward as it sounds. Simply listen to your audio file or video and type what you hear, rewinding when you need to clarify any unclear speech. Make sure to check the requirements of the transcript before starting, as you may or may not need to write the transcript completely verbatim, including any filler words or false starts.
4: Edit Your Text File
After you’ve finished transcribing your audio file to text, it’s crucial you take the time to relisten to your audio carefully and check you’ve not made any mistakes. Make sure to listen out for any titles, references, or context you may have missed, particularly if you focused on capturing what was said verbatim.
5: Export the Correct File
Once you’ve finished reviewing your transcript, all that’s left to do is export your text file into the correct format for your needs. If you’re transcribing an audio file to text simply for your own use, you plan on making future edits, or you’ll be sharing your transcript with others, you should save your file as a .doc file. However, if you’re looking to transcribe your audio file to text to create video subtitles or any other multimedia content, be sure to check what type of file is required before exporting.
Transcribing Audio to Text with the Rev AI API for your Business
If you’re a large business or corporation that requires regular transcription services, the best way to transcribe audio to text is by integrating Rev’s industry-leading speech recognition engine into the apps or work environments you currently use.
Rev AI is the world’s most accurate API for AI and human-generated transcripts, consistently outperforming other speech-to-text providers in accuracy for virtually every use case. Rev AI is able to identify over 36 languages, analyze sentiment and deliver transcripts with the highest readability scores compared to similar providers.
1. Sign Up & Create a Rev AI Account
To begin, visit Rev.AI’s signup page and enter your details. Once you’ve confirmed your email address, simply login, and your account will be ready for you to start transcribing audio files to text.
2. Get Your API User and Client Keys
After logging into your account, you’ll need to generate an access token which will enable you to access the Rev AI APIs. To do so, navigate to the Access Token page, click on the Generate New Access Token link, and then confirm the operation in the pop-up dialogue box. Your new access token will now be generated and displayed on your screen.
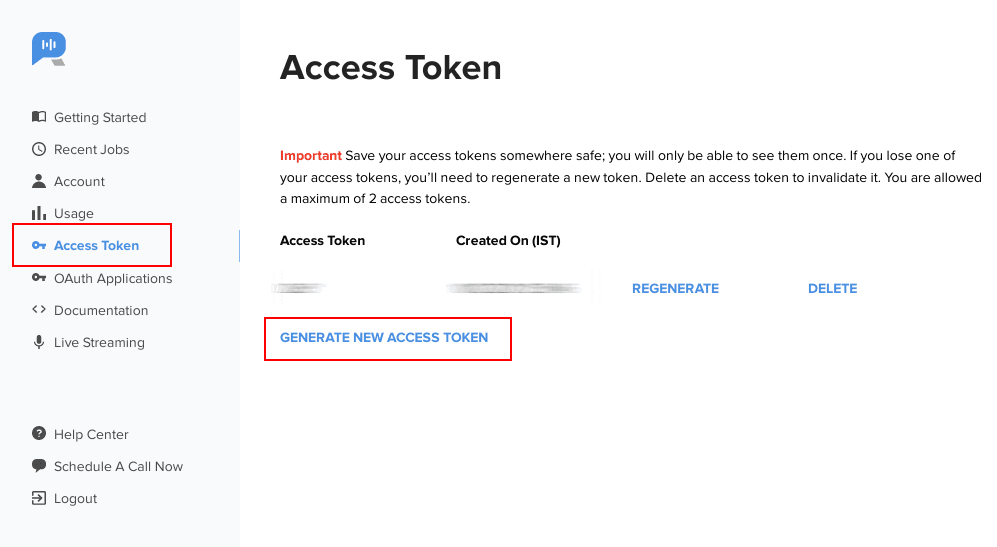
It’s important to remember to save your access tokens somewhere safe, as you’ll only be able to view them once. You are allowed a maximum of only 2 access tokens at a time.
For information on how to transcribe an audio file to text using Rev AI, read our helpful Get Started guide. For any other questions regarding Rev Ai, check out our FAQs page for more helpful information.
3. Try Rev AI Free for Your First 5 Hours of Audio & Video
So you can try out Rev AI for yourself, we offer five free hours of audio and video transcription, helping you to decide if our industry-leading transcribing software is a good fit for your business needs. To continue using Rev AI once your free trial is spent, simply purchase more API credits on your account page.