Step-By-Step Guide to Make a Video on Google Classroom With Ease
Learn how to make a video on Google Classroom, upload it for students, and add captions to make lessons easier to follow and more accessible.


As technology improves, we’re continually learning new ways we can use it for education. Increasingly, educators are being asked to make use of speedy internet connections and cloud-based storage systems to make classroom materials available to kids at home.
While this can help improve access to some classes, and allow each student work at an individual pace, it also puts a lot of pressure for teachers. Luckily, Google Classroom offers lots of options to make communication and sharing files simple.
Order Video Captions for Google Classroom Videos
Learning all the tools each program has to offer will open up the possibilities for how you can run daily lessons. Video can be a great way to add to your students’ learning experiences, and to save time in writing instructions all out by making a video of yourself explaining the assignment. It could also make those instructions more easily understandable.
Even if you explain your assignments on a video, you’ll likely want to add closed captions to make the videos accessible for all students.
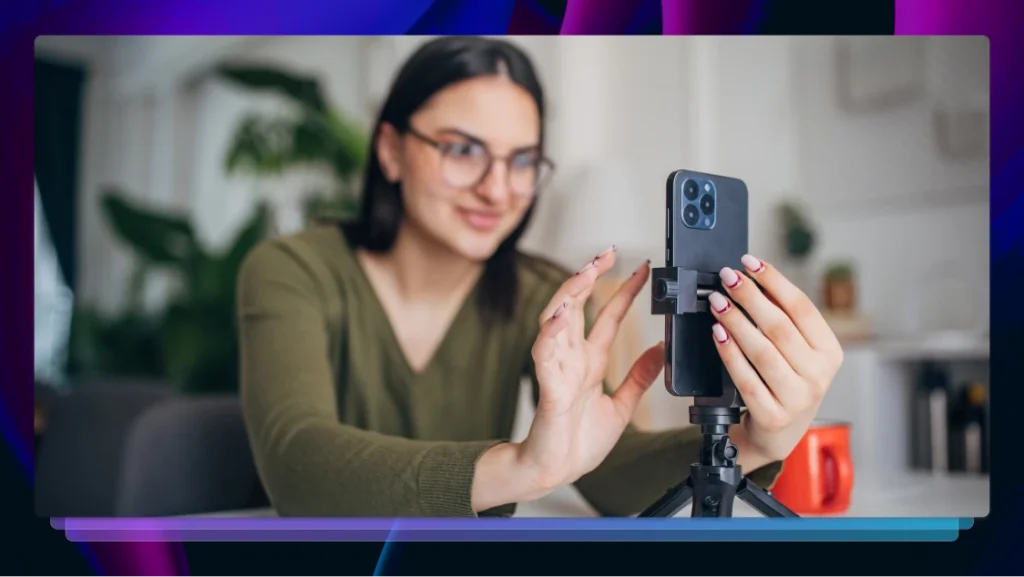
You can learn how to make a video on Google Classroom pretty easily. Traditionally, Google Classroom has focused on the ability to add videos from other programs, such as YouTube or files from Google Drive. Now you can also record a video directly into Google Classroom via the mobile app. This is the fastest and easiest way to add videos for your students.
How to attach a video to Google Classroom
Adding video can encourage engagement and connection between teachers and students, and now it’s easier than ever to create, edit, add subtitles, and upload videos onto Google Classroom.
To add a video you created in YouTube to an assignment that appears your Google Classroom classwork, start by clicking “create” in the Classwork tab. Click on “Assignment” and enter all the details, including name and due date.
You can add the video file by clicking on the paper clip. Select “YouTube,” to search for your content, then click “add.” If you already have a video link, click URL and then paste the address in and click “add.”
The process is similar for a video stored elsewhere: when you click on the paper clip, you can instead click “File,” “Drive,” or “Link,” depending on where your content is stored to upload the videos.
Adding the file to an assignment to provide instructions is just as easy – just click the paper clip to attach from the assignment page, then follow the same directions as above to find your video.
How to make a video on the Google Classroom app
Creating a video right inside Google Classroom is now possible via the mobile app. It’s a super-simple way to add content from right within the platform.
To record video to an assignment, tap the paper clip icon to add an attachment. There you’ll see the option to “Record video.” The video you make will still be stored in Google Drive, since that’s where content on Classroom is kept, but it will insert the video directly into your assignment for you.
Adding subtitles to your videos
Recording a video will help many students understand the assignment better – just by hearing your description and your inflection while you give it will clarify in ways the written word can’t always do.
However, some other students will have trouble viewing video, either because of technology problems, because they’re deaf or hard of hearing, or they’re just not aural learners. For this set, closed captioning for your videos will help immensely.
Want captions added directly to your videos? Rev now offers burned-in captions (open captions). Just check the “burned-in captions” box at checkout and you’ll receive a video with permanent, hard-coded captions added straight to your videos. Also available for foreign language subtitles!
Adding closed captions to YouTube videos
If you’re adding a video from YouTube, you can add closed captions the file before you link or upload it into Google Classroom. When you sign into YouTube Studio, click on the left menu and select “Subtitles.”
Click the video you’d like to edit, then enter your captions manually. You can also upload a completed closed caption file by selecting the video you’d like to caption, clicking “More options,” and “Upload subtitles/cc.” Follow the prompts to upload your file and save.
You can have this whole process done for you by professionals, too. A caption service like Rev will do the whole thing for you. Do this by going to Rev’s “Checkout” page, and clicking on the YouTube icon. You’ll need to give rev.com access to your YouTube account, select the videos you want captioned, and click “Add Selected to Cart.”
You can also click “Paste a URL” to paste the YouTube URL of the video you want captioned.
From here, you can select the option to automatically deliver captions back to YouTube when they’re captioned. Rev will return your captioned video to you within 24 hours, with a 99% accuracy rate.
Adding closed captions straight to your videos
Rev now offers burned-in video captions (open captions), which means we will add captions directly to your video. Just check the “Burned-in captions” option at checkout and you’ll receive a video with captions already added to your video.
Adobe Premiere Pro lets you create or import closed captions. Select File, New, and Captions, then follow the prompts, and the program will create a caption file in the project panel.
In Final Cut Pro X, you can add captions in the timeline, too.
Adding closed captions to videos already on Google Drive
For videos you created via Google Classroom or have updated onto Google Drive, you can add completed captions files by selecting the video you want to add captions to, clicking “More,” “Manage caption tracks,” and “Add new caption tracks.” Then you can select your file and click “Upload.”