


How to Upload a Video to YouTube on Mobile and Desktop
It’s easy to do YouTube uploads from your mobile device or computer. Learn how to start sharing videos in a few simple steps.


YouTube is an invaluable outlet for content creators of all kinds, from online gamers to product reviewers to travel vloggers. Once you’re set up to share videos, you can quickly build an audience with an engaging content platform.
If you’re just getting started on YouTube, you may feel intimidated and unsure about how to properly share content. The good news is that it’s an easy process. Read on for a complete guide on how to upload a video to YouTube, whether you’re using your computer or mobile device.
How to Upload a Video to YouTube on Mobile
You don’t have to be a technical wizard or coding expert to complete a YouTube upload from your smartphone or tablet. It’s easy and free to upload videos to YouTube from your iPhone, iPad, Android, or any mobile device. Here’s how to do it.
1. Open the YouTube or YouTube Studio app
To upload a video to YouTube from a phone or other mobile device, you’ll need to download the YouTube or YouTube Studio app and log in to your YouTube account.
2. Tap the + Button
To begin your YouTube upload, tap the “Create” button, which is indicated by a + in a circle at the bottom center of the app. You’ll need to grant permission for YouTube to access your camera roll.


3. Select and Trim the Video You Want to Upload
Scroll to “Video” to access your mobile video library, then select the video you want to upload. The video will begin to play, and you can use the selection tool underneath it to trim the video to feature only the content you want to share.

Note that videos that are a minute or less with a square or vertical aspect ratio will automatically upload as shorts. You can trim longer videos (of square/vertical aspect ratios) to under a minute if you want them to show as shorts for your audience.
4. Edit Your Video
After you’ve set the length of your video, tap “Next” at the bottom right of your screen. You’ll then see several options at the bottom of the screen, where you can add sounds and music, text, voiceovers, and more to your video.

Enhancing content with these elements can go a long way toward improving your videos and building engagement with your audience. Sounds, voiceovers, filters, and onscreen text are all ways to add production quality, explain what’s happening in your videos, or simply add a bit of fun.
Select any items you’d like to add, then tap “Next” at the top right of the screen.
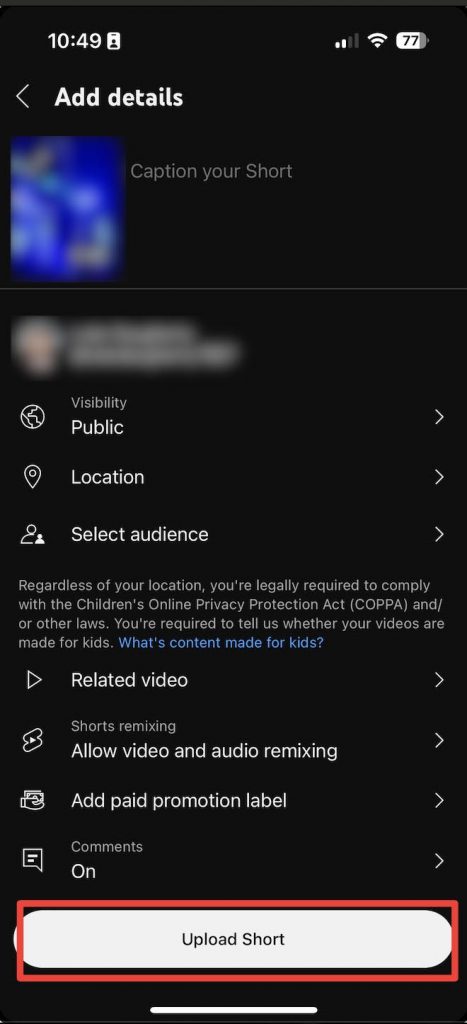
5. Add Details
Before you complete your YouTube upload, you’ll be able to adjust important settings such as:
- Adding a caption and location
- Setting visibility to public, private, or unlisted
- Telling YouTube whether the video is made for kids and setting age restrictions
- Allowing or blocking comments
Adjust these and any other settings you’d like, then select “Upload” at the bottom of the screen.
6. Review Your YouTube Video Upload
Once your upload is complete, you can find it in your profile. There you can watch your video to ensure all your video edits were properly applied. This is also a good chance to review the closed captions for accuracy.
YouTube auto-generates captions for videos, but these aren’t always the most accurate and could misrepresent your content to viewers. A much better option is to use the Rev+YouTube integration to automatically create highly accurate captions and send them straight back to YouTube.
How to Upload a Video to YouTube on Desktop
YouTube makes it easy to add videos from your computer, too. You can complete a YouTube upload from your desktop in a few simple steps, which we’ll cover below.
1. Sign in to YouTube
In your web browser, sign in to YouTube via the regular YouTube page or the YouTube Studio website.
2. Click the ‘Create’ Button
In the top right corner of the page, next to your avatar, you’ll find the “create” button with a + sign inside an icon of a video camera. Click it, then select “Upload video.”

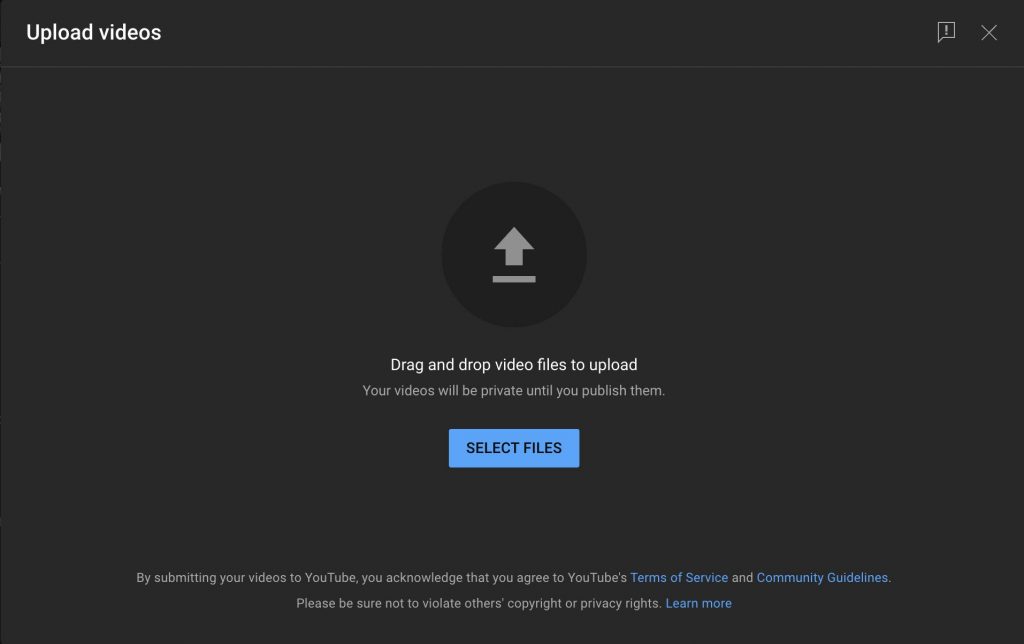
3. Select Your Video
When choosing how to upload a video to YouTube, you can either drag your video into the upload box or click “Select Files” to choose up to 15 videos to upload at once.
4. Add Details and Edit Video Elements
On the next screen, you’ll have a series of selections and edits to make. Before you complete your YouTube video upload, you’ll need to add a title, select a preview thumbnail, and set any age restrictions. You can also choose whether to add a description (which we highly recommend for improving your YouTube SEO) or include your video in a playlist.
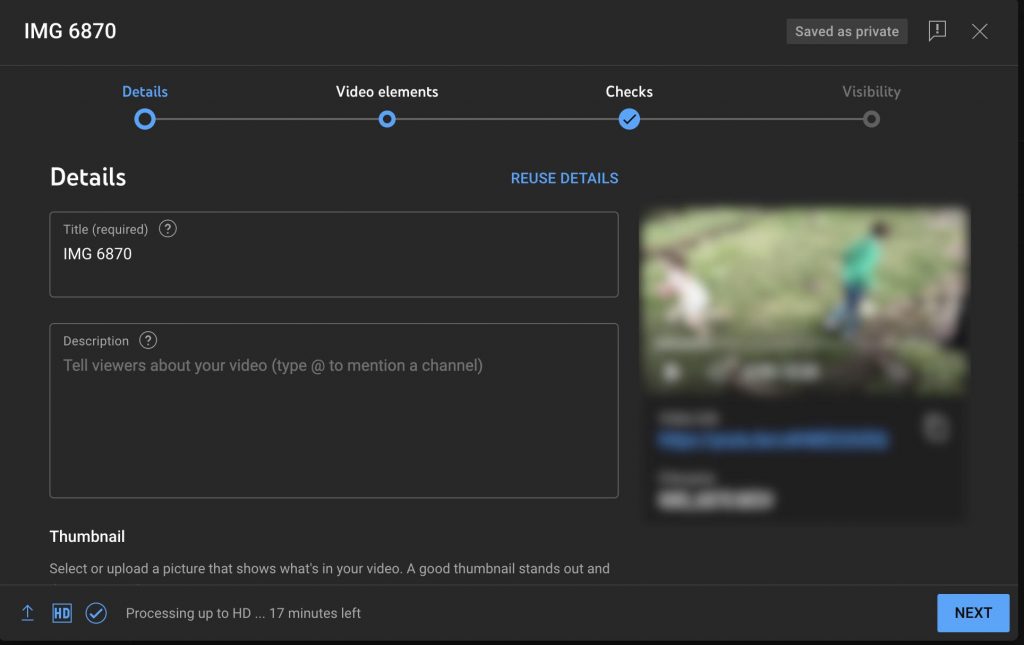
After you click “Next,” you can add additional details to your video, such as subtitles, a special ending, or cards to promote other content during your video. Continue clicking “Next” to have YouTube check your video for any copyright issues, then set your visibility public, private, or unlisted, and click “Save.”
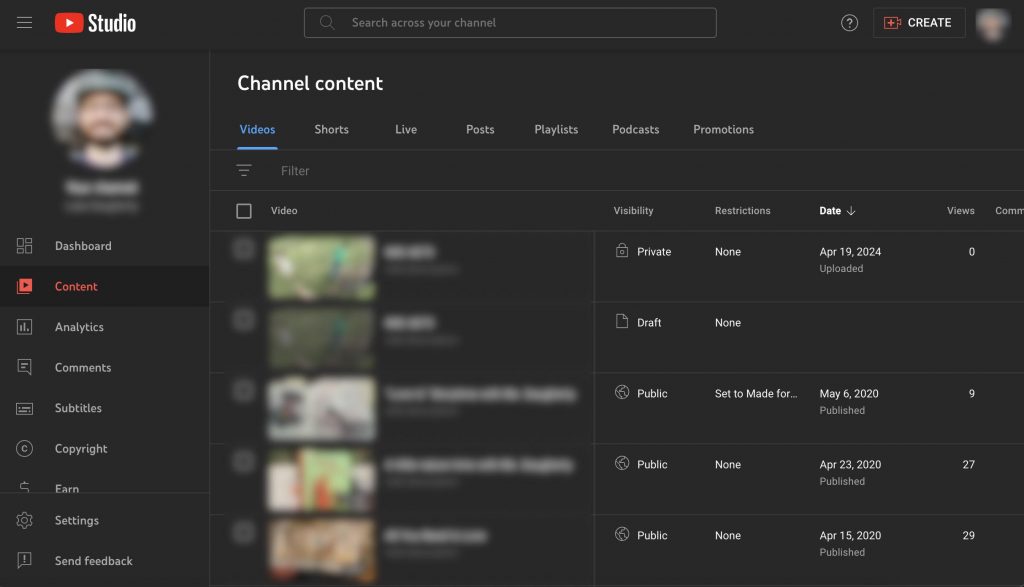
5. Review Your YouTube Video Upload
After you’ve saved your video, you’ll be taken to your “Channel Content” page, where you can find your video and review it to make sure everything looks right. Be sure to turn on closed captions to review them and correct any errors.
Again, it’s worth noting that YouTube’s auto-generated captions aren’t always accurate and could mislead viewers who are watching without sound or otherwise unable to hear the audio. Try the Rev+YouTube integration to quickly create and add reliable captions to your YouTube videos.
Uploading an MP4 to YouTube
Although YouTube supports several file types and formats for video uploads, the MP4 YouTube upload format is most widely recommended for the best quality.
For long-form videos (not shorts), it’s also best to ensure your video is in 16×9 aspect ratio and set to the following high-quality video and audio codecs for the best viewing experience:
- H.264 codec
- Audio codec AAC-LC
Other video file types supported by YouTube are:
- .MOV
- .MPEG-1
- .MPEG-2
- .MPEG4
- .MP4
- .MPG
- .AVI
- .WMV
- .MPEGPS
- .FLV
- 3GPP
- WebM
- DNxHR
- ProRes
- CineForm
- HEVC (h265)
If your video doesn’t fit one of these formats, you’ll need to convert it before you can upload it to YouTube. Visit YouTube’s help page for a full list of video requirements.
How Long Does It Take To Upload Video on YouTube?
According to YouTube, a video upload can take anywhere from a few minutes to several hours.
YouTube video upload times vary considerably based on file type, size, resolution, and internet bandwidth. Heavy upload traffic can also slow down the time it takes for your video to upload to YouTube’s servers. If you want to speed up your uploads, consider avoiding 4K videos, upgrading your internet bandwidth, and uploading videos overnight.
Expand Your YouTube Reach With Rev
Learning how to upload a video to YouTube is only the first step on your journey to becoming a top-tier digital content creator. From there, you can learn how to optimize your content for SEO and start building an audience. Most importantly, you’ll want to learn to make your videos as accessible as possible, starting with essentials like closed captions and YouTube transcriptions.
Thankfully, Rev has you covered. We streamline the work of video transcriptions, closed captions, translations, subtitles, and more. Learn more about how we can help you get your YouTube videos in front of more viewers today.
Start captioning your YouTube videos with Rev's subscription.