Interview Recording Tips For an Easier Workflow
Rev’s interview recording tips make interviewing easy. We discuss the best ways to record an interview and what tools will make your workflow easier.

Recording an interview isn’t easy, but it’s a necessary part of many jobs. Content creators, journalists, attorneys, and even HR personnel interview people regularly, and recording those interviews can save you from taking comprehensive notes, which helps you stay engaged with your subject and ask intelligent, interesting questions that result in thoughtful answers.
All that said, if your audio recording isn’t crisp and clear, it can do more harm than good for your workflow. Background noise, interruptions, crosstalk, equipment noise, and dozens of other issues can make your post-interview editing or review a nightmare.
If you’re wondering how to record an interview on your phone or other available equipment, you’re in the right place. Here are eight interview recording tips for before, during, and after your interview.
1. Prep Your Equipment
Depending on your budget, experience, or workplace, your recording equipment can vary greatly. For the purpose of this blog, we’ll assume that you’re not using a professional studio (although many of these tips do apply to professional studios as well!). A pro studio with pre-tested equipment, sound control, and quality microphones eliminates a lot of the issues you’ll find in the field or another less professional setting.
If you’re conducting the interview by phone, make sure that the connection will be clear and without lag time between speakers. If using a teleconferencing app like Zoom or Microsoft Teams, both parties’ computers and internet connections should be able to handle the video without lag or other issues.
Test your equipment! If possible, head to the location and conduct your test there, listening to playback for echoes, sounds of traffic, and even equipment hums (like a refrigerator) or electronic interference. Ensure that your equipment is fully charged and you’re well-versed in its use.
Wherever possible, use an external microphone. You can get a high-quality podcasting microphone for less than $50. If that’s not in the cards, wireless Lavalier mics can be found for around $25. Even the cheapest external microphone will produce better sound quality than your phone or voice recorder’s internal mic.
2. Prep Yourself
One of the most important audio or video interview tips is to do your prep work. But preparing is more than just compiling a short list of questions. It’s doing the research so that you know both your guest and the topic of discussion inside and out.
A great interview seems more like a conversation among peers as opposed to a structured Q&A session, and the best way to prepare for that is to know what you’re talking about. That’s not to say that you should expect to know more than your subject, but you should be able to hold your own in conversation and zig when they might zag.
Of course, you absolutely should prepare a list of questions, or a loose script to follow, if only to keep the conversation from going off the rails. Make sure your prepared questions are open-ended; nothing stops the flow quicker than a “yes” or “no” answer. Be prepared to go off script, though, if the conversation takes a more interesting or relevant turn. There’s where your research will truly shine!
3. Prep Your Guest
A good subject is a comfortable one. You don’t want them to deal with surprises or curveballs on the day that will leave them flustered. Some things to make sure your guests know ahead of time include:
- The date, time, and location
- The format (audio only, on-camera and/or in-person, via teleconferencing app, etc)
- How to dress
- The topics that will be covered (Don’t send them questions beforehand, though. This can lead to rehearsed answers)
- What equipment they need, and if they can expect you to send anything like a microphone, etc.
- To speak into the microphone at all times
- To state their name and title upon the first instance of speaking
- How to deal with technical issues if they occur (mainly for remote subjects)
By making sure that your guest is fully prepared, you’ll make your talent less nervous and, ideally, set the stage for a great conversation.
4. Choose the Right Location
The hardest part of editing or reviewing a video or audio interview is fixing sound quality. Removing interference, crosstalk, and outside noises is a workflow killer. You can eliminate a lot of your editing time simply by choosing the right location.
The ideal setting for recording is a professional studio. In lieu of that, you’ll want a quiet location like a private meeting room or comfortable living room that is free of both audio and visual distractions.
Once you decide on a location, do a brief “dry run”, if possible. Go there and record a similar conversation, checking for audio interference like neighbor noises, loud traffic, equipment buzzing, regular interruptions, etc. Check for visual things, too, such as people walking by a window that can get in your subject’s eye line and cause distraction. You might have to linger in the location for some time to make sure there aren’t regular issues.
5. Use an AI Notetaker
During the interview, you should eliminate your own distractions as much as possible.
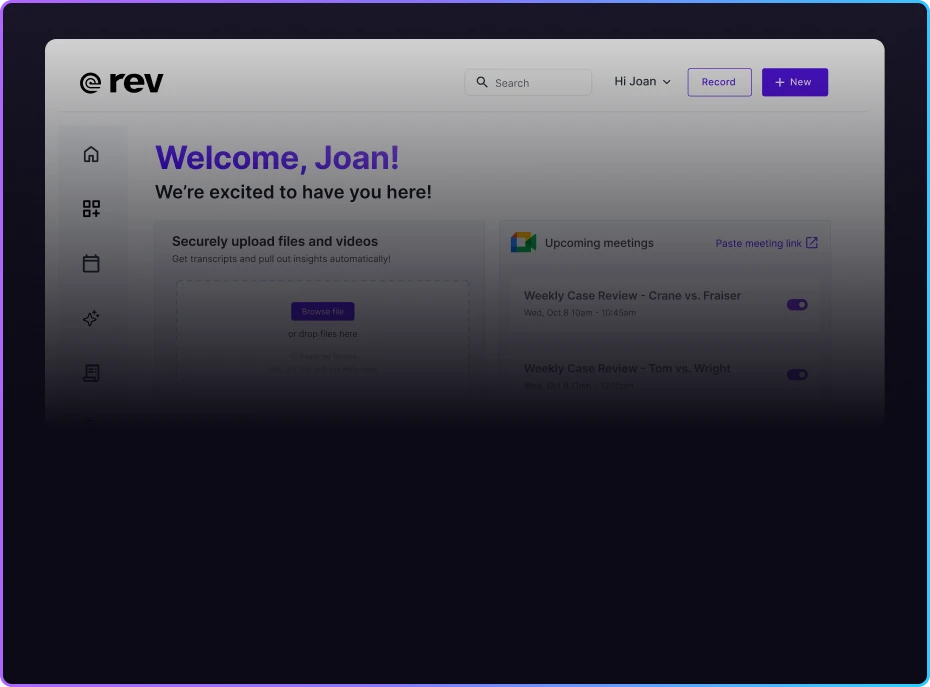
In the old days, an interviewer would spend as much time taking notes as they would engaging in the conversation. But thanks to technology like Rev’s new platform, which features an AI Notetaker, the days of physically taking notes are a thing of the past.
Rev will automatically record the conversation with industry-leading automatic speech recognition and take comprehensive notes for you, provide a summary of the conversation, and even look for insights and other important data to highlight later.
Rev not only lets you engage fully with your guest; it makes post-interview editing and analysis much easier by providing accurate notes you can use as a guide.
6. Don’t Talk Over Your Subject
Although Rev’s ASR has been proven to accurately handle crosstalk in even the toughest environments, do yourself a favor and try to make your transcription easier by not talking over your subject.
An engaging flow to the conversation will naturally result in some overlap and that’s fine; that’s how human speech works. But it’s important to remember that your viewers or readers are likely there for the guest, not for you, so you should let them finish their thoughts before interjecting.
If you’ve done your research you’ll be much more apt to engage naturally as opposed to interrupting to keep your subject “on-script.”
7. Save Immediately
There’s nothing worse than finding out the hard way that your conversation doesn’t exist. All the interview tips and tricks in the world won’t matter if your file doesn’t get saved!
We recommend that you save your file immediately upon completion, and in more than one place. Save it to the cloud, your device, and an external drive. If you can do it without obvious interruption, save multiple times throughout the session.
It’s also a great idea to have a backup device recording the interview as well, just in case. Make sure you hit save on that, too.
8. Transcribe Your Interview
Transcribing your interview is the best thing you can do for an efficient workflow. While recording your discussion eliminates the need to furiously write down everything the talent says, transcribing the recording eliminates the need to re-watch what could be hours of footage.
A fast, reliable, and accurate transcription service like Rev turns any audio or video recording into easily scannable, searchable text that cuts hours of editing time from post. Rev’s timestamped transcriptions are perfect for easily cutting together a draft of your final product.
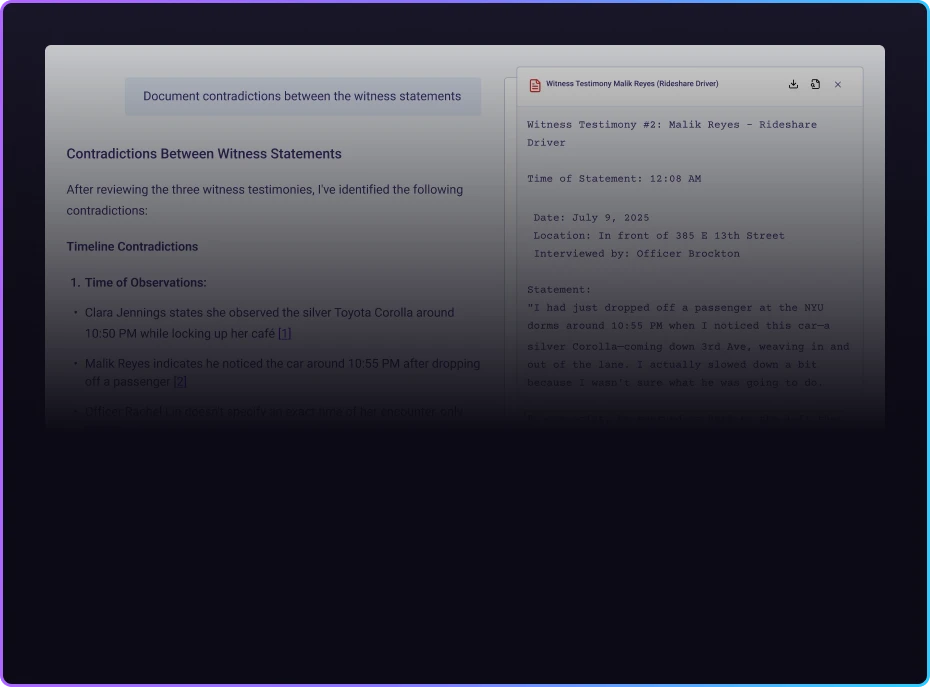
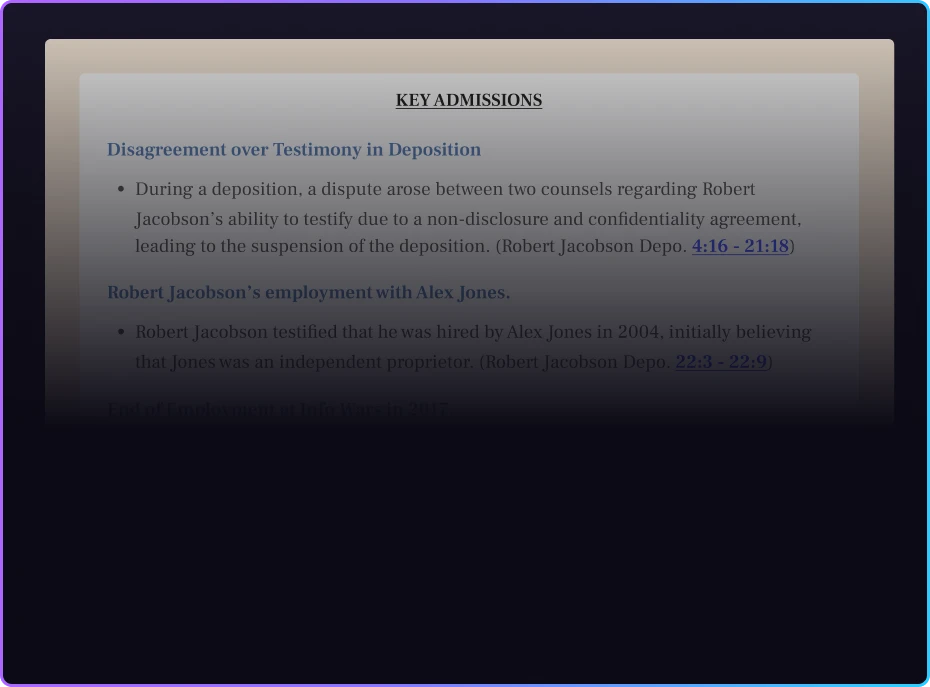
An AI assistant like Rev can make your transcription even more useful by highlighting important information, summarizing the entire interview, or providing insights you might not have considered.
Benefits of Recording Interviews
It wasn’t too long ago when an interviewer had to somehow take constant notes while also looking their subject in the eye and holding an intelligent conversation. We’re not sure how we did it! With voice recorder apps like Rev’s Online Voice Recorder, you barely have to take notes.
The benefits of using a recording software for your interviews include:
- Having a complete record of the conversation that you can revisit over and over
- Eliminating the need to take comprehensive notes
- Making fact and quote-checking simple, because it’s all on record
- Allowing for transcription, which is the easiest way to review and edit
Remote vs. In-Person Interviews: Which Is Right For You?
In a perfect world, every interview is in-person, conducted on-camera in a professional studio with technicians standing by. However, this is rarely the case and it’s more than likely just you and your laptop or phone.
So is it better for you to conduct your interview face-to-face or remotely? Logistics might answer this question for you; if you’re in Florida and they’re in Seattle and you don’t have the budget or time for travel, you’re probably settling on a remote session! But if all things are equal, there are still pros and cons for each type.
In-person interviews are best if you want a natural conversation and more control over the circumstances. One downside of in-person is that you need to find a suitable location that’s accessible to all parties. And if you’re recording video in person, you’ll need cameras and some measure of quality control. If you’re going to be viewed by an audience, in-person, with quality cameras, sound control, and production design is the way to go.
In many ways, remote interviews are easier. For instance, recording the conversation on a teleconferencing app is a snap. Most platforms offer automatic recording and transcription, although the accuracy may be questionable. It’s also easier for all parties to open their laptops than travel to a specific location. But the video quality of most laptop cameras usually isn’t great.
When interviewing multiple people, a hybrid approach might be necessary. This means that someone will be live and on location with you while others might be remote. In those cases, it’s easy to forget the people who aren’t in the room, so an interviewer might have to work harder to keep everyone involved. For recording hybrid interviews, using an external microphone connected to all recording apps is essential so that everyone on all ends can be heard and recorded.
Gadgets Needed Before Pressing “Record”
Again, if you have access to a studio, you’ll have endless gadgets and equipment available. If you’re more of a guerilla journalist on-the-go type, you’ll still need a few things to conduct the best possible interview no matter the circumstances.
At the minimum, get these:
- Recording device like your phone or voice recorder
- Microphone
- Backup recorder (ideally something different than your primary)
- Meeting app (if recording remotely)
- AI assistant (Something like Rev works on mobile and can make the job a lot easier)
With these few items, you should be able to record and transcribe with ease.
What Is the Best Method of Recording an Interview?
The best method of recording an interview is in-person, on-camera, with an AI assistant on hand to record, take notes, and transcribe the entire session. This method ensures that you’re in the most controllable environment and recording every word for utmost accuracy, with transcription that makes editing the final cut as easy as possible.
Rev Makes Interviewing Easier
Rev makes recording your interviews easy and accurate! With industry-leading ASR, you can rest assured that your transcription will be as accurate as possible, no matter where it was recorded. Whether you’re a content creator, a journalist, or an attorney, Rev makes your workflow easier.


.webp)