
How to Present Video Evidence in Court: A Step-by-Step Guide
Rev’s comprehensive guide for attorneys on how to present video evidence in court includes step-by-step instructions and tech suggestions for optimal results.


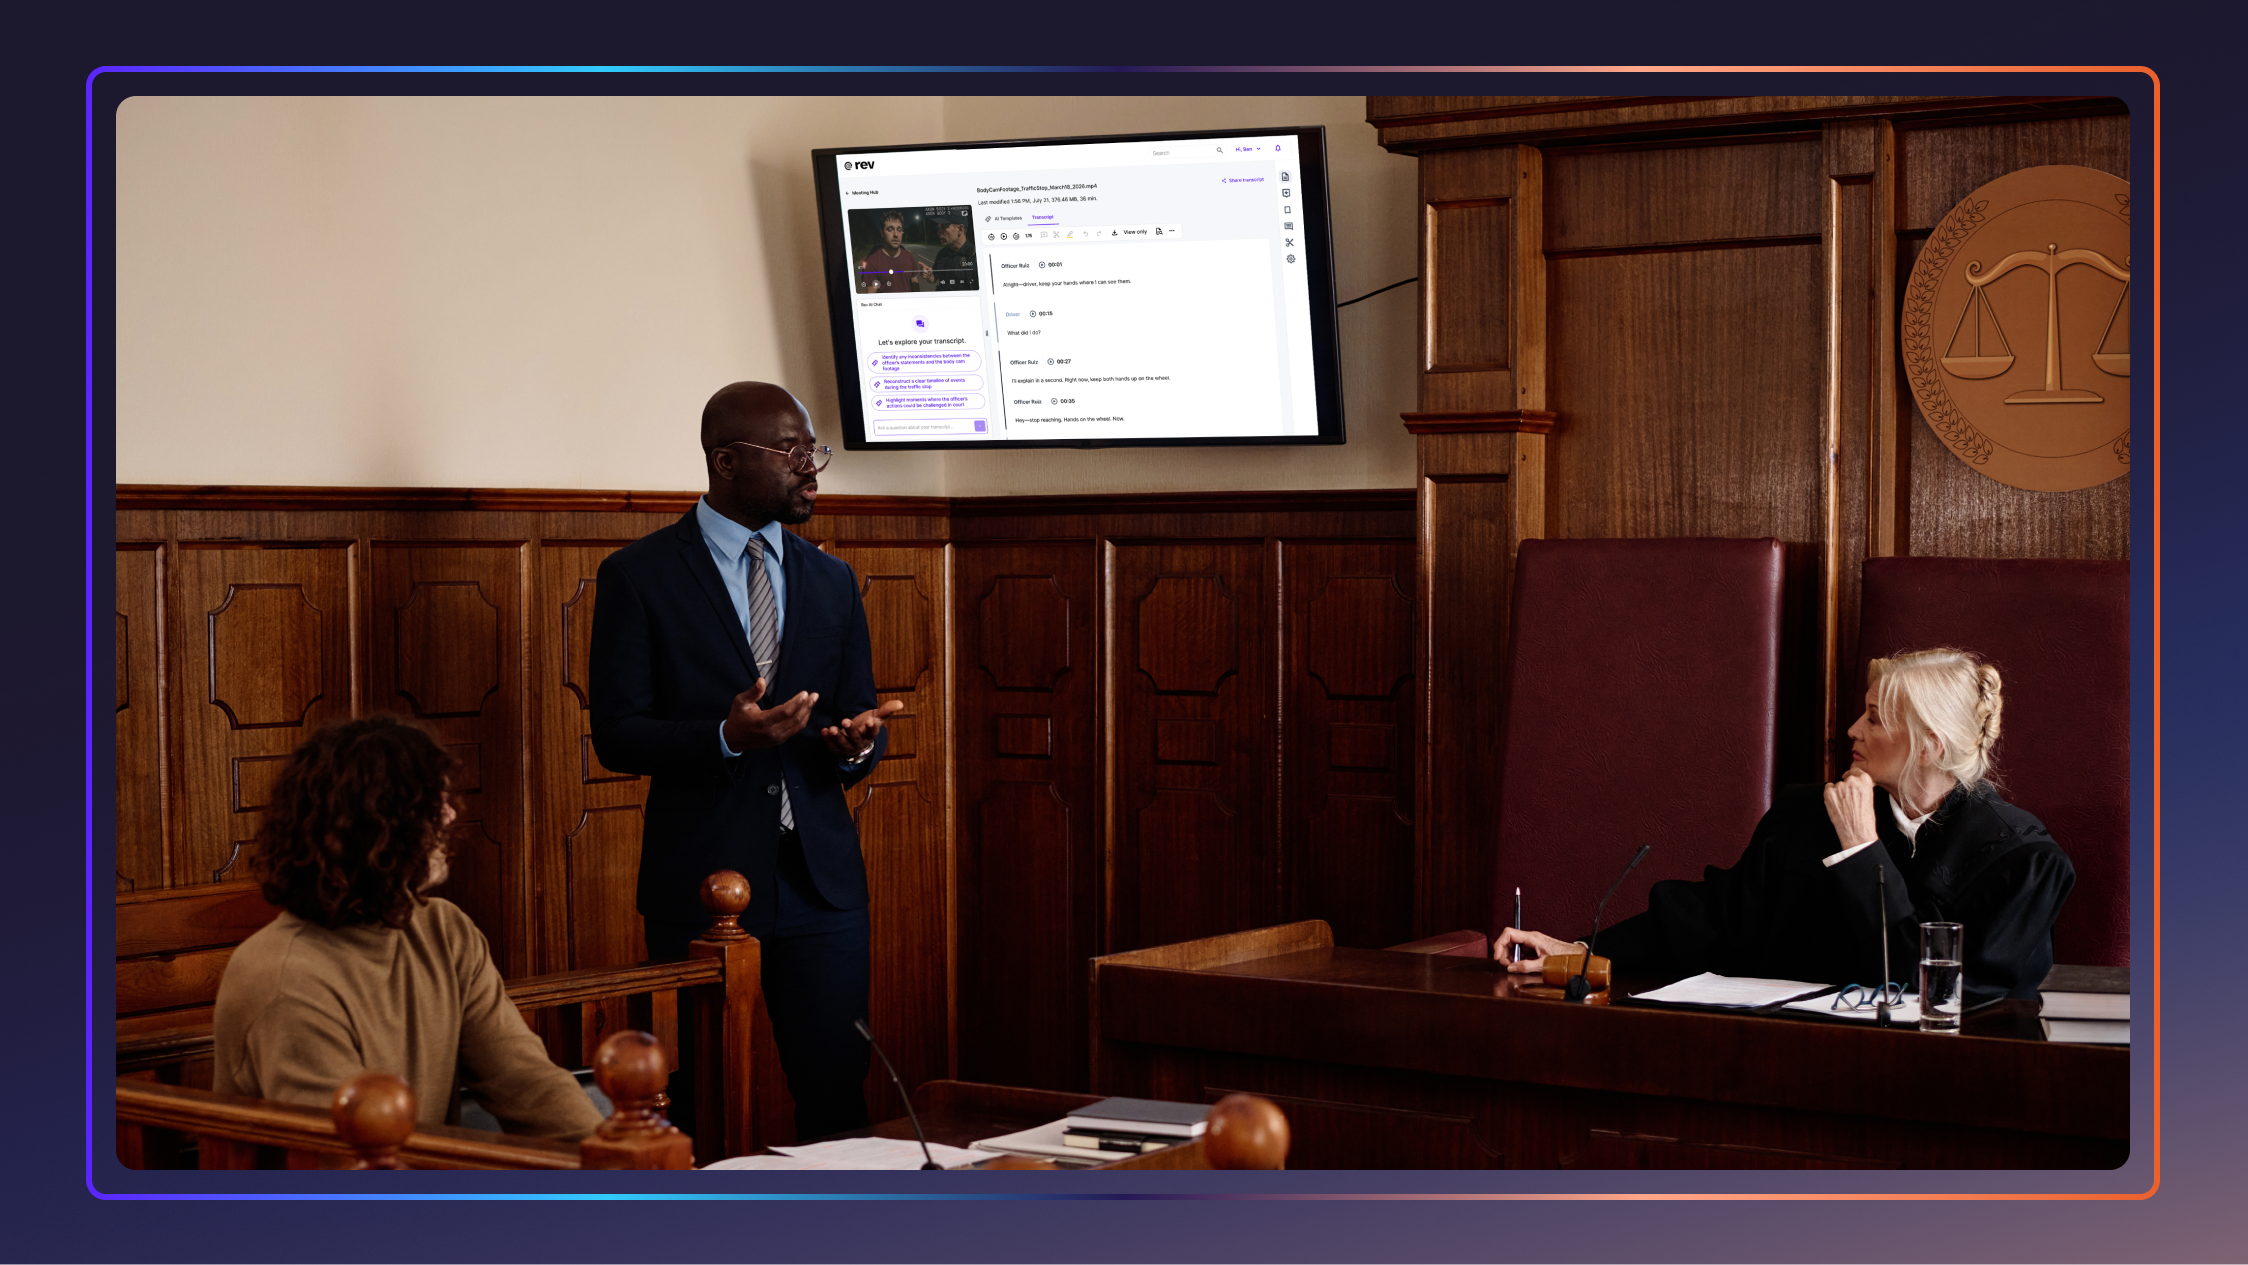
Video is one of the most reliable forms of courtroom evidence, and it’s only becoming more common in the courtroom. Smartphones appear in nearly 97% of investigations today, and that doesn't even include the legions of dashcams, doorbell cams, bodycams, and surveillance cameras that are accessible to legal teams. There’s evidence everywhere, but if you don’t know how to present video evidence in court, you could sink your whole case, even if it’s all caught on camera.
Presenting video evidence requires more than simply hitting “play” in the courtroom. There are practices and procedures to follow, both before and during the trial. Here is a comprehensive breakdown of how to present video evidence in court.
Before Court — Getting Your Evidence Ready To Present
Prepping your video for court is just as important as presenting it in court. If your video isn’t what you say it is, you have difficulties playing it, or the quality is bad, you can potentially harm what would otherwise be a strong case. A big part of trial preparation today is ensuring that your digital evidence is presentable.
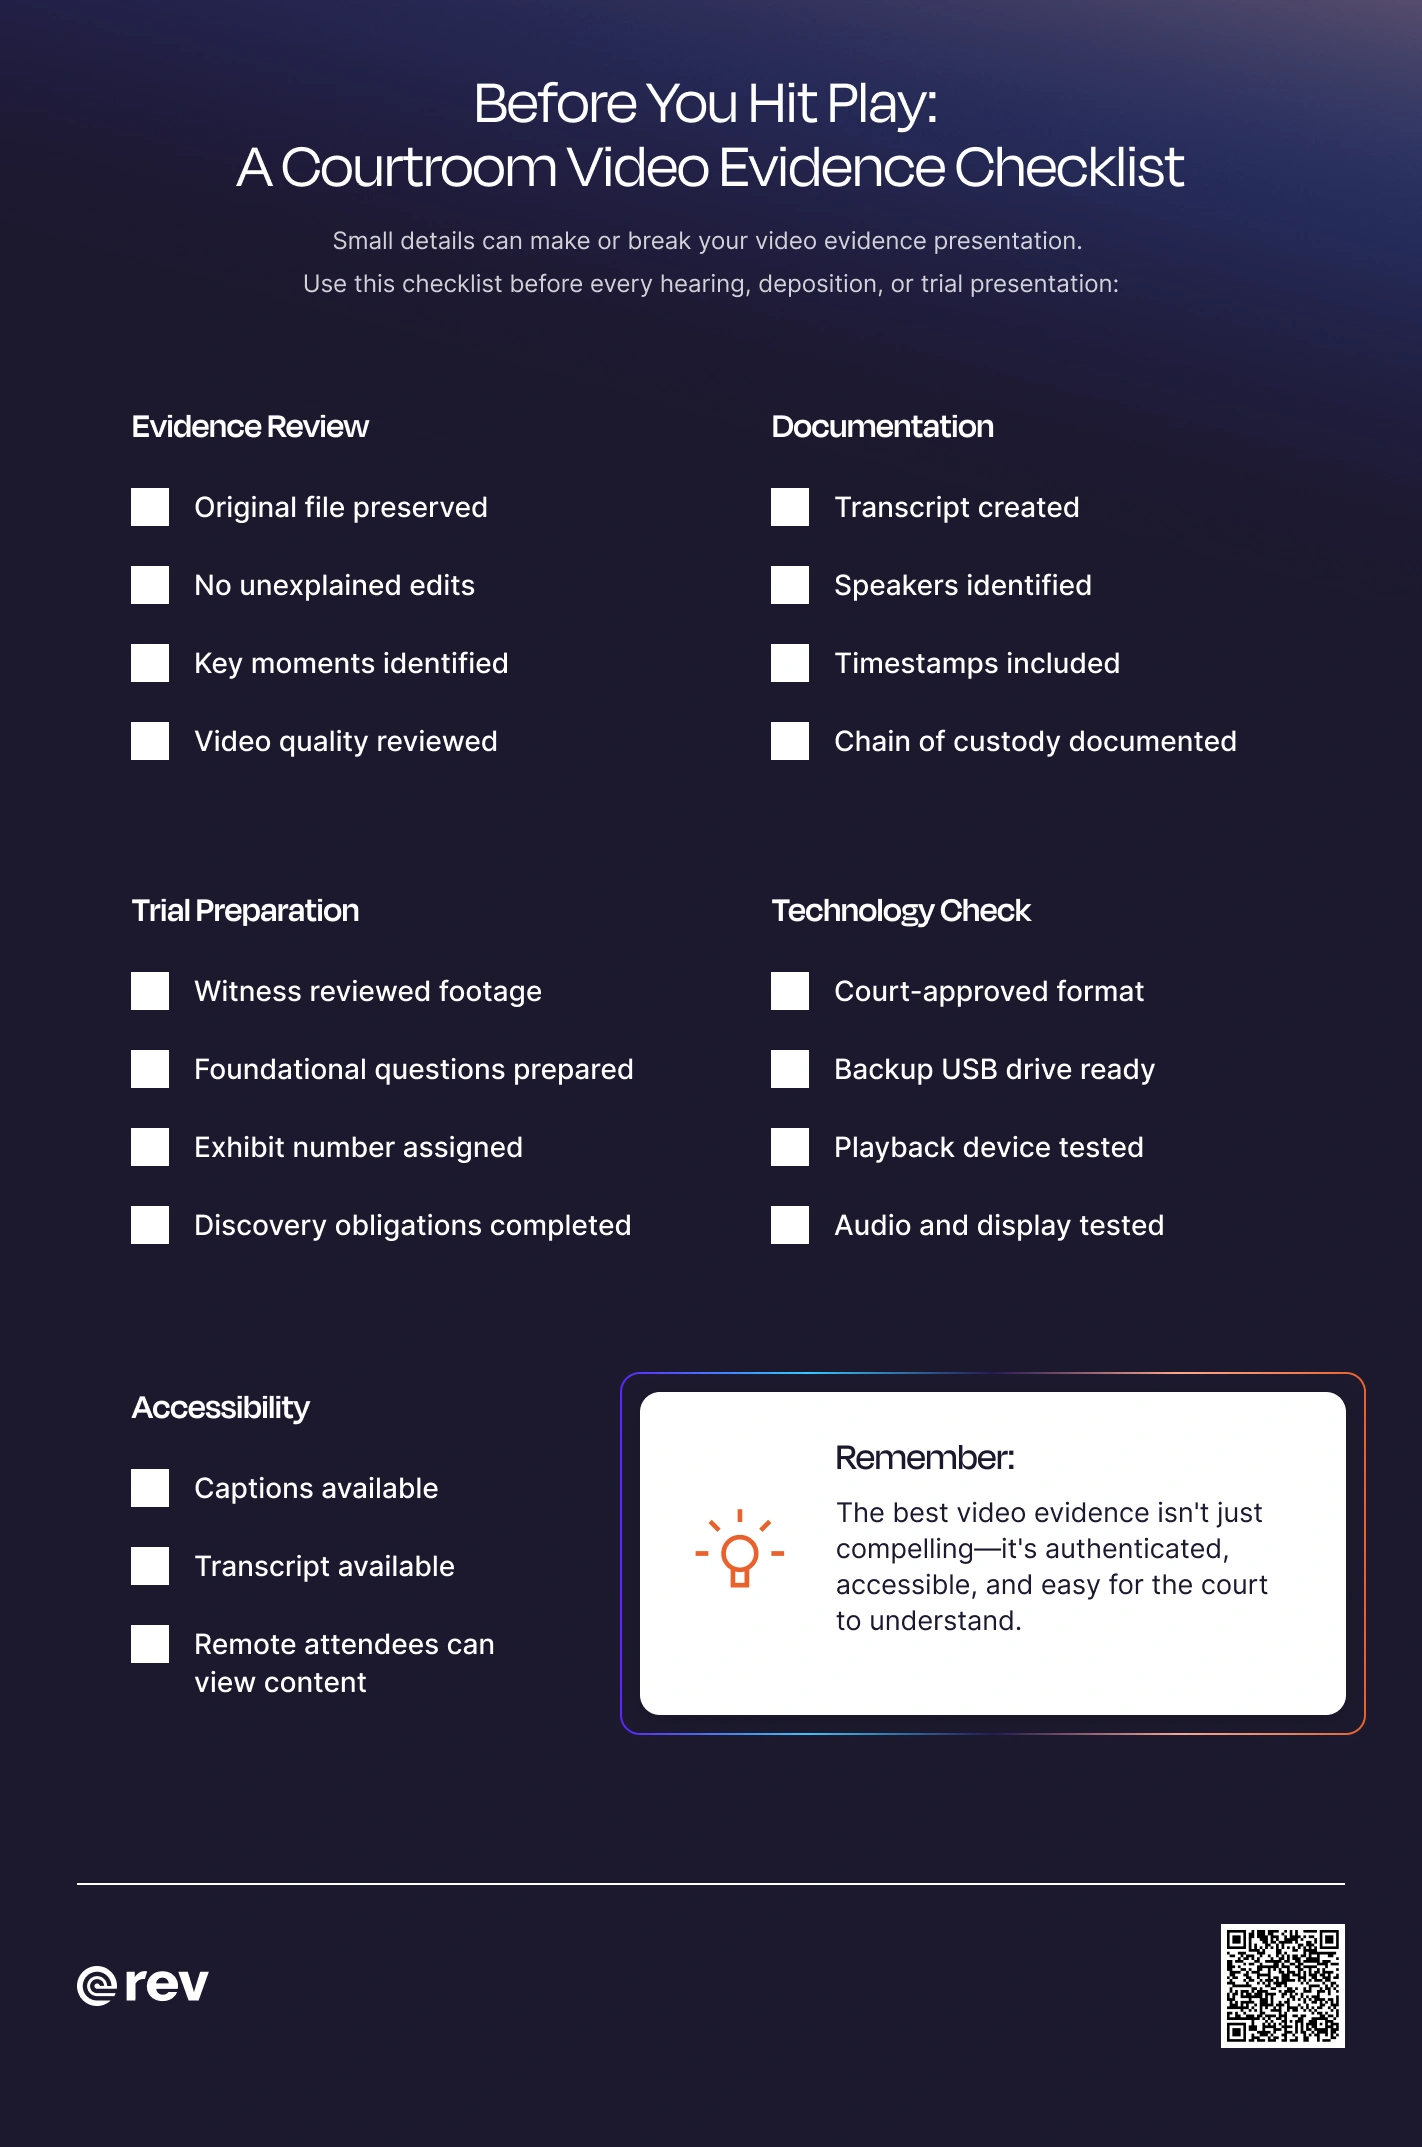
Here are the steps to take to prepare your video evidence before you step into the courtroom.
1. Review Your Video Evidence
The first thing to do is to review the video for clarity and function. Make sure it shows the exact moment you want the jury to see, but also includes enough context that anyone watching the video could understand exactly what is happening from the clip alone. Simply put, the video should be what you or your witness says it is.
“Video is most effective when people understand the context, not just what is happening on screen,” said Carl Nagle, Founder and Lead Attorney at Nagle & Associates. “Short, complete clips tend to work better than heavily edited sequences because viewers are more likely to trust what they can see in full.”
Obviously, many video clips used as evidence presentation in court aren’t of the best quality; Ring cams, dash cams, and body cams aren’t exactly cinema-level cameras. Certain editing for clarity is admissible if you use a certified digital forensics expert to either perform the edits or testify to their authenticity.
Edits can include accessibility updates like captions, or digitally enhancing faces or other identifying information like license plates. Or perhaps there are privacy or safety issues involved in your case. If witness safety is at stake, faces and other identifying information may need to be obscured.
Whenever edits are made, make sure that the original unedited version is readily available and authenticated. Anything less might lead to tampering claims and/or cause your evidence to be inadmissible.
According to the Columbia University Science and Technology Law Review, “Several circuit courts have also considered the issue and decided that enhanced videos and recordings are admissible if the enhancements were properly authenticated and the analyst documented their steps when altering the source file.”
2. Transcribe Your Video
Not everyone is always in a position to see or hear video evidence, so to ensure accessibility, it’s a good idea to transcribe your video. Transcription, in addition to being a failsafe in case your video’s audio or video doesn’t work, makes your evidence easier to use. Just make sure to get permission from the court before using transcription.
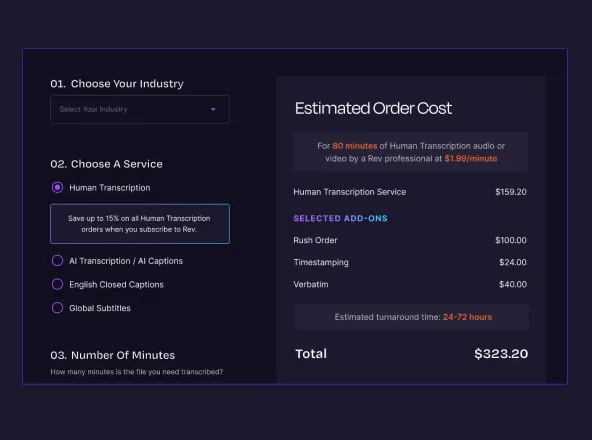
A transcript makes your video evidence searchable, meaning it’s easier to find the moments that matter (as opposed to scrubbing through hours of footage). A thorough transcription service will identify speakers and time-stamp every section, offering clarity to every piece of information you present.
When using a transcription service for any legal recording, make sure that the platform prizes security and accuracy. Rev, for instance, offers industry-leading accuracy and security measures that include:
- Compliance with HIPAA, CJIS, and SOC 2
- Pledge that no data is used to train LLMs or sold to 3rd parties
- Enterprise-level encryption
- File-sharing permissions
Simply put, a transcription platform (like Rev) that uses trustworthy AI features can make your video evidence easier to present in court. For instance, Rev’s “Suggested Clips” feature surfaces relevant sections of a video automatically, which helps you hone in on the things that will win your case.
3. Format, Prepare, And Test Everything
Once you’ve reviewed your video and deemed its content presentable, it’s time to ensure the video itself is functionally presentable. Meaning, it plays without issue consistently. Check your internet connection and make sure you understand how to use your chosen video platform (like Rev!) so that there are no disruptions when presenting.
While it’s common to use the cloud to play video evidence in court, make sure you have a backup “hardcopy” in the event that the internet isn’t available. Before the trial, load your video onto a flash drive or your computer just in case.
Circumvent as many issues as possible by asking tech questions of the court well in advance. Ask about recommended file formats, cables you should bring, judge preferences, and what tech will be provided.
“Video evidence needs to be shown to be genuine, unaltered, and properly handled,” said Carl Nagle, Founder and Lead Attorney at Nagle & Associates. “It is also important to understand how the video was created and stored, including who controls the system, how timestamps are set, and whether the file is automatically compressed or changed when exported.”
Finally, test, test, test! Make sure that your video works on multiple devices and plays without glitches or compromised quality.
4. Provide Evidence To Opposing Counsel
During discovery, you must provide opposing counsel with a copy of your video, per Federal Rules of Civil Procedure 26. A flash drive is typically the easiest way to share video evidence during discovery. Inform the judge that you did so, and detail exactly how you provided it.
Opposing counsel will have the opportunity to stipulate the video’s admissibility. If they deny it, you’ll need to introduce your video evidence through the witness. But more on that later.
5. Submit Your Evidence As An Exhibit
When submitting video evidence, follow the same process and procedures as with any other evidence. You first have to clearly state whether the evidence is electronic, physical, or both. As with any evidence, your video exhibit must be relevant, not confusing or misleading, not contain privileged information, and must be free of hearsay.
If your video evidence meets court requirements, submit it to the court clerk, who will mark the storage device containing the video with an exhibit number.
6. Prepare Foundational Questions And Prep Witnesses
Make sure you review the video with your witness so you are both on the same page (remember: you can prep witnesses, but you can’t coach them). If opposing counsel refuses to stipulate the video’s admission, you’ll need to prepare foundational questions so that you can introduce the video via witness testimony.
If the evidence is digital-only, the witness must sometimes “authenticate” it, meaning that they provide sworn testimony that what they saw accurately represents what it’s supposed to be. This doesn’t always happen, though. And in some cases, the evidence is self-authenticating, such as a public record.
In court, you’ll have to have the witness identify the evidence, and you’ll possibly need to lay the foundation for admission. Typical identification questions can be along the lines of:
“You’re about to see a video labeled 'Exhibit 1’.”
“Have you seen this before?”
“If so, please describe it.”
“How do you know this information?”
Your foundational questions will be different in every case and for every piece of evidence. Personal injury cases require different foundational questions than criminal cases, for example.
No matter the case, your foundational questions lay the groundwork for why the video is relevant to the case in the event that opposing counsel disagrees. General questions might be similar to the following:
“Were you present when Mr. Smith’s car ran the stoplight?”
“What were you doing when it happened?”
“Why were you recording the incident?”
“Does your recording show the incident in full?”
Rehearse these questions with your witness and how they’ll respond so there are no surprises for either of you.
7. Establish Chain Of Custody
Chain of custody can become a weak point for your case; if opposing counsel can question your chain of custody, they will. Make sure you can prove a proper digital chain of custody that includes chronological documentation of who has received, seen, accessed, and handled your file. This is an important method of authentication for your evidence, but keep in mind that it’s not always a factor, and only applies in certain situations and states.

During Court — Presentation & Explanation
Once you’re in the courtroom with your video or documentary evidence, there’s more to it than simply hitting “play” and letting the video roll. You have to properly introduce and authenticate the video, and may even need to lay the foundation for admission. Here are the steps on how to present video evidence in the middle of court:
1. Lay the Foundation for Your Evidence
If opposing counsel opposed your evidence’s admission during discovery, you’ll have to lay the foundation in court by asking your witness your prepared questions.
After laying the foundation, formally ask the judge to admit the video into evidence. Opposing counsel will have an opportunity to object, but if you and your witness have proven that the video evidence is relevant, the video should be admitted as an official piece of evidence.
2. Authenticate Through Witness Testimony
This is where your witness explains that the video is real and truthful. They will explain that they have seen the video and that events are accurate, unedited, and shown in full.
You may need a digital forensics expert to verify through sworn testimony that the video hasn’t been altered any more than previously stated. In today’s world of AI-altered videos, these types of experts have become vital.
3. Present Your Video Evidence
Finally, all the work pays off. Make sure you’ve coordinated with the court staff or A/V expert so that your video is displayed in its best format. The video should be clearly displayed for the entire audience, including any remote participants (so get up to speed with screen-sharing capabilities before you step into the courtroom).
Keep in mind, it’s also important to show the video exactly as you intend it to be seen. If your video evidence leaves any doubt in the minds of the judge or jury due to unclear audio or missing context, your entire case could be at risk.
Videos that include subtitles, closed captions, or a synced transcript can go a long way in providing the clarity that the jury will need to make an informed decision.
Video Evidence Rules & Regulations To Know
Every jurisdiction has different rules for determining the admissibility of evidence. Before submitting video evidence, it’s important to know not just how to submit video evidence in court, but in the specific jurisdiction hosting the case.
Broadly speaking, though, there are a few general rules that courts use to authenticate video evidence. Relevance to the case, reliability of the source, and whether the video meets the criteria of “silent witness” are always considerations, but it’s best to talk to court officials to know for sure what you need to adhere to.
Other legal concerns that can vary from jurisdiction to jurisdiction include:
- Consent. Recording a video in a public space is generally legal, as lower privacy is a reasonable expectation. In private spaces, the law is different, and failure to acquire consent from subjects can cause the video to be inadmissible. Some jurisdictions, like Minnesota, have “one-party” consent laws, meaning that only one person in a recording has to consent for it to be legal, while others require “all-party” consent.
- Privacy. Recording someone when they have reasonable expectations of privacy is illegal in some jurisdictions. Each state has its own specific laws about recording people.
The Power Of Video Evidence
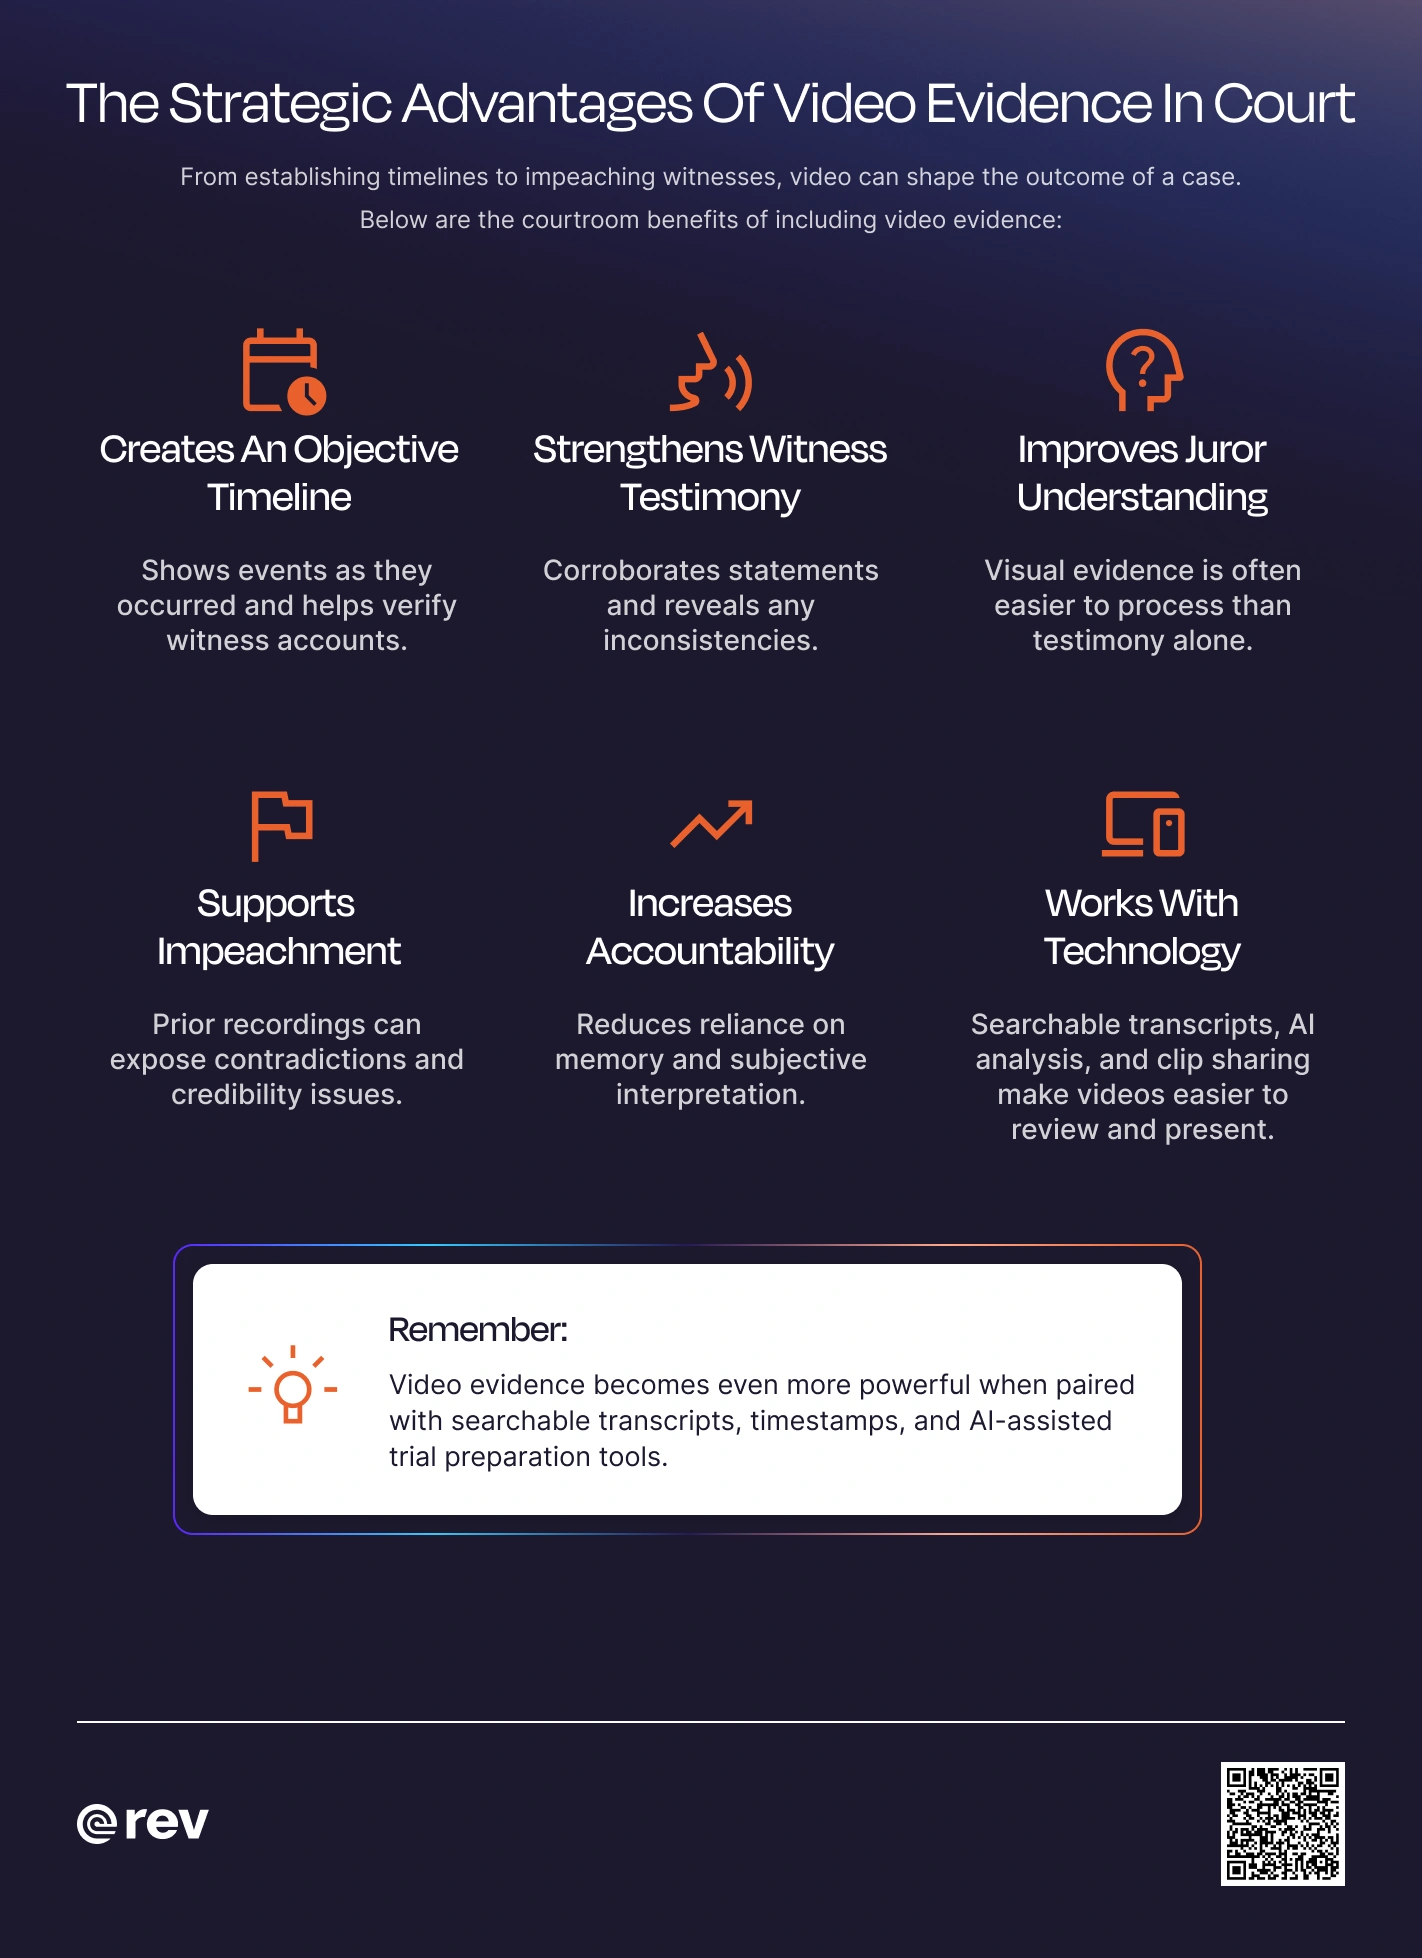
Video evidence is essentially a silent witness. It can either stand on its own, verify, or even debunk other witness testimony.
Specifically, video evidence can:
- Present an objective timeline. Witness testimony can vary from account to account, and piecing it all together can be confusing for a jury or judge. When there’s un-doctored video evidence to verify, disprove, or tie together witness accounts, the sequence of events becomes much clearer.
- Offer accountability. Video evidence takes opinion and interpretation of events out of the equation, which means people are held more accountable for their actions. It’s possible to argue what is captured on video, but it’s much harder than arguing an eyewitness account, which can be subject to bias and memory.
- Create transparency. Video accounts eliminate the guesswork. If people know they’re on video, they're more likely to be forthright with their accounts of events.
In addition to being a concrete record of events, video evidence can be powerful in several other subtle, practical ways, too. An accurate transcription of video evidence can be used to create effective opening and closing statements (with Rev, you can interrogate your evidence and documents directly in the platform). Printed stills of the video can be used as part of other exhibits. Heck, clear video can help a legal team build an entire case!
Digital Evidence Technology Changing Modern Courtrooms
The rise of digital courtrooms has changed the legal landscape forever, making technology a regular and expected part of the court experience. For example, attorneys need to know how to present email evidence in court, conduct thorough e-discovery, work with remote witnesses, navigate multiple media formats, and operate the tech that can display it all.
Luckily, there are plenty of tech platforms that can help attorneys work efficiently in modern courtrooms. Here are just a few of them.
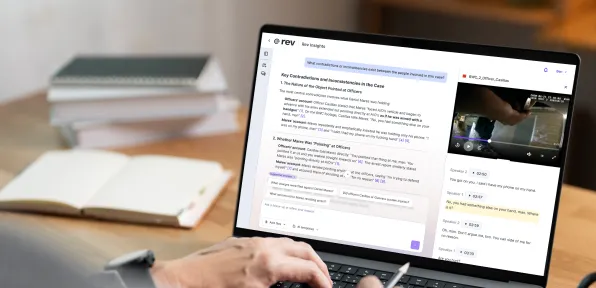
- Rev. Rev’s transcription and AI analysis software can convert any video or audio recording into searchable, shareable text. Long hours of courtroom activities can be instantly summarized with highlights and relevant data pulled out for ease of use. Rev can also analyze your entire case, including PDFs, audio files, and other documents.
- TrialPad. With TrialPad, Lawyers can highlight, callout, annotate, and display exhibits as they’re displayed in court.
- Trial Director. For robust or comprehensive cases, Trial Director is a great presentation tool. Attorneys can easily combine several media formats into a single presentation, including video, images, PDFs, and even spreadsheets and Google Docs.
- Thomson Reuters Case Center. Case Center is a presentation tool built specifically for presenting bundles of digital documents in court.
Rev Makes Video Evidence Easy To Present
If you’re wondering how to present video evidence in court and looking for all-encompassing tech to make the job easier, look no further than Rev. Rev’s comprehensive investigative intelligence and legal transcription software is a perfect support system for any video evidence presentation.