How to Edit Videos Using Transcription
Edit your project with a video transcription to search, find, and timecode the best quotes to add to your video paper edit template for your documentary.

For documentaries, testimonials, and more.
If you’re editing videos that contain interviews, conversations, presentations, or testimonials—you’re working with a lot of audio with spoken dialogue. It is difficult to keep track of “when who said what” while scrubbing through your footage over and over to find the best clip. With video transcription, however, you can quickly find what you’re looking for to tell the story.
What is video transcription?
Video transcription is the process of converting spoken dialogue in your video to text. This process involves listening to the video playback to transcribe and timestamp what is being said into a digital document that is easy to read and search through.
A good video transcript is professionally formatted and includes the following:
- Video/audio filename
- Multiple speakers labeled
- Timestamps
- Punctuation, spelling, and grammar
How do I transcribe my video footage?
While you might consider using an automated transcription service for low-budget video editing, you’ll want to use human transcriptionists to provide the best accuracy for a feature documentary, news story, or research project.
You could transcribe all the video files yourself which could take countless hours away from other things you could be working on in the post-production process. We recommend that you use a transcription service for your post-production needs.
Get a Transcript for Your Video
Outsourcing the transcription process will help you save time, money, and headaches. Plus, it allows you time to do other things:
- Familiarize yourself with the footage
- Assemble your best clips of b-roll footage
- Film more footage or interviews
- Go home at a decent hour
Why should I use transcripts when editing videos?
Transcripts are essential when editing videos with unscripted dialogue. Rather than searching for quotes and keywords by scrubbing through your footage, it’s best to have a text document on-hand to search through to help your editing workflow.
Use a video transcription service on your project to unlock the following benefits:
- Speed up the editing process
- Make cutting more efficient and focused
- Find quotes and best phrasing faster
- Have timecodes to show you where to split clips
How to Edit Videos With Transcripts
Editing videos with natural human discourse requires you to get creative on how to effectively tell your story in a reasonable amount of time. We recommend you edit these videos with a transcript handy to make finding quotes faster. Additionally, you can use transcripts to make a paper edit that you can follow along in the cutting room. Here are the five steps on how to edit videos with transcription:
1. Transcribe Your Video Footage to Text
The first step to editing your videos with a transcript is to, well, get a transcript of your video content. We’ve discussed why you should offload this process to a transcription service provider, so we’re not going to bother with outlining how to do this laborious process yourself.
This process can take the amateur filmmaker days to do, but a professional transcriptionist can usually get you a nearly-perfect transcript with 99% accuracy in hours to under a day, depending on the length and complexity of the audio content.
You can order a video transcription service from Rev with features like timecodes, verbatim, and rush services.
PRO TIP: Order your transcript with timecodes so that you can pinpoint where to split clips within your footage.
Get a Transcript for Your Video
2. Organize Your Transcripts
For the type-A editor, this step might come across as an obvious one. However, we think it’s important to point out the various ways you might access, search, and comment on your completed audio transcripts.
Method 1: Rev’s Transcript Editor and Folders
The first option is to open your transcriptions in Rev’s transcript editor. You can also save multiple files within folders and share them amongst your post-production team for easy access. Note you must be a subscriber to use the editor.
PRO TIP: We highly recommend using our transcript editor first so that any initial edits you make will be saved in the account and ready for any subsequent export. Plus, it’s easy to share and collaborate with your team!
Method 2: Docs in a Cloud Drive
The second option is to download your transcripts as Word documents and upload them to a cloud storage service like Google Drive or Microsoft OneDrive.
PRO TIP: Use a Zapier integration with Rev to automatically send your transcript files to Google Drive, Dropbox, and other cloud storage services.
Method 3: Local files
While we especially recommend the first or second option for post-production teams, you can always just download the text documents and use them locally on your hard drive. If you plan on sharing or collaborating with other team members, we’d recommend not to do this locally on your computer.
3. Search Through Your Transcripts
Now that you have all your transcript files stored and ready to access, it’s time to start looking through them to pick the best stuff to use in your project.
Find quotes and keywords
Use the find function within your transcript document and search for a quote or a key term that aligns with a theme or part of the story you want to tell. Highlight these lines or copy and paste them to a new document of select quotes.
PRO TIP: When you find great quotes or phrases, keep these around for your marketing and distribution. They might help with the creative, advertising, and social media posts.
Identify the best phrasing
It’s possible your speaker may have repeated, corrected, or reiterated something they said previously. Use the transcript to quickly pinpoint the best take.
Note timecodes
Not all timecodes may be exact or available word-for-word, but it’s important to jot down the filename and timecode for every bit that you plan on using from your transcript. This will help you quickly find the exact place where to grab your clip during the cutting phase.
Copy and paste into a new “selects” doc
While you can rely on comments, highlighting, or bolding important parts of your transcripts, it doesn’t help cut down the amount of text you have to scroll through in a long transcript.
To be even more effective, copy the filename, timecode, speaker name, and quote and paste it into a new document to contain all your “selects”. These quotes can later be organized and moved around in a paper edit to start shaping your story.
PRO TIP: If you’re working in the transcript editor, you can quickly make a selects doc by exporting only highlighted sections in the transcript.
Get a Transcript for Your Video
4. Make a Paper Edit With Your Transcript
With all of your select quotes and phrases in a document, you can begin to assemble these elements into a digital (or printed) paper edit. A basic paper edit can be approached in several forms or phases:
- Compile quotes into main ideas or themes
- Create a timeline of events
- Note b-roll footage or music you might use
- Make a detailed shot list
In your shot list, you can designate two columns; one for visuals and one for audio. You’ll likely want to start assembling your select quotes and phrases into the audio column. The video column notes will vary depending on what you’re thinking of showing while the dialogue is being spoken. It could simply be the footage of your speaker, or a montage of b-roll clips you have in mind for that segment.
VisualsAudioStill image of the movie poster.[00:00:00] Making a documentary just felt like the best way to deliver this information.CU: Subject 1[00:00:30] It wasn’t easy making this film. It took hours of interviews and research.Pan across a stack of papersIntense music increases.
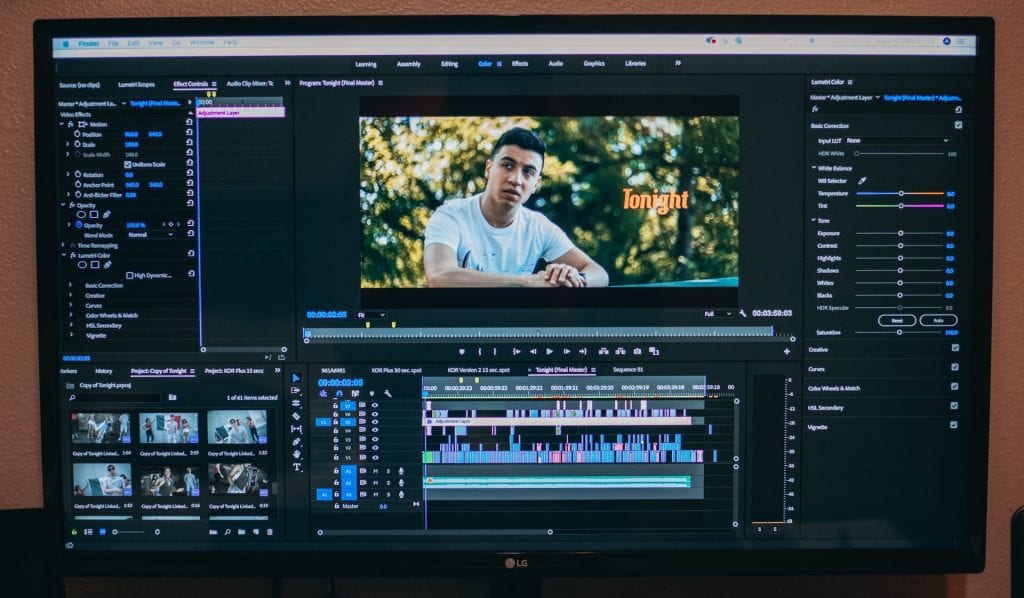
5. Cut Your Video With the Paper Edit
Now that you’ve got a paper edit ready to go, you can start cutting your video footage. Open your project in a video editing software like Adobe Premiere Pro. If you’re the video editor, be sure to have the transcript open in another window.
Use timecodes to split clips
Go to the video sequence at the timecode you specified for that perfect quote, and split the segment at the front and back end of the select clip.
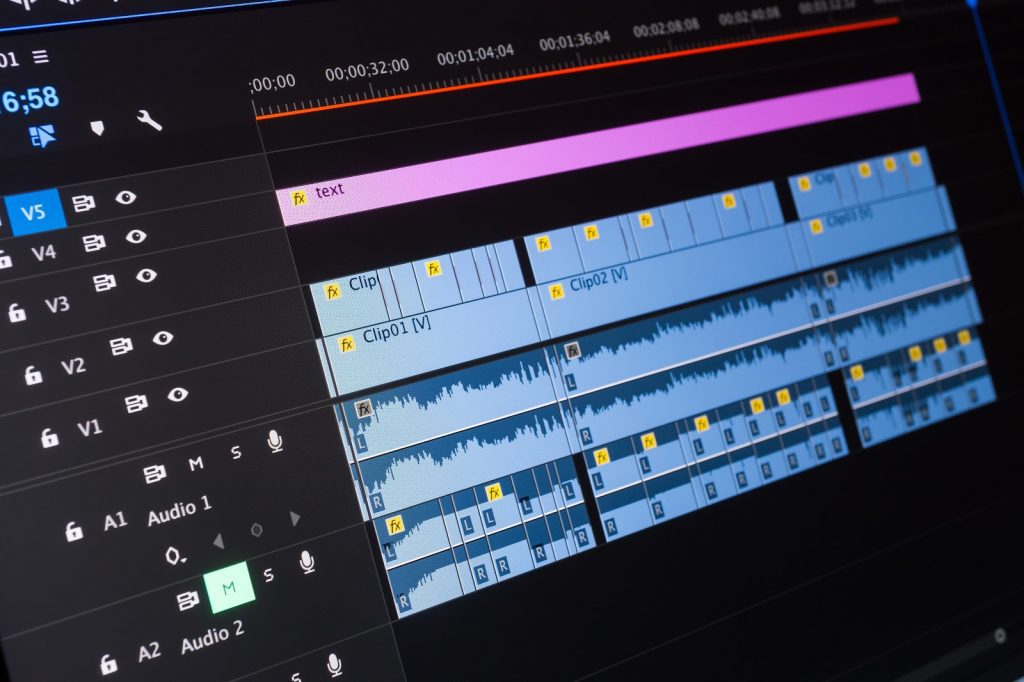
Create a new assembly sequence
Copy and paste the audio/video you split from your footage into an assembly sequence. If you split your paper edit into main ideas, themes, or specific timeline events, you can make separate assembly sequences for each of those to keep your project organized.
Turn your assembly into a rough cut
With all your clips compiled and (somewhat) organized, you now have an assembly sequence to work with and fine-tune. Review your assembly and start making tweaks. See if you’re missing any key details, ideas, speakers, or identifiers. If you feel like you’re missing something, refer back to your transcripts to see what you can find to fill in the gaps.
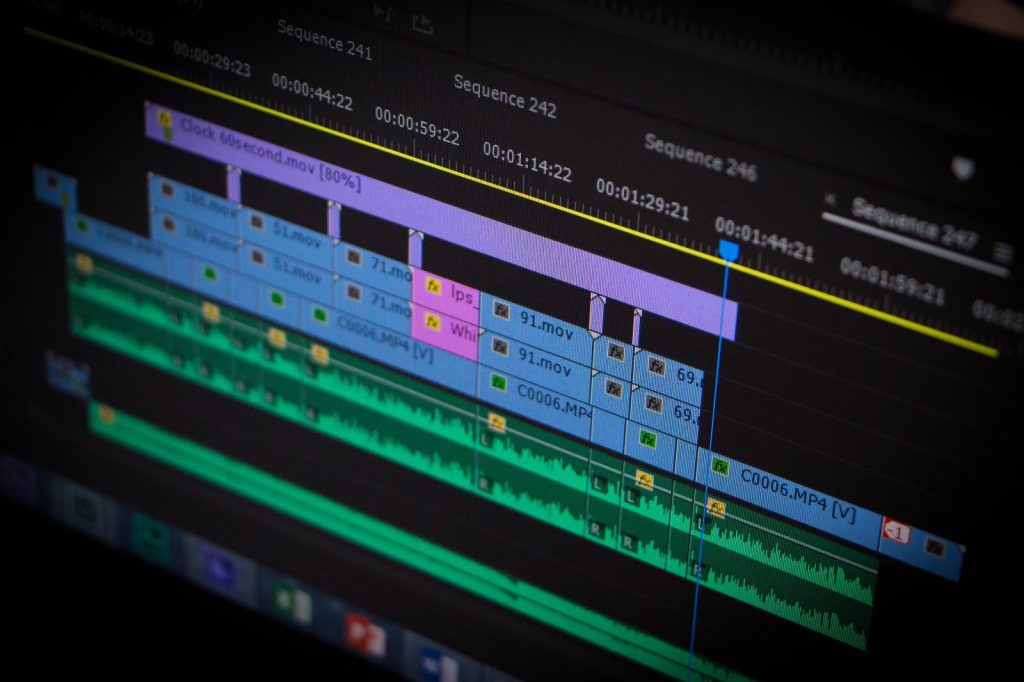
Start pulling in your b-roll footage and apply simple transitions and cuts between clips. Do your creative magic to turn your assembly into a rough cut, to a fine cut, to a pic lock, to a final cut.
PRO TIP: When you’re in the picture lock and final cut stage, consider using closed-captioning and foreign subtitle services to create closed captions and subtitles before publishing or distribution.