How to Deliver TV Broadcast Captioning To YouTube
This comprehensive guide will walk you through all the steps needed to deliver TV broadcast captioning to YouTube.

YouTube is one of the biggest video sharing platforms in the world. Every single day, hundreds of hours of content is viewed. This also means that there is no shortage of competition. Adding captions to your content is a great way to make it more accessible to a wider audience and to set yourself apart from others. Furthermore, captions allow your audience to enjoy your content anywhere no matter how loud or quiet the environment is.
The idea of captioning hours of content is incredibly daunting but it doesn’t have to be. You can quickly download accurate caption files from Rev and save yourself the hassle. This comprehensive guide will walk you through all the steps needed to deliver TV broadcast captioning to YouTube.
What Caption File Formats Are Supported?
Prior to March 2012, YouTube only supported basic closed caption file formats such as SubRip (.SRT). These caption file formats, although easily used and created, allowed only very limited styling. Furthermore, these formats did not recognize special characters.
Following new FCC rules regarding internet broadcasts, YouTube introduced support for broadcast ready caption file formats such as Scenarist (.SCC). These formats can preserve the caption styling and placement from the original broadcast.
Other caption file formats supported by YouTube include Spruce STL (.STL), QuickTime (.TXT), W3C Timed Text/DFXP/TTML (.XML) and WebVTT (.VTT).
Why Choose .SCC Over .SRT?
.SRT is one of the most widely used CC file formats. This is because it is highly compatible with most video sharing platforms and one can easily make .SRT files independently.
However, .SCC is a broadcast-ready CC file format and will preserve its original styling and positioning. This is important for maintaining the same level of accessibility as the original TV broadcast. For example, it is common to italicize captions in order to indicate the presence of a narrator or off-screen speaker. Additionally, it is popular to place captions near a character to indicate who is speaking what during a conversation. The original captions may also be moved as the video progresses in order to ensure that on-screen text or visual plot points are not obscured. All of this styling and formatting must be preserved in the interest of the audience’s experience.
Furthermore, .SCC provides the standard CEA-708 captions used in most North American broadcast. This means that your captions will be able to comply with FCC guidelines.
Getting .SCC Caption Files
1. Go To Rev
To begin, go to Rev.com and choose our captioning service. Next select the Get Started button to reach the order page.
2. Upload Your Content
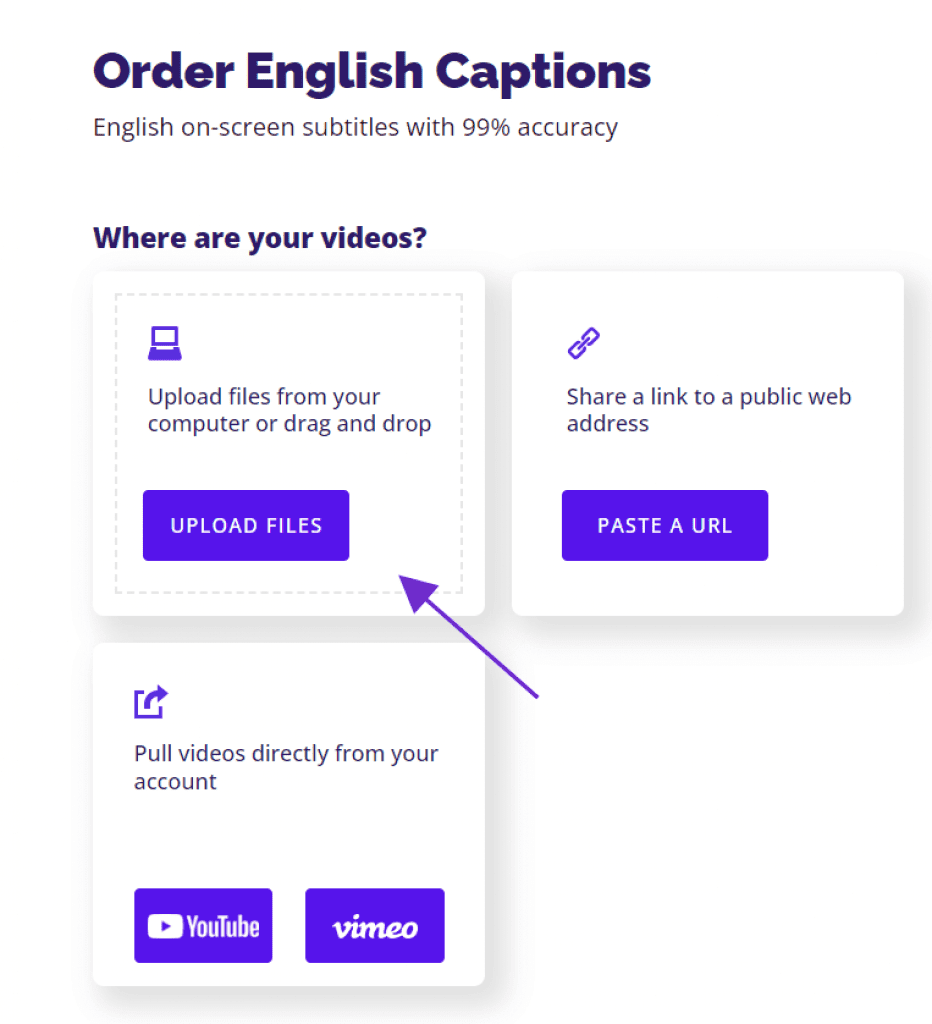
Once at the order page, upload your video from your device. You can also upload the video from an online platform, however for better SEO results you should put your video online already captioned.
3. Complete Order Details
After you have uploaded your content, choose .SSC from the Output File Format(s) drop-down menu. If necessary, check Commercial Break Detection and Add One Hour Timing Offset. You can also easily add foreign language subtitles in a range of languages to expand your audience reach.
When you have entered all the relevant details, checkout your order. Once the caption order is complete, you will receive an email notification.
4. Edit Captions
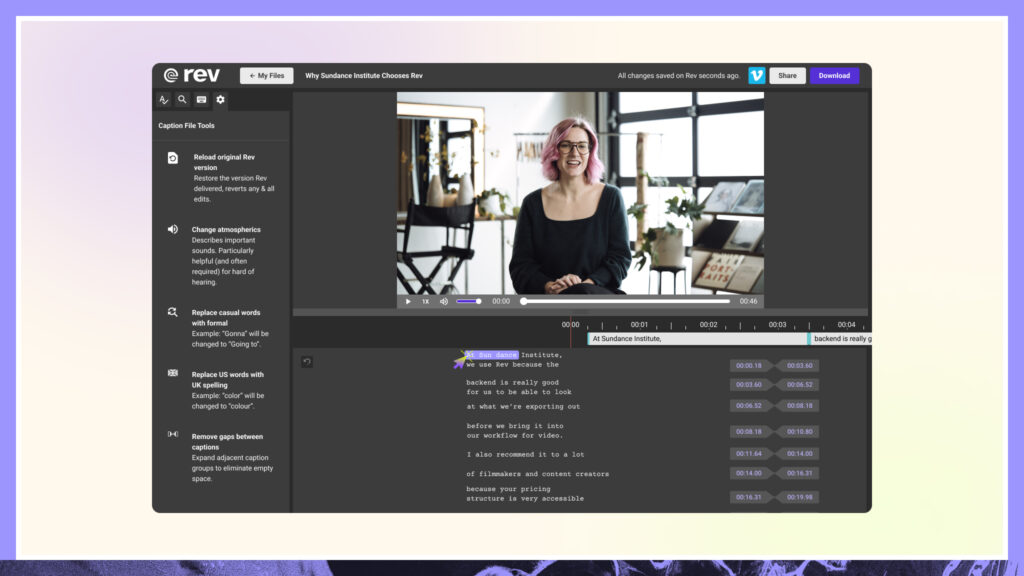
It is easy to review your captions with our caption editor. To access the editor, go your ‘My Files’ page and select the file name that you want to edit. Alternatively, click on View and Edit next to the file name on your order page, accessible through your ‘Order History’.
Click on a caption group to edit the contents of the caption. If you drag a caption group upwards, you can reposition it to the upper third of the screen. In the menu to the left of the caption editor, you have the option of editing atmospherics, replacing casual words with their formal counterparts and replacing US words with their UK spellings. You can also removing gaps from between captions. If you don’t like a change that you have made, you can reset it.
6. Download The Captions
Select Download from the upper right corner of the editor to download your caption file.
Uploading The Caption File To YouTube
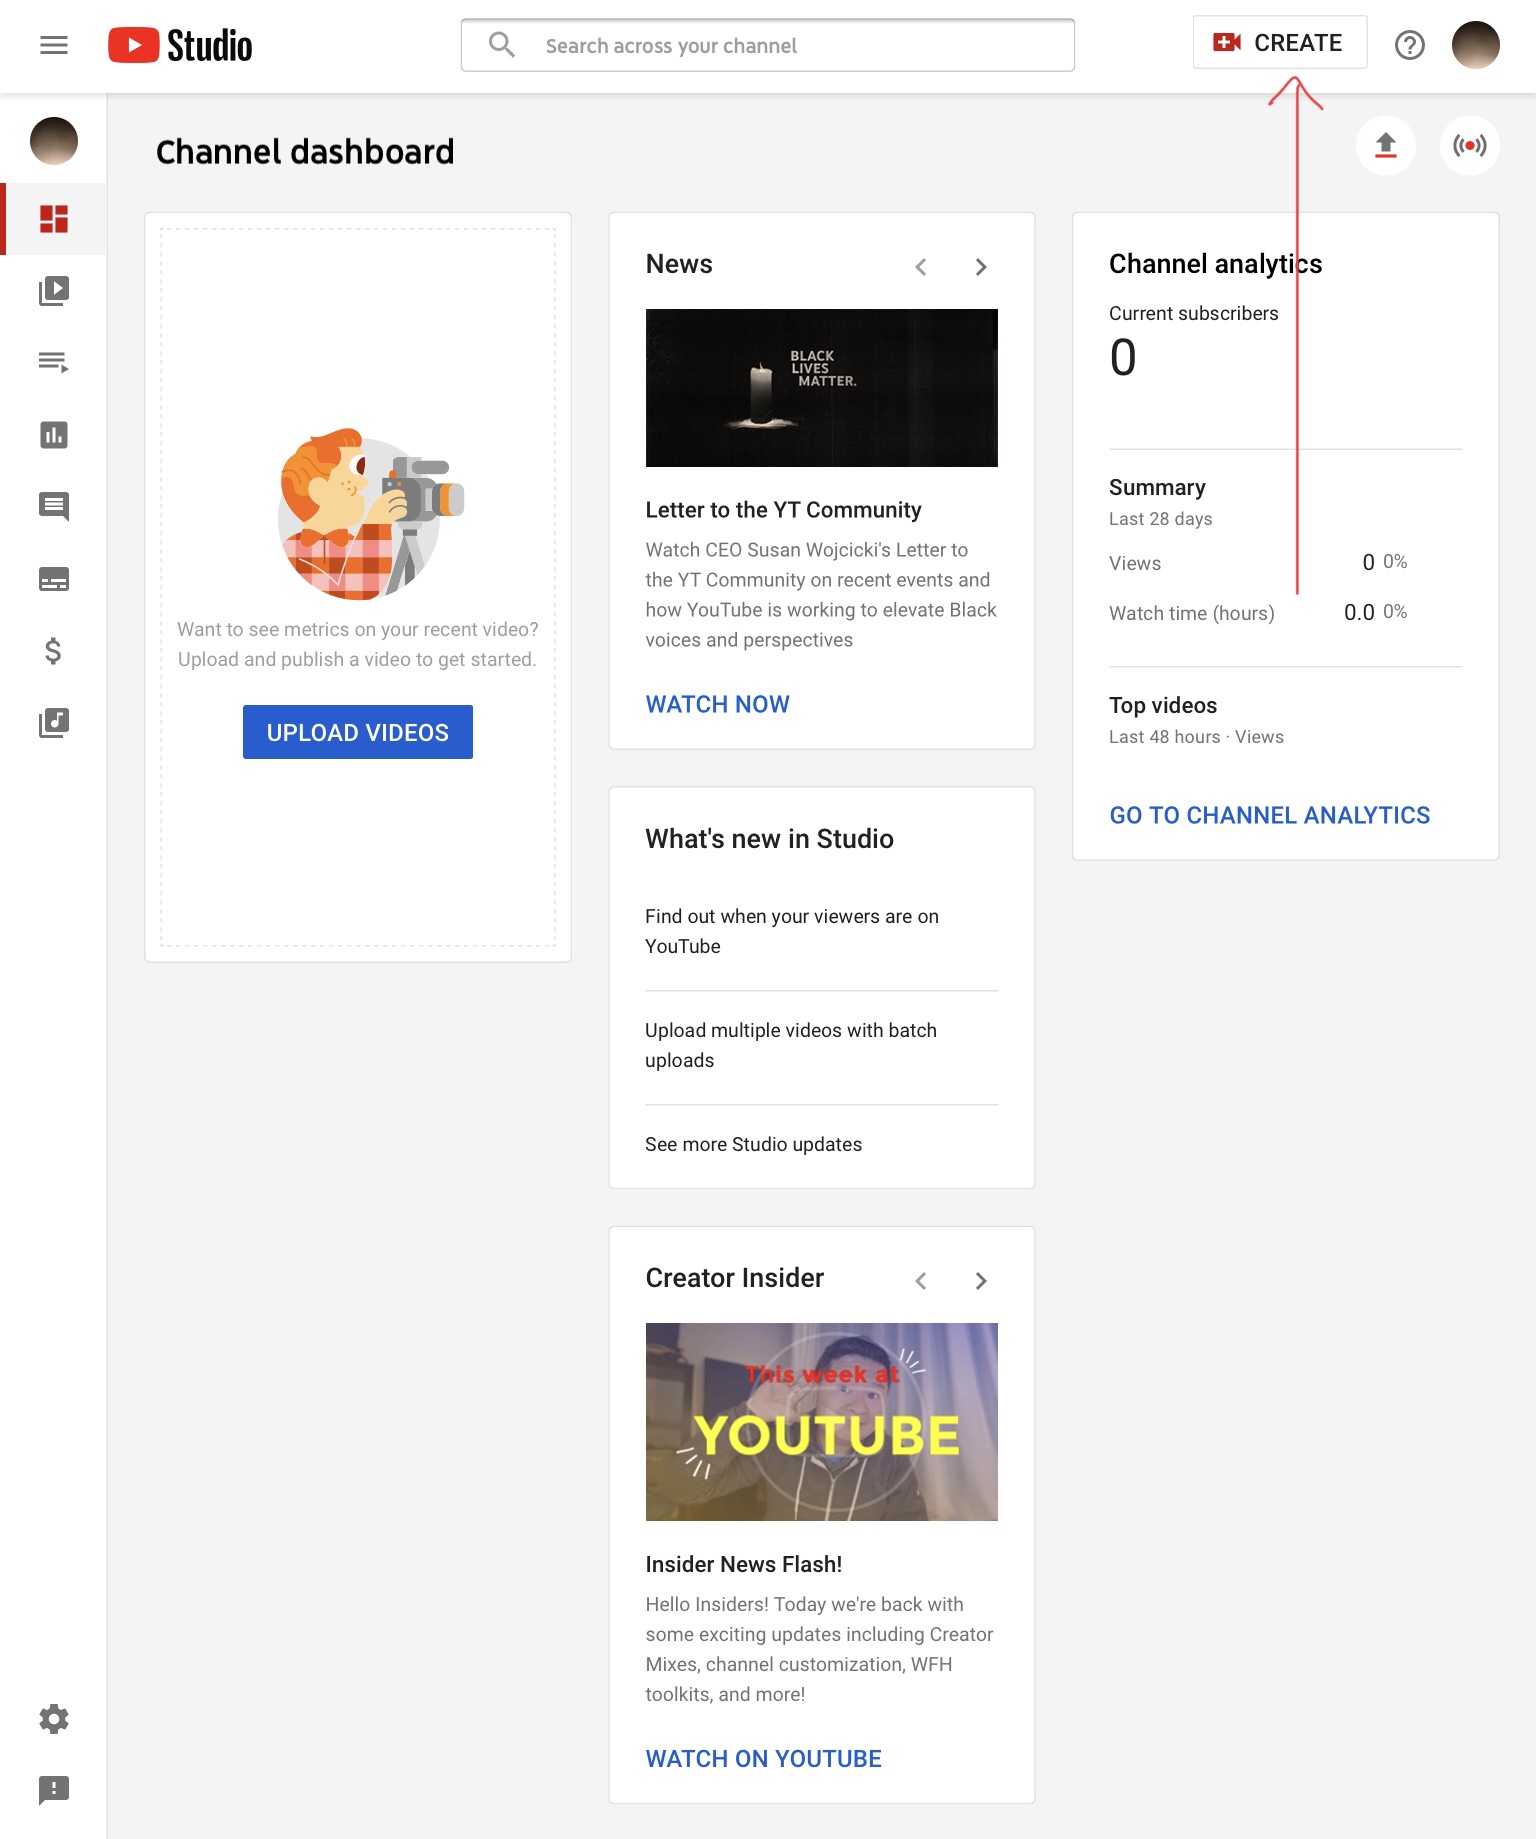
1. Go To YouTube Studio
First, go to YouTube Studio and sign in. You will then be brought to your channel dashboard.
2. Upload Your Video
In the top-right corner of the channel dashboard, click on the Create icon and then upload the video for which you have the caption file.
3. Complete The Upload Details
The upload flow will now begin. At the bottom of the ‘Details’ page, select MORE OPTIONS. A list of options will now appear. Scroll down to the section headed ‘Languages, subtitles and closed captions (CC)’.
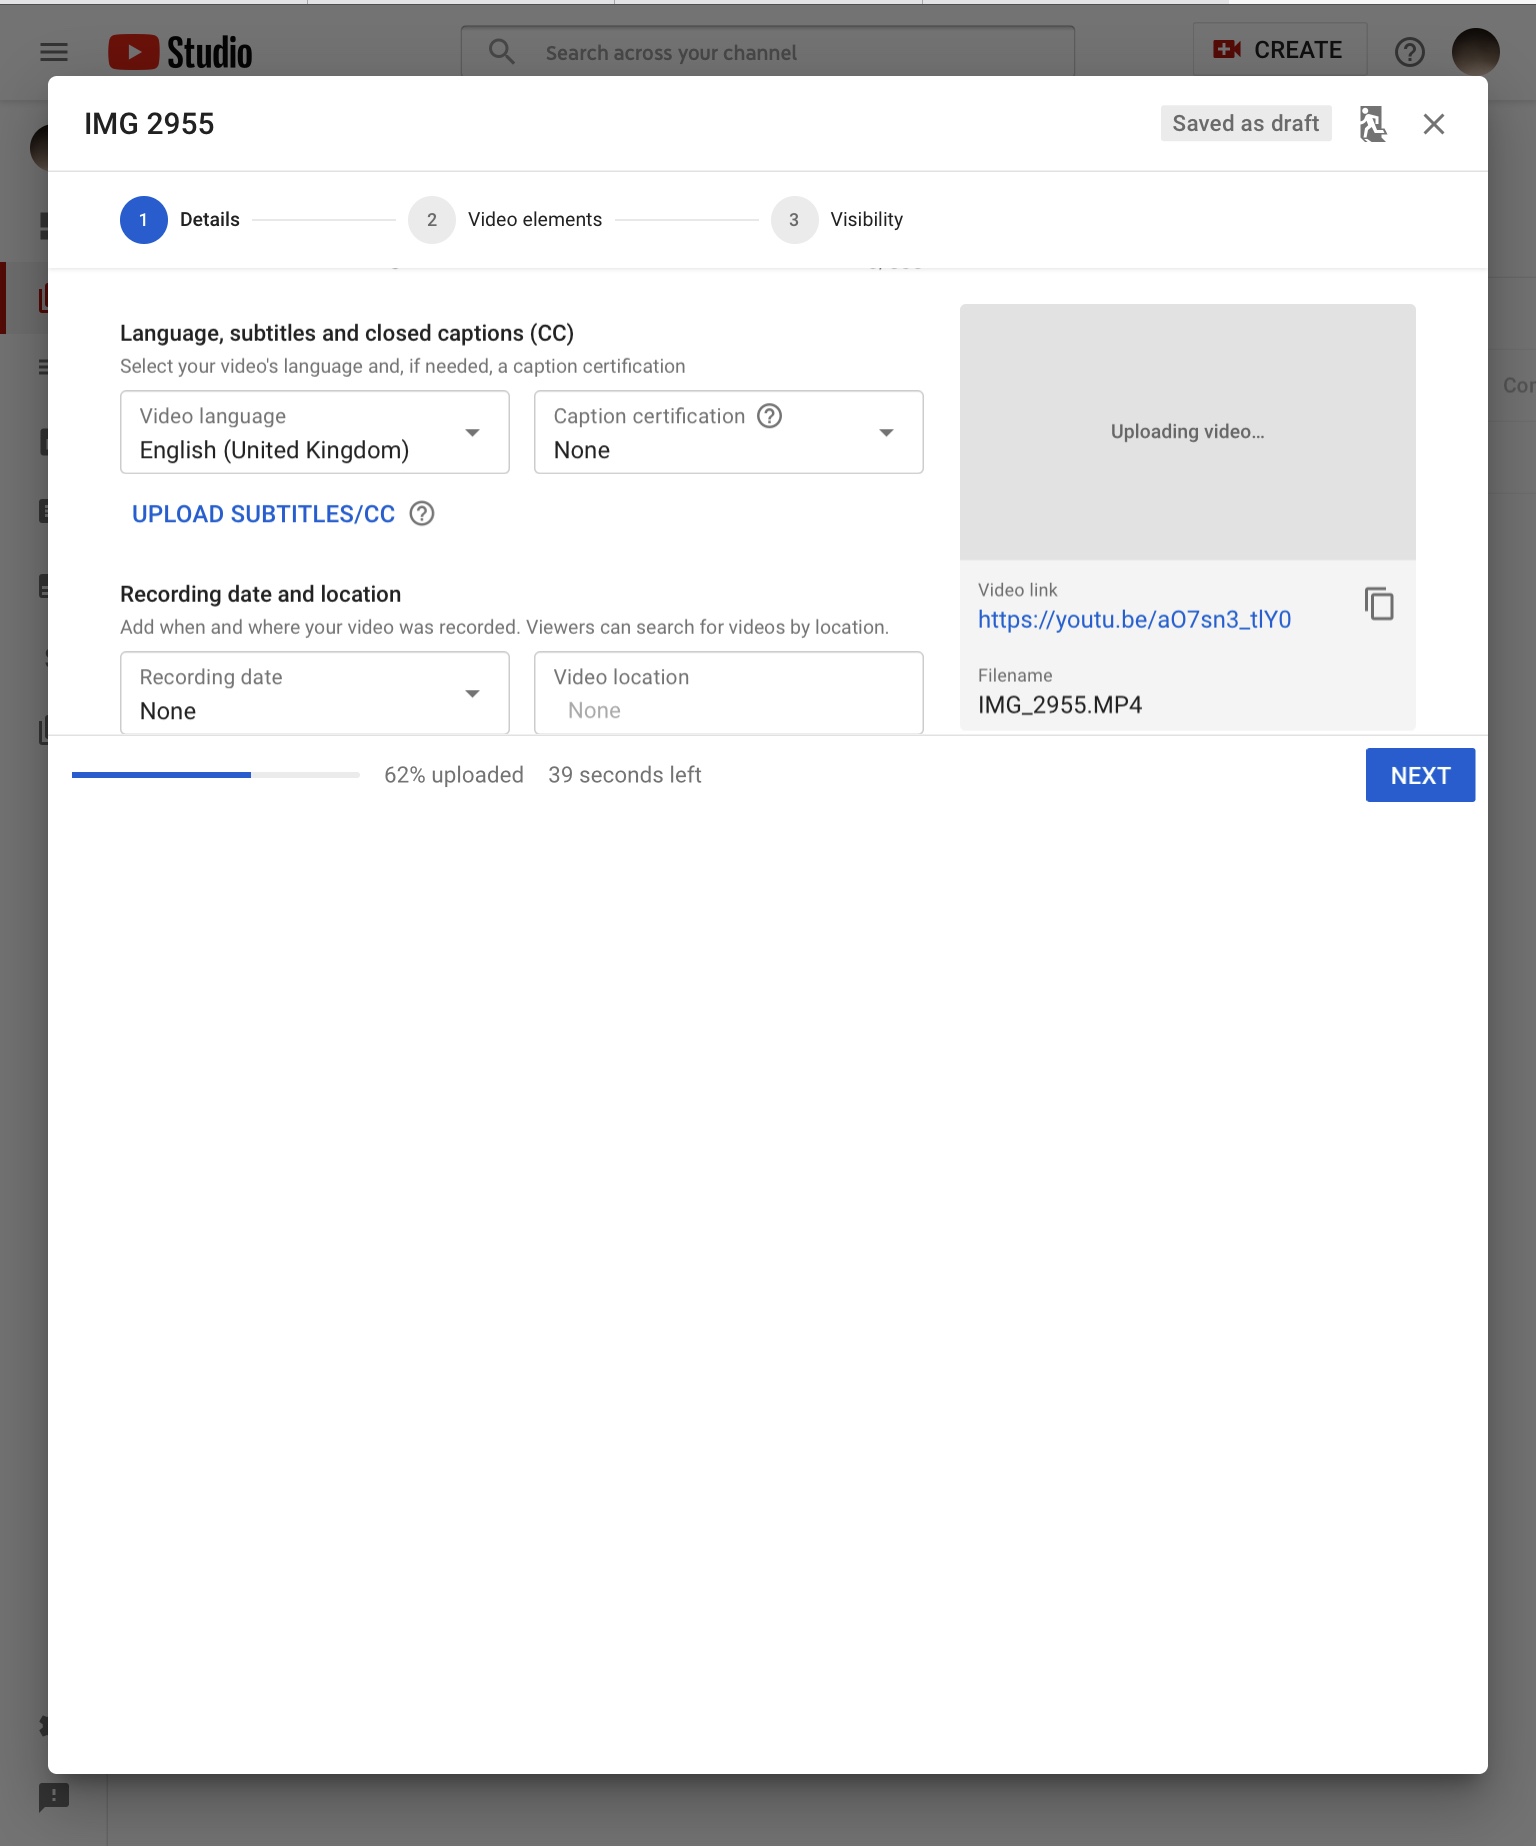
4. Complete Caption Settings
From the Video language drop-down menu, select the language that is spoken primarily in the video. This will help users find videos in their own language and users will base any translations into additional languages on the video’s primary language.
The CVAA mandates that any content uploaded online which aired on television in the US after 30th September 2012 must have captions. The law also requires that video distributors such as YouTube confirm compliance. Thus, if your video does not have captions you must select the relevant option in the Caption certification menu to let YouTube know why. However, as you will soon add your caption file, you can select None.

5. Upload Caption File
Next, click on UPLOAD SUBTITLES/CC and upload the caption file you downloaded from us. Once you have added your captions, complete the rest of the upload flow and publish your video to YouTube.
6. Uploading Captions From Rev
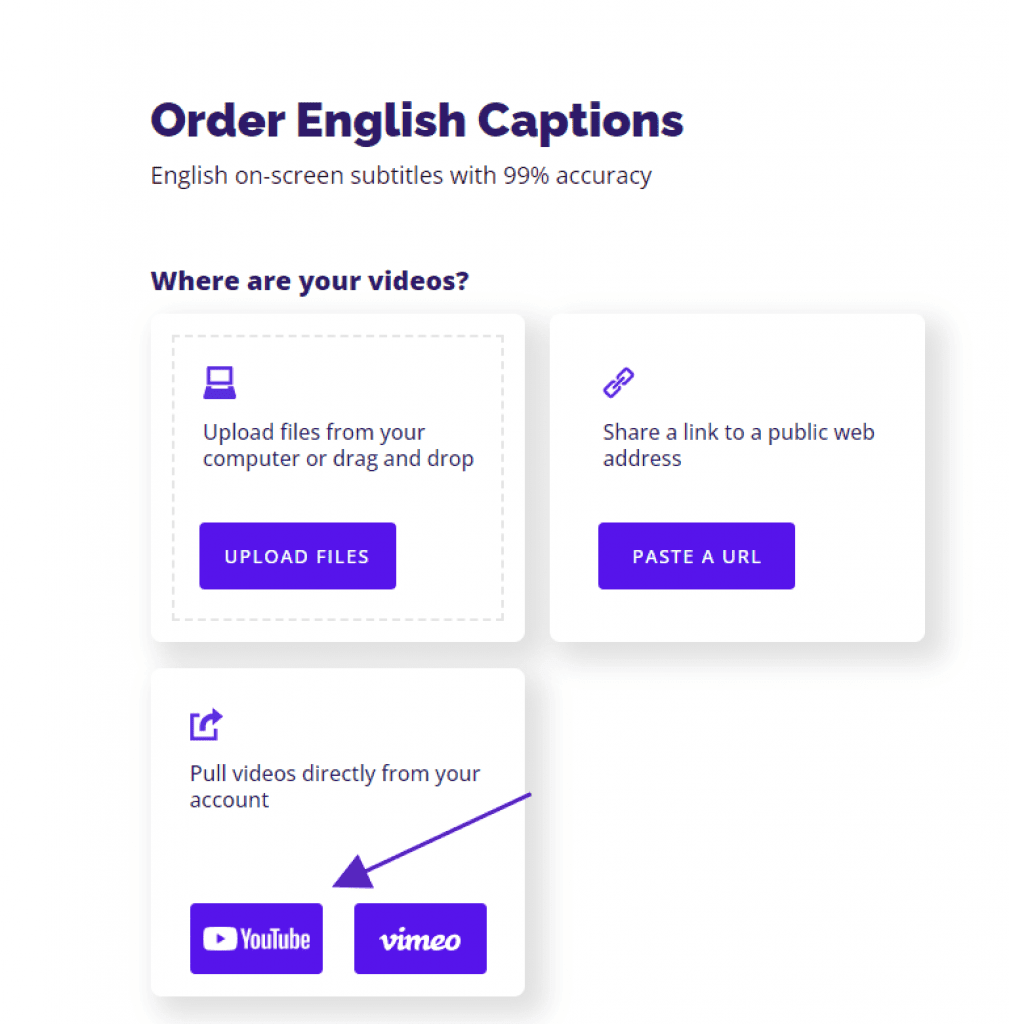
It is also possible to upload captions using the YouTube/ Rev integration. On the order page, select Pull videos directly from your account instead of uploading from your device. Next, grant us access to your YouTube account and select the video that you want captioned. Finish the checkout process as normal, checking Automatically deliver captions back to YouTubeif you want Rev to automatically re-upload the video with the captions.
Caption Workflow
You should now be able to deliver TV broadcast captioning to YouTube. Yay! Learn more about captioning for YouTube TV on our blog.
Adding broadcast-quality captions to your YouTube content is a great way to maintain its accessibility online. Additionally, It’s easier than ever to get accurate captions with Rev and you can be assured that they are FCC compliant.