


How to Add Captions and Subtitles in iMovie
Learn how to add captions and subtitles to your videos in iMovie in 2021. These captions will render directly on your video export from iMovie.


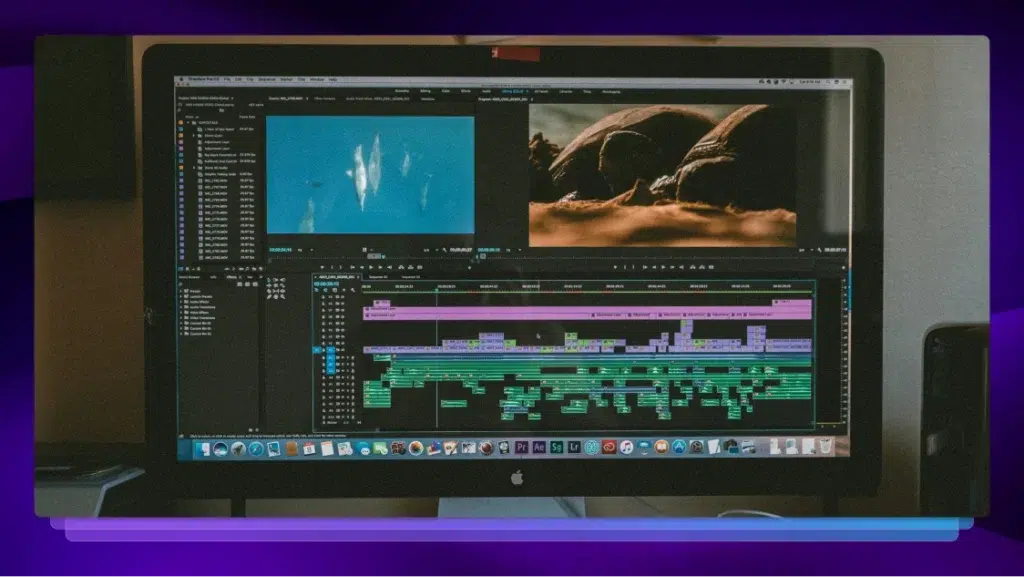
iMovie is a great program to do simple video editing on a Mac. However, it doesn’t offer an easy solution to add captions or subtitles in iMovie projects.
This guide will cover the steps to permanently add titles to iMovie videos by using an SRT file.
Do I need a captions file?
You do not necessarily need one, but for the workflow laid out in this article, we highly recommend that you have an SRT caption file to reference throughout your captioning workflow.
Rather have a professional service add captions straight to your video for you?
Rev now offers burned-in captions (open captions) if you’d rather not use an SRT file. Just check the “burned-in captions” box at checkout and you’ll receive a video with permanent, hard-coded captions added straight to your videos. Also available for foreign language subtitles!
Learn More about Burned-in Video Captions
How do I get an SRT caption file?
- Export a Quicktime file of your iMovie project to a video file on your computer.
- Order a captions file with your video export.
Can I add SRT files in iMovie?
No, you cannot import an SRT file directly into iMovie for automatic subtitles.
How to Add Subtitles to Videos in iMovie
To create burn-in subtitles (open captions) in iMovie, you will use the Titles tool to manually enter captions into your iMovie project timeline.
Have the SRT captions file open in TextEdit to easily reference the timecode for each title block to be created.
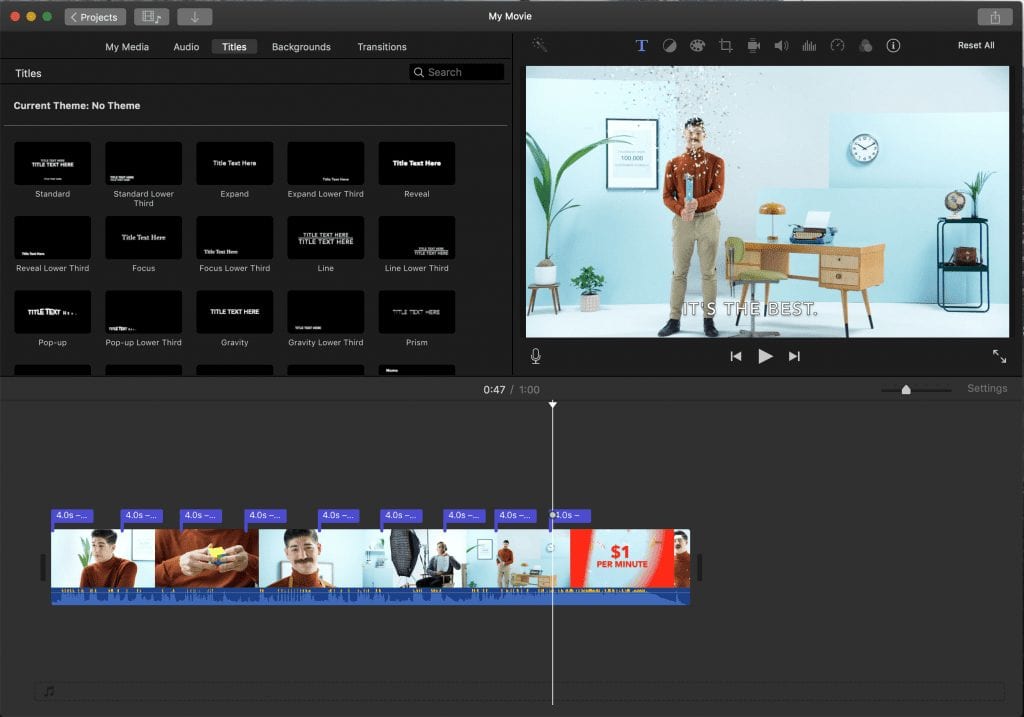
To get started, open your iMovie project and go to the Titles menu.
1. Add A ‘Standard Lower Third’ Title to the Timeline
This title will offer you the best take at an industry standard-looking subtitle.
2. Adjust the default style of the title
The default setting for the Standard Lower Third title is left-aligned, with two rows of titles: one bold, one thin.
For both rows of titles: center-align the text and match the font styles with the same font, size, boldness, and outline.
Take your time on this step to get the look and feel you want for your subtitles. It’s a tedious process to go back and change these settings later on.
In our example, we used Avenir Heavy font, 70 pt font size, bold, and outlined.
Easier Captioning Method: Burned-in Captions from Rev
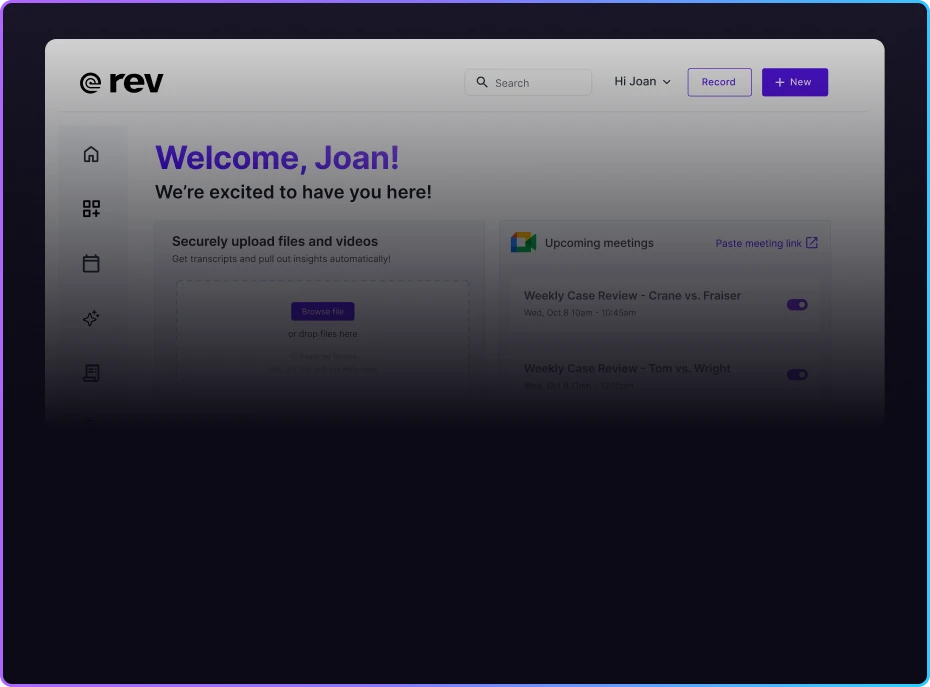
Rev now offers burned-in captions (open captions) if you’d rather not use this tedious title method in iMovie. Just go to Rev, upload your video or URL, and check the “burned-in captions” box at checkout and you’ll receive a video with permanent, hard-coded captions added straight to your videos. Also available for foreign language subtitles!
3. Enter the title text snippet from the captions file
While you could hand-type the text, we recommend you copy and paste the text that aligns with the frames you’re working on. Copy a line from TextEdit and paste it into the title block.
4. Align and trim the title to the dialogue in the audio
Drag and drop your title to the frame that begins the dialogue snippet you’re focusing on. Then, trim the end of the title to match with the end of your dialogue snippet.
To start on your next snippet, copy and paste your current title into a new part of the timeline to get started. This will help retain the same title style and keep you from having to adjust the font styles every time you create a new title.
iMovie Tip: Copy and paste iMovie titles for each new title. It retains the font style and helps you move faster.
To avoid writing over a previous title, you should move the play head to a place in the timeline where a title doesn’t currently exist.
You will repeat this process for each snippet of the captions file.
Make precise adjustments to the start and end of each title to help with the flow and ensure they align nicely with the audio in your video.
Once you’ve completed making titles for the entire project, you can move on to the next step.
5. Export your iMovie Project with Titles
Now that you’ve added all your title captions in your project, you might try playing it through a few times to check for accuracy and timing.
When your project is ready, you can now export the iMovie Project.
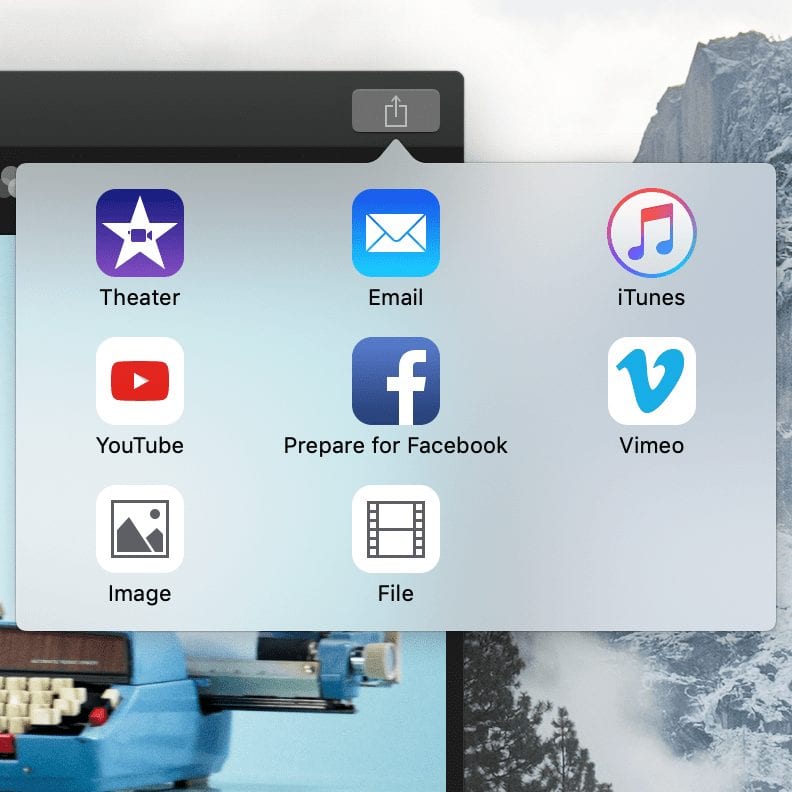
To export your iMovie project to a video file, click the Share button in the top right of the application and choose File. You can also go to File > Share > File…
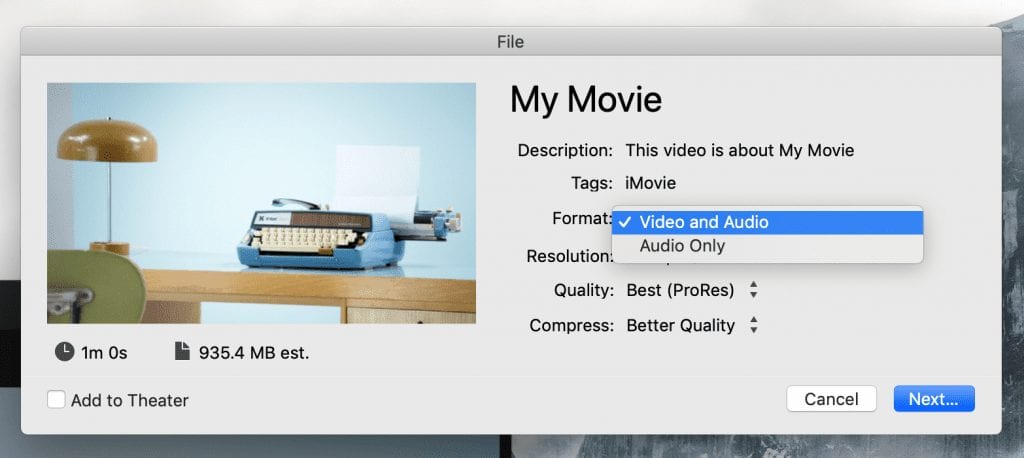
iMovie doesn’t require any special settings to export your video with open captions since they are titles that will render directly onto the video.
For best results, export at the maximum resolution, quality, and compression.

Once exported, open your movie file. You should now see all of your captions during payback!