How to Trim an Audio File Online: Step by Step Guide
Trim audio online in just a few steps. Learn how to cut MP3 and other audio files, save cleaner clips, and prep recordings for sharing or transcription.

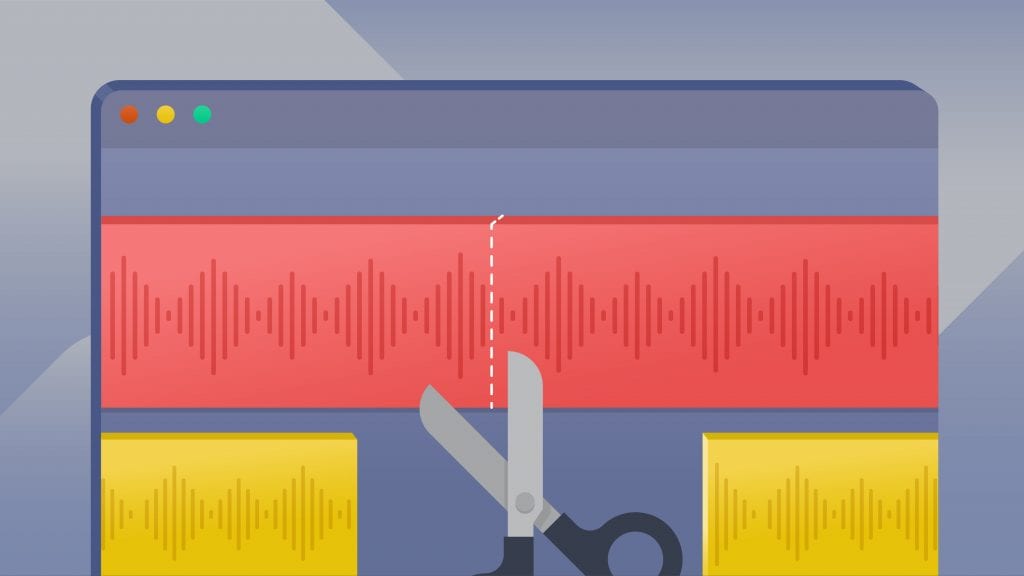
Trimming involves removing some of the audio at the start or beginning of a file. It is a very important part of the editing process. Exporting your work to an audio editing software before uploading it to Rev can be incredibly frustrating. Particularly in the case of large files, multiple exports can disrupt your workflow. Fortunately, we have unveiled our new online audio trimming tool which will make your workflow smoother. In this guide, you’ll learn how to use the audio trimming tool through a series of step by step instructions.
Rev's Audio Trimmer And Cutter
Why Might You Want to Trim an Audio File?
Being able to eliminate sections of audio from a file is extremely useful for a number of reasons. Many transcription services charge per minute of audio. Generally, most of these services do not distinguish between the audio you need and the audio you don’t. Therefore, trimming off unwanted sections will reduce costs. Not only that, removing redundant sounds from the file will greatly improve the listening experience. Deleting them is definitely a good idea, if you intend to share the audio file with others. Few people want to listen to sections of dead silence in a speech. When your speech or interview cuts straight to the point, it will be much more engaging and polished to the audience. Moreover, there are some cases where you might want just a small portion of a larger file, perhaps for a ringtone.
Picking an Audio Trimmer
With the rise of media sharing platforms, the number of audio editing software has increased dramatically. However, many of these software can be incredibly complex and engender a steep learning curve. Our beginner friendly audio cutter boasts a number of features that make it the perfect choice for trimming audio.
Due to its simple interface, using this tool is completely intuitive. A clean design with limited icons, facilitates efficiency and eliminates any potential confusion. In addition to that, the audio trimmer is entirely web based. Thus, it is unnecessary for you to install any software onto your devices thereby speeding up the whole process. Just upload your audio file and you’re good to go. Furthermore, this allows you to undertake the operation on an increased number of devices. Trim interviews or speeches on the go by opening up the audio cutter on a smartphone or tablet. This audio cutting tool also supports numerous file formats. Some compatible formats include: .mp3, .wav and even .mp4. Hence, you can upload a whole host of audio files without converting first. Most importantly, your privacy and security are guaranteed. No one else will have access to your files which means that all your sensitive materials stay safe. But best of all, this tool is absolutely free!
How to Trim Your Audio File
Now, it’s time to start trimming your audio file. Whether for a ringtone or for transcription, it’s super easy and you don’t need specialist knowledge. Follow the steps below.
1. Visit Rev's Tool
Visit Rev's Audio Trimmer & Cutter.
2. Upload a File
Once there, click on the Upload button. From your device, select the audio file that you want trimmed. After you’ve selected a file, you’ll be able to start trimming.
3. Trim the Audio File
To trim the audio file, drag either of the two vertical bars in or out. Depending on how much audio you want excluded from either end, vary which bar you move and by how much. Any audio that is highlighted appears a lighter shade and will be conserved. If you want to hear what exactly you’ve highlighted, press the play button. Doing this, will ensure you don’t accidently trim audio that you want to keep. Drag the selection area to move it across the waveform. You can also skip throughout the file in 15 second increments.
4. Download the Finished Audio File
When you are happy with your edit, press the download button. This will allow you to save the file onto your device for further use. By clicking on the trash can and then selecting Delete when prompted, you can delete the file instead. This will allow you to restart the trimming process using a new audio file.
Using the Trimmed Audio for Transcriptions
Alternatively, rather than downloading the file, you can simply transcribe the trimmed audio right in the audio cutter. If you intend to make a transcript of your trimmed audio, this can save you time by simplifying the process.
1. Transcribe the File
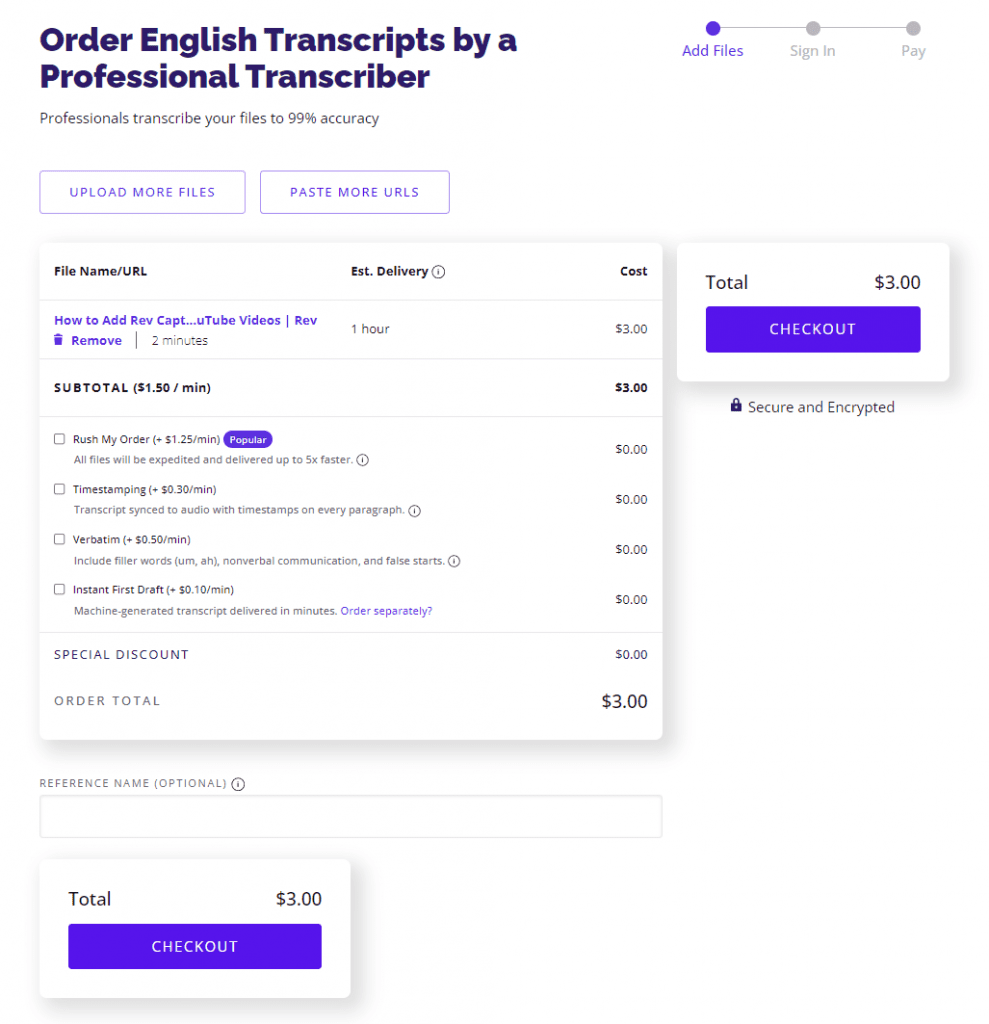
To get a transcript, click on the Transcribe button. When the file has finished processing, you will be taken to the checkout page. If this is not the case, just select the Go to cart button, to head to the checkout page.
2. Checkout Order
At the checkout page, you will be able to upload more files either from your device or by entering URLs. Next, press the Checkout button. To finish placing your order, fill in your account and payment details. Immediately after your transcript is ready, you will be notified by email.
Wrapping Up
Whew! You should now be able to trim an audio file with our online audio trimmer. Trimming audio makes it easier than ever to create engaging content and transcripts. What are you waiting for?


.webp)