•
Content & SEO Manager

Your iPhone is more than just a way to contact loved ones and scroll social media—it's also a powerful recording tool. Whether you need to capture a quick voice memo, record an important conversation, or document an interview, your iPhone has you covered with multiple recording options.
In this guide, we'll walk you through the different ways to record audio on your iPhone, compare your options, and show you what you can do with those recordings once you're done.
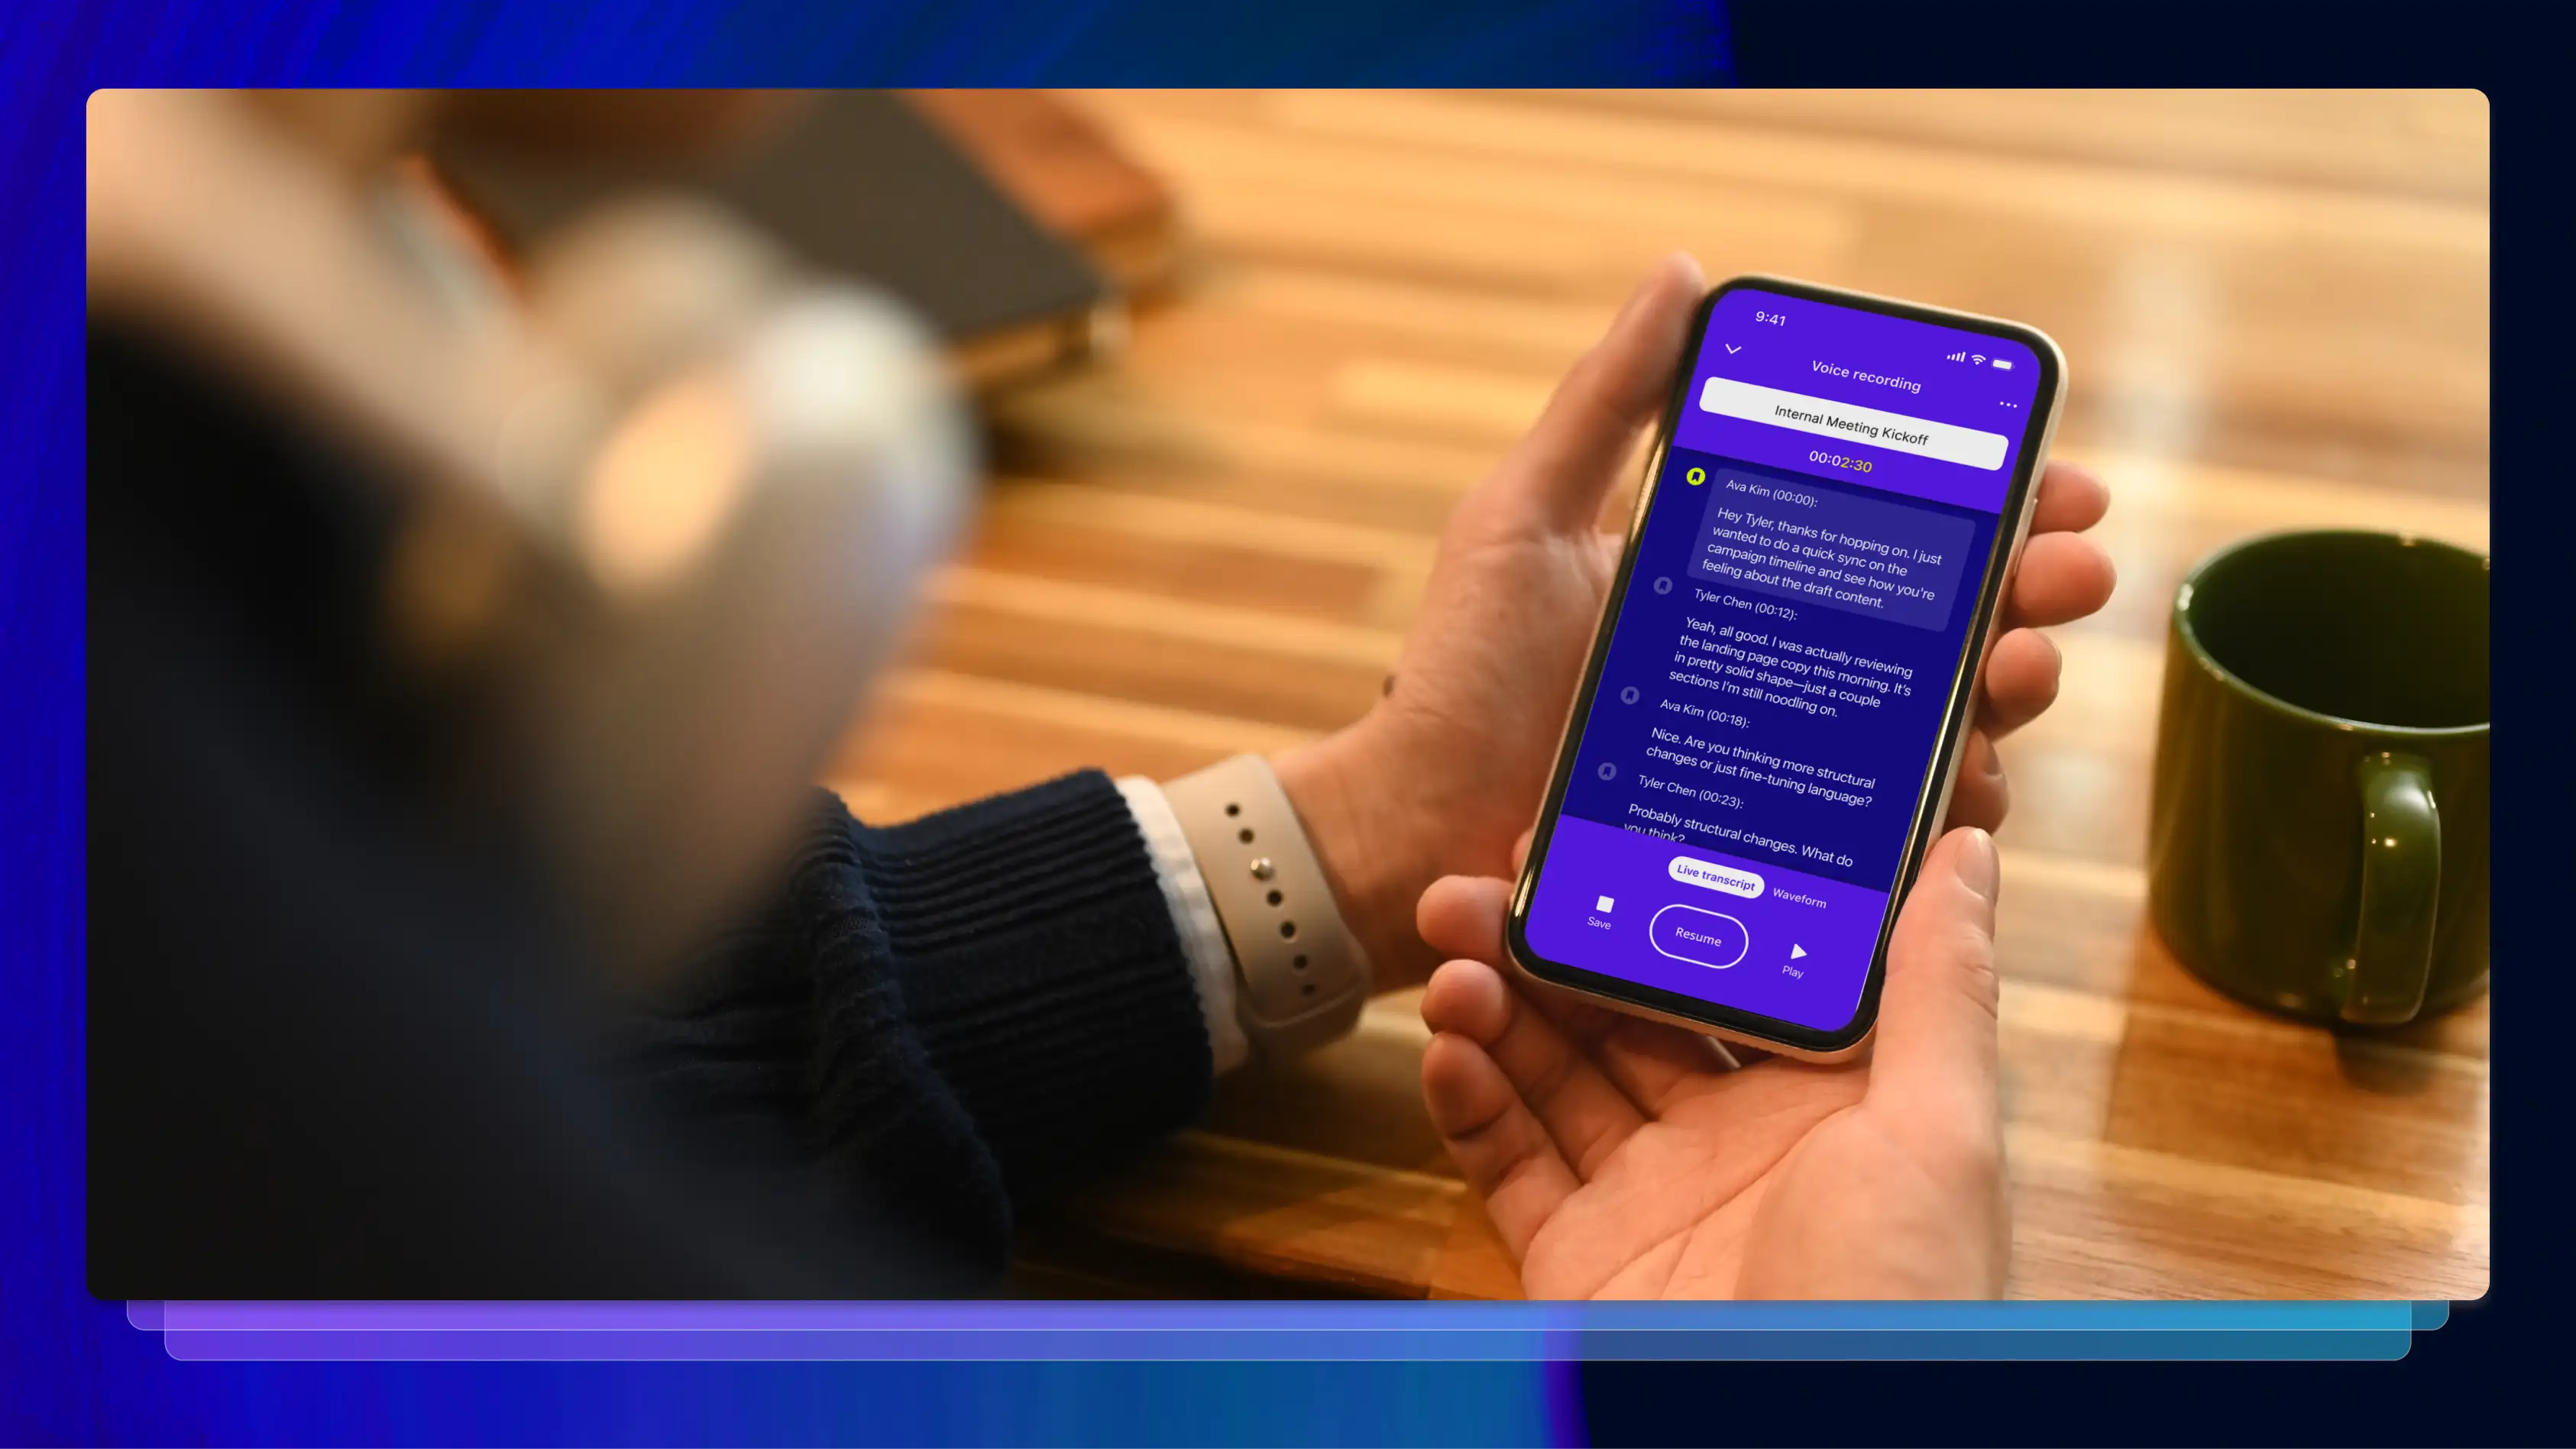
The Rev Voice Recorder app takes audio recording on your iPhone to the next level with built-in, highly accurate transcription capabilities and cloud storage.
Here's how to record audio using the Rev app:
What makes the Rev Voice Recorder app special is its seamless integration with Rev's transcription services. Once you've recorded your audio, you can order a transcript directly from the app (or on your computer) with just a few taps. All files sync automatically between your devices!
Whether you need AI services for instant results or our human offering for 99%+ accurate transcription, our app can make it happen. In addition, you can also use our AI chat feature to get verifiable answers about your transcript in seconds.
Note: Rev’s app does not record calls. It records audio through your phone's microphone for in-person or virtual interviews, notes, and meetings, not phone calls.
The Voice Memos app is Apple's built-in solution for recording audio on your iPhone. It comes pre-installed on every iOS device, making it a straightforward option for users who want to jot down notes in a quiet, calm environment.
Here's how to use the voice memo app to record audio:
The Voice Memos app works offline, stores recordings directly on your device, and offers basic editing features like trimming and replacing sections of your audio. However, the app differs in some ways based on your iPhone model. Newer devices have features such as the ability to filter out background sounds, record mono, stereo, or spatial audio, and use another app while recording.
To see if your iPhone offers these advanced features, make sure to check with the manufacturer or your iPhone user guide.
If you don't want to download another app, Rev also offers a free online voice recorder that works directly in your iPhone's web browser.
Here's how to use it:
The online voice recorder is perfect for quick recordings when you don't have the Rev app installed. It's also useful if you're working on a shared device and don't want to clutter it with additional apps.
Worried about your privacy? Don’t be. Our online voice recorder is secure, encrypted, and we do not collect your recordings or upload anything to our servers.
Both the iPhone's Voice Memos app and dedicated recording apps like Rev have their advantages and drawbacks. The best choice depends on what you plan to do with your recordings.
Voice Memos App Pros:
Voice Memos App Cons:
Rev Voice Recorder App Pros:
Rev Voice Recorder App Cons:
If you just need to capture quick voice notes or reminders, the Voice Memos app is perfectly adequate. But if you regularly need accurate transcripts of your recordings—or want cloud backup and professional-grade features—our app is worth the download.
Once you've captured your audio, you have several options for what to do next.
All three options above offer editing tools. This means you don’t have to get your recording perfect on the first try. Instead, feel free to ideate in real time and trim, rerecord, edit, or delete later.
Need to send your recording to someone else? Both apps make sharing easy. In Voice Memos, tap the three-dot menu and select "Share" to send via Messages, Mail, AirDrop, or other apps. The Rev Voice Recorder app offers similar sharing options, plus the ability to generate shareable links (with various editing access levels) for cloud-stored recordings.
Keep your recordings organized by creating folders in Voice Memos or using Rev's built-in organizational features. This is especially important if you record frequently and need to find specific audio files later.
This is where Rev really shines. If you need a written version of your audio, you can transcribe your iPhone voice memos through Rev's human transcription service.
Simply upload your file and choose your turnaround time. Rev delivers 99% accurate AI and human-verified transcripts that capture every word, making them ideal for legal proceedings, academic research, media production, and business documentation.
Don't let old recordings clutter your storage. In Voice Memos, swipe left on any recording and tap "Delete." In the Rev app, tap the three-dot menu and select "Delete."
Deleted recordings in Voice Memos go to a "Recently Deleted" folder first, where they stay for 30 days before permanent deletion. In the Rev app, files cannot be recovered once deleted, so make sure you really don’t need the file before you press that button.
While your iPhone makes recording audio a breeze via Voice Memos, there's no built-in option to record phone calls. This isn't an oversight—it's by design.
Apple doesn't include a native call recorder due to legal and privacy concerns. There are a variety of laws regarding recording phone calls that vary by state and country. Many jurisdictions require all parties to consent before a call can be recorded, and violating these laws can result in serious legal consequences.
If you need to record phone conversations legally, check out our guide on phone call recording laws by state first. And remember: it’s best practice to always inform all parties that you're recording before you start.
Your iPhone can record audio for as long as you have available storage space. There's no built-in time limit on recordings made with Voice Memos or the Rev Voice Recorder app.
That said, limitations do apply. Longer recordings take up more storage space, so if you're recording a lengthy interview, lecture, or meeting, make sure you have enough storage available before you start. You can check your available storage in Settings > General > iPhone Storage.
To record smarter, the key is knowing what you'll do with your recording before you begin. If you regularly need accurate transcripts for legal work, interviews, academic research, or meetings, recording with Rev can save you hours of manual typing and help you get more from your recordings.
Ready to turn your next recording into a searchable, accurate transcript?
Sign up to get Rev content delivered straight to your inbox.