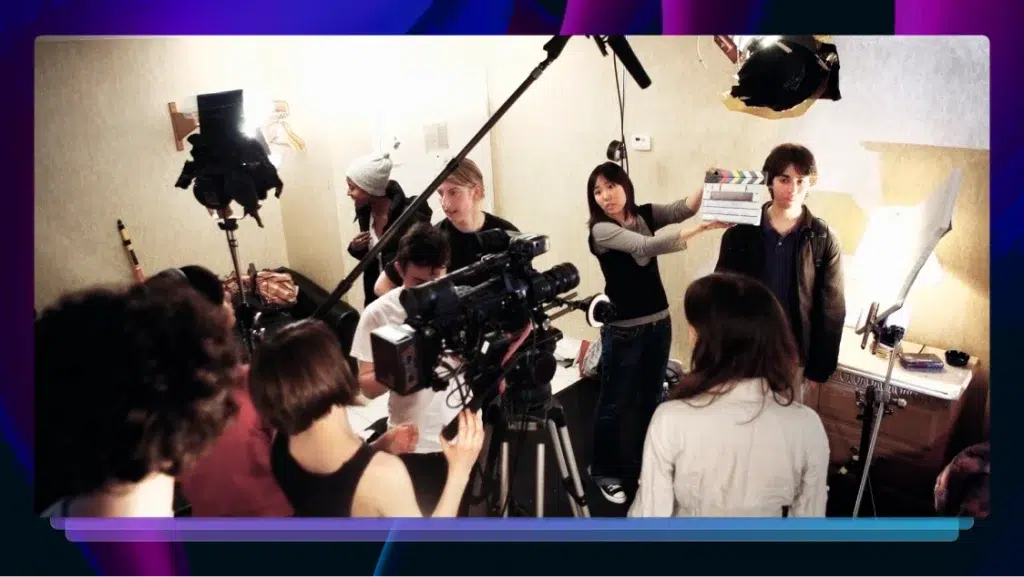
How to Import an Edit Decision List (EDL) into DaVinci Resolve Studio
In this guide, we’ll cover how to import an EDL into DaVinci Resolve Studio, and how Rev's transcript editor can help you get the job done.

We recently announced the new Selects workflow for video editing; highlight your transcripts, export an Edit Decision List, and import into your video editing software. In this guide we’ll cover how to import an EDL into DaVinci Resolve Studio.
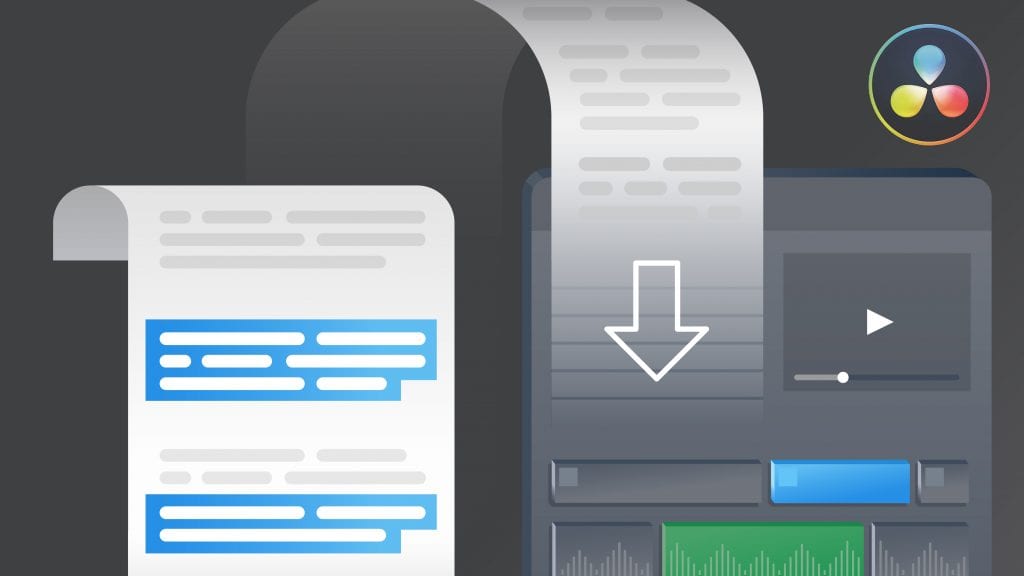
Export an EDL from the Rev Transcript Editor
To get started, you’ll need to first have a Rev account and get access to the new EDL export format.
Then, you’ll need to get your video transcribed. Now, you can highlight the golden moments in the text and export an EDL from the Rev Transcript Editor.
Import EDL into DaVinci Resolve Studio
To import your EDL file into DaVinci Resolve Studio, have your EDL and media file handy (and in the same file folder for easy linking).
First, open DaVinci Resolve Studio. Then, import your media file.
Now, go to File > Import > Pre-conformed EDL…
Select the EDL file and click Open.
Now, a new timeline is created that keeps the entirety of your media file, but includes the cuts at the beginning and endpoint of your transcript selections.
Edit Faster in DaVinci Resolve and Pull Selects With Rev
Video editing with transcripts has never been easier. With Rev transcripts, you can highlight the key moments, export an EDL file, and quickly have a selects sequence ready in your video editing software.
To learn more about how to improve your video editing workflows with transcripts, check out our announcement of the Rev Selects workflow.