How to Export in Adobe Premiere Pro: Premiere Export Settings
Here are the steps you need to take to properly export your videos in Adobe Premiere Pro. For anyone who’s ever worked on any video project big or small,

Here are the steps you need to take to properly export your videos in Adobe Premiere Pro.
For anyone who’s ever worked on any video project big or small, the greatest thrill (and perhaps the greatest terror) are always those last moments before you finally hit “export”. Depending on the length of your project, the file size and your computer’s processing abilities, the export process can range from a few minutes to several hours. And that period can be excruciating!
However, for those who might just be starting off, simply finding the proper way to export in Adobe Premiere Pro can be tricky if you haven’t done it before. In this short tutorial, we can teach you everything you need to know not just about how to export – but also some quick tips for the best ways to export.
So, before you click around and try to find that big red “export” button in Premiere Pro, here are the four steps that you’ll need to take to properly export your video project before you go and share it with the world.
Did You Know?
85% of online videos are watched without sound. Order professional captions and subtitles for your videos.
1. Make sure your project is done and ready to export!
Yes, you want to export now! But please, please, please double check your work and make sure everything is exactly how you want it. I’d suggest at the bare minimum that you should attentively watch your video all the through at least twice to make sure there are no glaring mistakes.
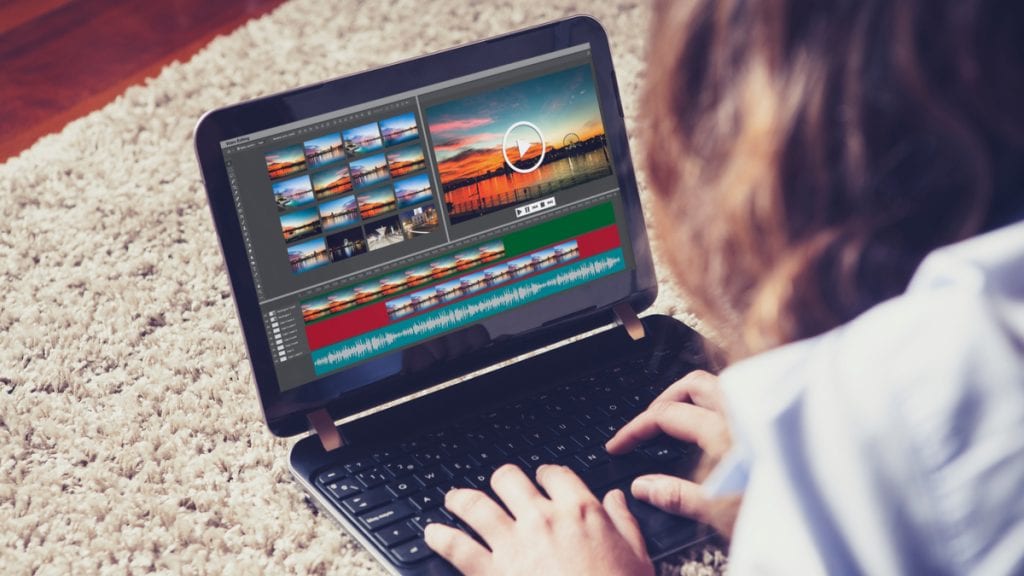
If you’d like to watch your video on a bigger screen than the default Premiere Pro setup, simply hover your mouse over the program screen on the top right and click the (`) key to make the screen larger. (You can even go further and click (Control + `) to make the screen completely full.)
2. Go to File / Export / Media

Only once you are absolutely sure that you are ready to export can you start the process. To export, navigate your mouse to your “File” program tab at the top of your screen. Scroll down the options until you get to “Export” near the bottom of the options. From there, you’ll want to choose the “Media” option to bring up the export box. (For a shortcut, you can also just press Control + M on a PC and Command + M on a Mac.)
3. Customize Your Export Settings

Once you click “Media” an “Export Settings” box will be brought up. Don’t just click through yet! These export options are highly customizable and might need to be changed depending on what you’d like to do with your video once it’s exported.
For many, the simplest and safest option might be to check the “Match Sequence Settings” box at the top right. But that’s only if you were working with a sequence which you knew was a good fit for your footage and upload needs.
You can also individually customize just about all parts of your video export including: Effects, Video, Audio, Multiplexer, Captions and Publish controls. At the very bottom of the right panel you’ll also see your Estimated File Size based on your current settings (keep this in mind if you need to keep your export under a certain size). You can also choose a video format that fits your size and quality standards.
If you’d like to research some information into what settings you might need to include for various upload platforms, here are some recommended settings to keep in mind:
- Youtube Recommended Upload Settings
- Vimeo Recommended Upload Settings
- Facebook Recommended Upload Settings
4. Name Your File and Destination

Also, before you export you’ll want to make sure you’ve properly named your export file as well as chosen your desired location. To do this, you’ll need to click on the “Output Name” which appears in default as the name of your sequence in blue text (which you can click on).
Watch out as by default Premiere Pro will save exports to the last location an export was saved to. So if you’re working with multiple file folders or hard drives, you might end up saving to the wrong spot which can cause problems if the export file is very large.
5. Click Export (or Send to Queue)

Finally, once you’re settings are set and you’re ready you can take a deep breath export! You have two options here. You can click the “Export” box at the bottom and the export will begin in Adobe Premiere Pro. The file will be saved to wherever you chose as the destination when done.
You can also choose the “Queue” box which will transfer the export process to Adobe Media Encoder (as long as you have Adobe Media Encoder installed – which is included in most cloud packages). This is preferable for some as a better exporting platform, as well as allowing you to stack several exports up one after another if you are working with several exports at once.
And that’s it! If you have any troubleshooting issues, you can find some more resources on Adobe’s website here.


