


How to Edit Videos On A Mac For Beginners
Learn how to easily edit a video on a Mac, with step-by-step instructions perfect for beginners and advanced editors alike.


If you’re intimidated by video editing and wondering how do you edit videos, don’t be. The first digitally-edited film wasn’t released until 1985. That’s 5 years after Alfred Hitchcock died. Before that, editing required some serious technical knowledge. (Think professional editors with scissors in hand cutting up the film and taping it back together). Yikes. Luckily, thanks to today’s technology, if you follow a few simple steps, editing can be easy and fun.
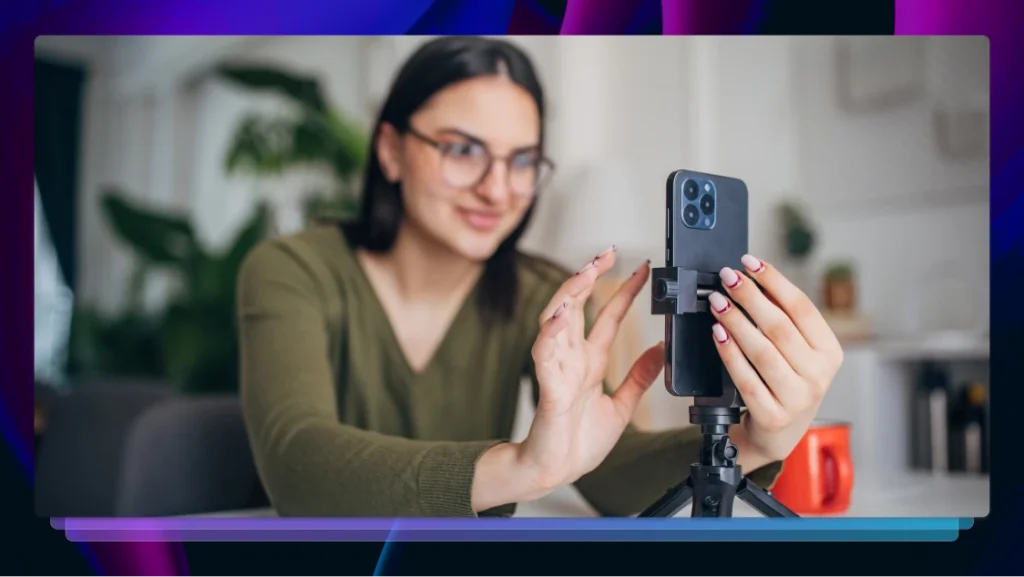
Editing a video on social platforms like TikTok and Instagram is pretty intuitive. You can also easily learn how to edit videos on an iPhone by clicking the “edit” button on your video and trimming the clips. Since it’s easier to learn how to edit videos on social platforms and on an iPhone, this article will focus on how to edit a video easily using a Mac.
How to Choose a Video Editing Software
The first step to editing a video is choosing a video editing software to make the job easy.
Paid Options
Adobe’s Premiere Pro and Apple’s Final Cut are two great solutions that require paid subscriptions. Davinci Resolve is also used by editors but offers a free version with advanced tools.
If you want to use the tools the pros use, be our guest. But, if you’re starting out, it’s better to keep things simple. This is especially true if you’re just wondering how to edit a TikTok video.
Because you’re reading an article about how to edit a video, we’re guessing you’re a beginner. Meaning, you probably don’t need all the bells and whistles offered to the pros. And you don’t. Eighty percent of software users only use 20% of the features.
You’re looking for an easy way to learn how to edit a video for beginners. Start with something simple (and free) that comes pre-installed on every Mac, iMovie.
iMovie
iMovie was first released in 1999 and somehow it survived Y2K. All jokes aside, iMovie is available on most iOS devices including MacBooks, iPads, and iPhones. It’s also seen frequent upgrades and added features to make editing for beginners easier.
Yes, iMovie is a user-friendly editing software that’s free. But it’s powerful enough to make YouTube videos, commercials, and even feature-length films.
Although iMovie looks different depending on your device, the features and tools remain the same. Learn how to edit a video in iMovie on our blog.
How to Edit Videos on a Mac
If you want to edit longer videos with captions, then it’s smart to edit on a Mac. Here are the detailed steps you need to follow to edit a video on your computer. You can also check out the checklist with all of these steps to help guide you through the process.
Let’s get started.
Step 1 – Gather your media.
If you shot the video on your iPhone, airdrop the clips onto your computer or send them via email. iMovie will also ask you if you want to grant access to the video and photo library on your computer. Do it. It’s one of the easiest ways to get your files into the software.
Step 2 – Open your video editing software.
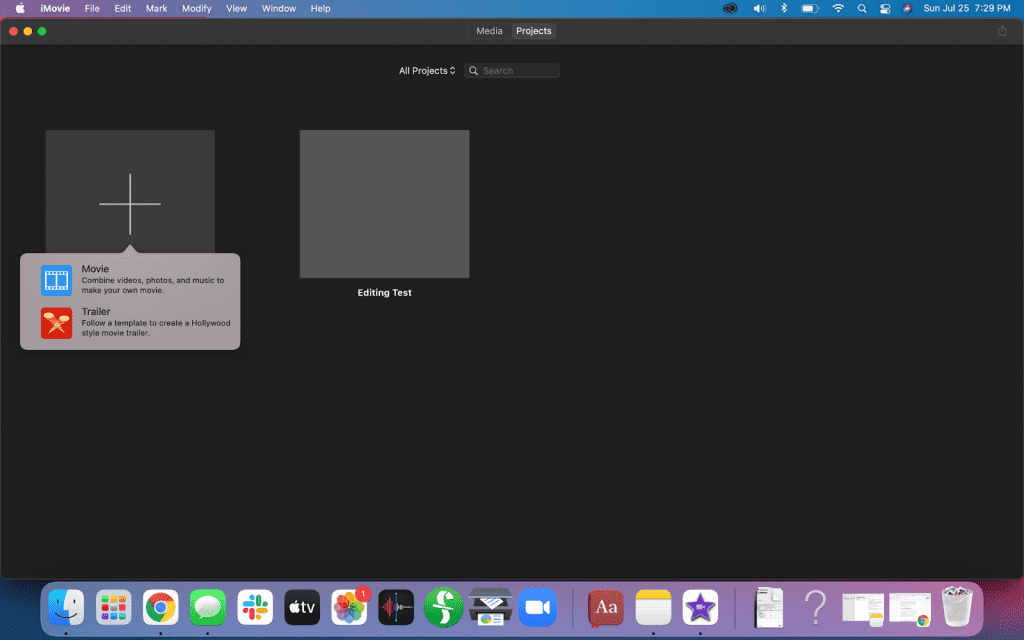
Most software will prompt you to either open an existing project or create a new one. (Create a new one)
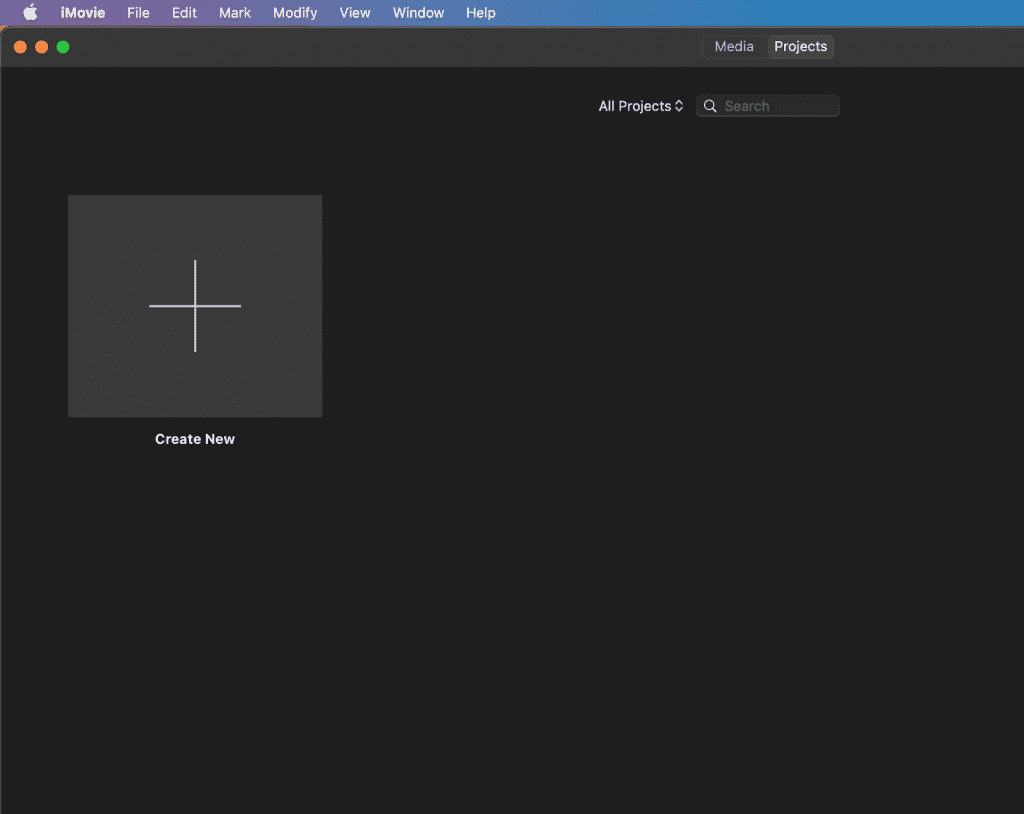
Step 3 – Name your project.
Once you’ve created a new project, give it a name and a title so you can easily find it again.
Step 4 – Import your media.
It can be as simple as dragging the file from your desktop into iMovie.

Step 5 – Check your footage.
Watch all your clips to make sure nothing is corrupted. As you go through this process, you can label or comment on the takes to pick your favorite ones. If you filmed the same thing a few times, chances are, your “last take” was the best one.
Step 6 – Start editing.
The first thing to do is cut out and delete any takes you don’t want. Marie Kondo will think you’re cool.
Next, watch through each clip multiple times. If things feel slow, start trimming. Split the clip. Delete a second before and after.

Pro tip: There’s often dead space at the beginning and the end of clips. Start cutting out other areas with no talking. Maybe you find yourself saying “um” or other filler words? Cut them out. Literally. Thankfully, no scissors are required.
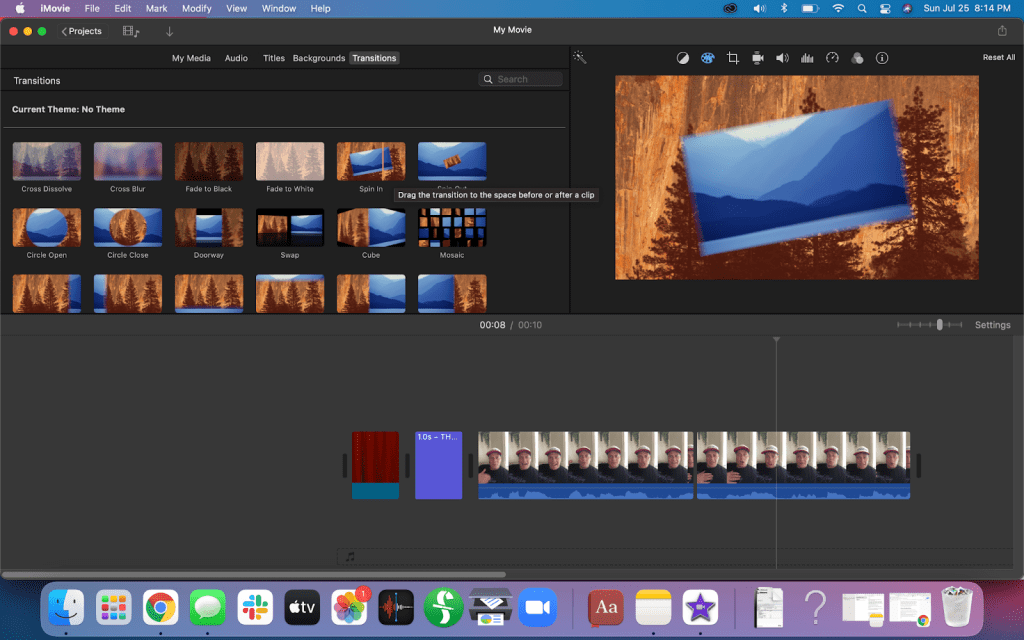
Step 7 – Add FX.
Spice up your video with an open title, editing transitions, music, sound design, and any additional effects. Remember- we’re starting with basics, and don’t need to do anything crazy complicated to be effective. Adding something like a title at the beginning of your video can help it feel more professional.
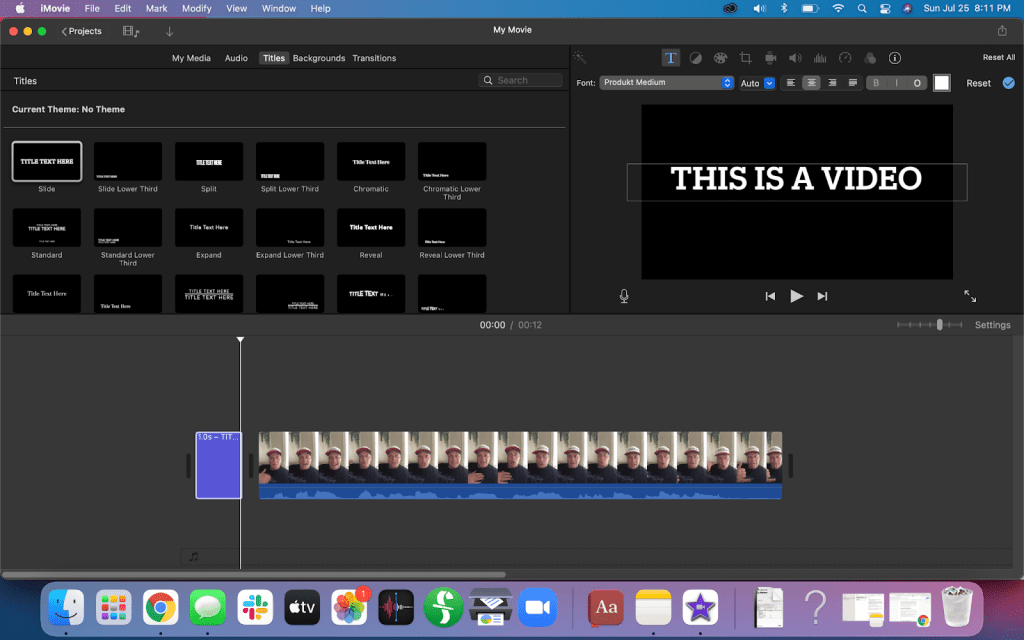
You can also try adding effects like transitions to your edits. iMovie and most other software will have a pre-built library from which you can draw. Fade to dark at the end of a video is another popular and easy effect.
If you’re feeling overwhelmed by the possibilities, don’t.
Pro Tip: Add Captions
One of the easiest and most powerful things you can do to your videos is to add captions.
According to a survey conducted by Verizon, 92% of videos watched on mobile devices are watched without sound. And the same study shows that 80% of consumers are more likely to watch your entire video if you have captions.
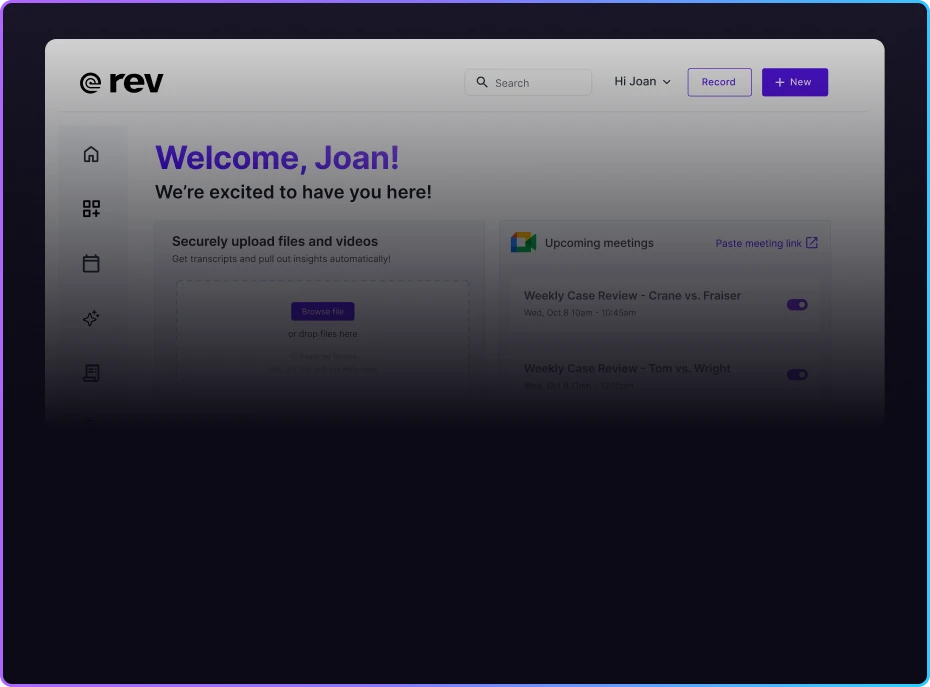
If you’re creating a video to drive more business, it’s imperative that you have captions and text. If transcribing your entire video and adding burned-in captions sounds as fun as getting a root canal, check out Rev.com.
Step 8 – Quality control your video.
Before exporting your final video, watch it a minimum of three times in a row to make sure there aren’t any mistakes. Bonus tip- ask someone with “fresh eyes” (a friend, neighbor, family member who hasn’t seen it before) to watch your video and provide feedback. If their feedback is “don’t quit your day job,” remind them that you’re a beginner. And work on finding better friends.
Step 9 – Export and share your media.
Congratulations! You can now send your edited video via email, a file, or upload it to YouTube or Facebook.
Step 10 – Celebrate!
Update your LinkedIn page’s “skills” section to include “video editor!” Just kidding. You’re maybe not ready for that just yet. But you’re closer than you were before!
Was your goal for beginning editing was to create short videos to help you grow your business? Or maybe for personal use? Whatever your reasons, hopefully, this quick guide helps you be confident in taking that first step so you can easily edit your video. Remember, if you’re adding captions to your videos (and you should), check out Rev. We’ll do all the hard work for you.