How to Import an Edit Decision List (EDL) into Adobe Premiere Pro
Learn how to pull selects from a Rev Transcript, export an Edit Decision List (EDL), and make a selects sequence in Adobe Premiere Pro.

When video editing unscripted footage, having a transcript to highlight and get timecodes can help you edit faster by pulling selects from the text. The practice of script-based editing allows you to find golden moments in your footage faster by searching the text in your transcript.
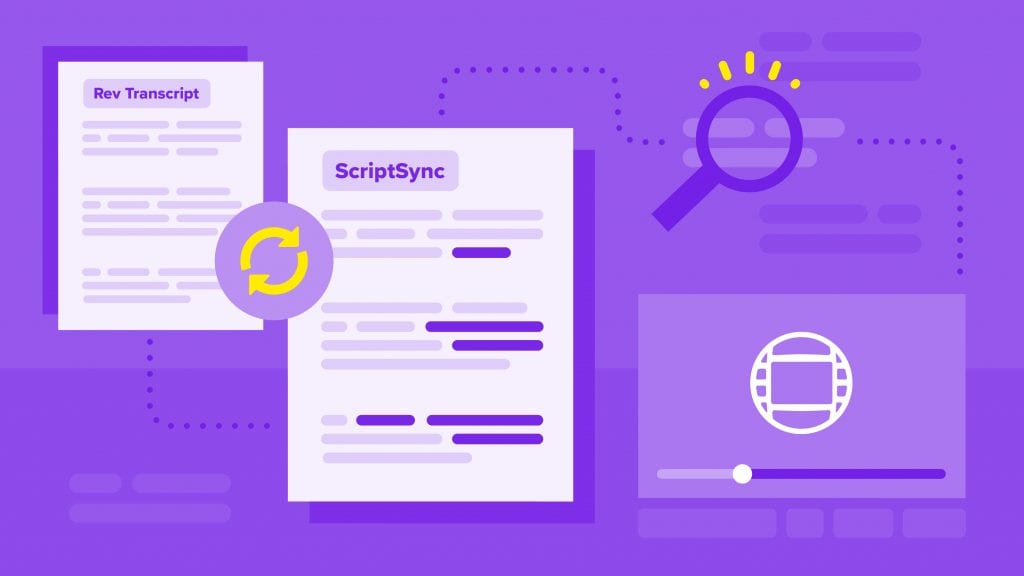
With the Rev Transcript Editor, you can take it step further. Simply highlight the text you like and export an Edit Decision List (.EDL) file. When you import the EDL file into Adobe Premiere Pro, you’ll have a selects sequence of all your highlighted clips, ready to start editing your rough cut.
This guide will walk you through how to pull selects from a transcript, export as an Edit Decision List file, and import that EDL into Adobe Premiere Pro to generate a sequence of video clips.
Before you get started, please note that you need to have a Rev account and get access to the EDL export format.
Creating an Edit Decision List with Rev
Get A Video Transcript
To get started, you’ll need a transcript of your video footage. You can order transcription from Rev to get access to EDL exports for transcripts.
If you have a sequence with multi-cam shots or multiple clips, we recommend that you sync, merge, and export the clips as one single media file before uploading to Rev for transcription. You’ll use this as your new master sequence for syncing with the EDL file later.
Highlight Your Selects in the Transcript
With a transcript of your master sequence, begin highlighting your selects in the Rev Transcript Editor, or key moments in the footage that you want to keep for your selects sequence.
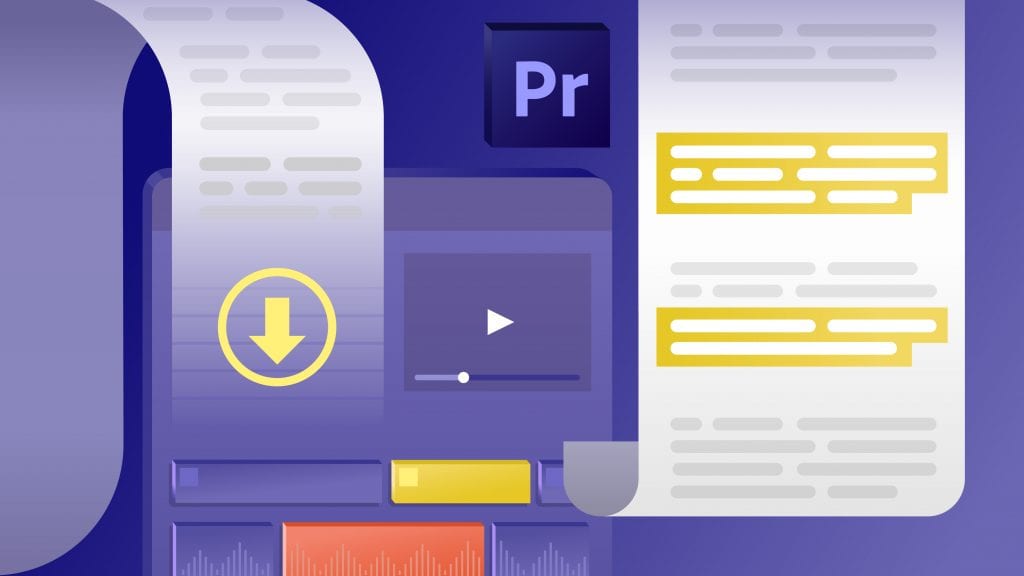
Export an Edit Decision List (.EDL)
Once you’ve highlighted all of your selects in the text, it’s time to export an Edit Decision List file that you’ll use in Adobe Premiere Pro.
- Click Download in the top right of the editor
- Select the Edit Decision List output format
- Click Export to download the EDL file
The EDL we export is in the most commonly used format CMX 3600 at 30fps.
Importing the EDL File Into Premiere Pro
With your EDL file in-hand, you’re one step away from generating your new selects sequence.
Import the EDL File into the Project
- Right click in your project bin, select Import…
- Select the EDL file, click Import
- Set the video standard, click OK
- Select a Sequence Preset, click OK
You should now have a new bin folder that contains a new sequence and clips, all showing media offline (for now).
Get Media Files Online For New Sequence and Clips
Now that you have the new sequence and clips generated from the EDL file, it’s time to link the media files.
Link Media to Single File
If you are linking your sequence of clips to one single media file, follow these steps.
- Right click the new sequence
- Click Link Media…
- In the Link Media window, click Locate
- Find and select the media clip, click OK
Your sequence and clips should now be linked to the single media clip.
Replace Clips with Multi-Cam or Multi-Clip Sequence
Earlier in the guide we said we’d reference your ‘master sequence’ if you synced and merged multiple clips and camera angles into one sequence. You’ll need to link your media differently to get the sequence and clips to work in Premiere. In the steps below, you will replace all the clips in the sequence with the master sequence.
- Open the new sequence in the timeline (double-click).
- Select all the clips in the sequence (highlight or select all).
- Locate the master sequence in the project bin and select it.
- Then, on a Mac hold Shift+Option (⇧+⌥), or Shift+Alt on Windows.
- Click, hold, and drag the master sequence and hover over the first clip in the timeline, and release.
Now, your multi-cam or multi-clip sequence is linked with the new sequence from your EDL file, and you can switch between the multiple camera angles.
Close Gaps in New Sequence
Now that your media is linked, you can (optionally) remove all the gaps between the select clips to make the timeline easier to start editing. To close gaps between clips in Adobe Premiere Pro, follow these steps.
- Open your new sequence in the timeline
- Go to Sequence, click Close Gap
You’ve now removed the gaps between clips to create a condensed selects sequence that you can start editing.
Edit Faster in Premiere Pro and Pull Selects With Rev
Video editing with transcripts has never been easier. With Rev transcripts, you can highlight the key moments, export an EDL file, and quickly have a selects sequence ready in your video editing software.
Don't have Adobe Premiere Pro? Check out our guide for importing an EDL into Final Cut Pro X.