How to Convert Media From Analog to Digital (Film, VHS, Tapes, Cassettes, Records)
Learn how to convert analog media to digital files. Convert film, VHS tapes, cassettes, records, and more to digital files to transcribe.

Since the start of the 21st century, analog media’s time in the spotlight has come to an abrupt end. Now, digital media reigns supreme wherever you look. From wristwatches to phones and even larger items like cars, everything has become digitized.
However, even though digital media has come to dominate, it doesn’t mean that analog media has vanished completely. Indeed, you likely still have some old cassettes and cherished VHS tapes.
Whatever the media, though, you’ll want to convert it into a digital format to better enjoy it. Fortunately, this guide will break the process down into simple, easy to follow steps.
Why Should You Convert Your Analog Media to Digital?
Unfortunately, most analog media won’t last forever. Over time, cassette tapes will demagnetize and LP records will begin to crack. By converting them into their digital counterparts, you can play them over and over again without fear of degradation. And, even if they don’t wear out, analog media can still be easily lost. How many times have you misplaced that funny Christmas VHS tape? Digital media files can be accessed and played on any device with the use of cloud technology. Moreover, the same cloud technology also makes it much easier to share digital media files. Additionally, digital media files can easily be manipulated. Unlike analog media, you can painlessly edit and enable automatic captioning for digital media.
What Are the Different Analog Formats?
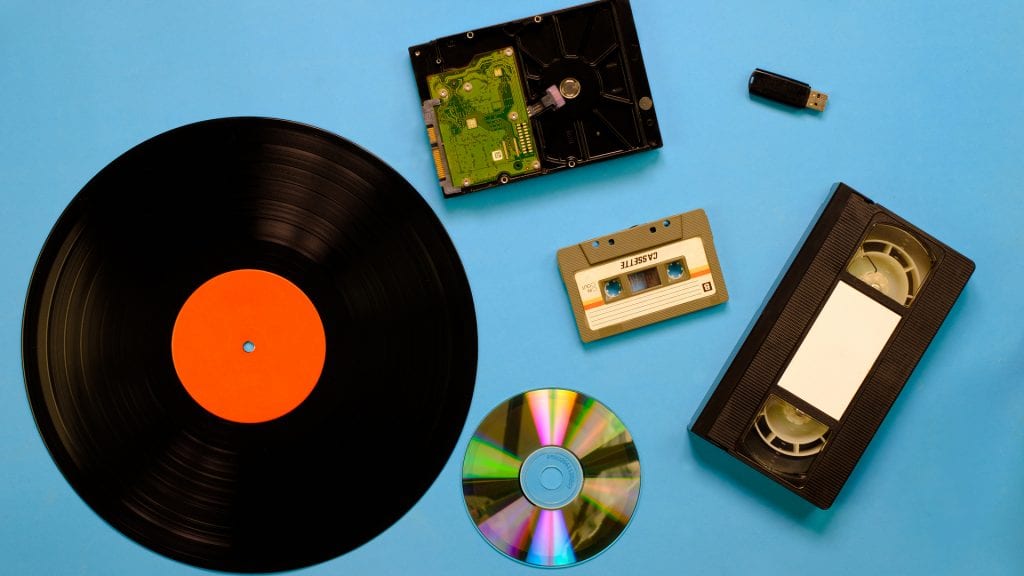
Although the earliest analog audio devices were phonographs, you likely don’t possess one. Instead, you probably have the following analog audio formats:
- Cassette tapes (Type I, II, III , IV)
- LP records
- EP records
- 10” singles
- 12” singles
- 7” singles
- Flexi discs
Apart from audio, you’ll likely also have some analogue video media too. Some of the more common types include:
- VHS
- Betamax
- VHS-C
- 8mm, Hi8, Digital 8
- MiniDV, HDV
- MicroMV
- Film
- VCR
How to Convert Analog Audio to Digital
Although you can get professional help, it’s possible to convert your analogue audio media by yourself. Where your tapes are in good condition, this may prove to be the most convenient way. There are several ways you can convert your media by yourself.
1. USB Cassette Converter
One of the simpler DIY methods for converting your tapes to a digital format, is to use a USB cassette converter. Due to the low technical expertise required, this can be great for beginners. To use a cassette converter follow these steps:
First, procure a USB cassette converter. Reshow is a popular option for smaller files. However, if you want to convert a larger file, there are more expensive options on the market. Similarly, if the audio quality of the final product is of great importance, a better converter may be warranted.
Once you have your cassette converter, grab the accompanying software download disk. Use the disk to download the required software onto your PC. If your converter doesn’t have a disk, check the manufacturer’s website. Most likely, you’ll be able to download it straight from there.
Run the software and follow its instructions to digitize your tapes. Finally, you can use any audio editing software to clean up the final result.
2. Tape Deck
In most cases, using a cassette converter will suffice. However, if you are very concerned about sound quality, you’ll need to change tact. Instead of using a cassette converter, you’ll need to use a tape deck. Additionally, the following method can be used to digitize your old LP records,
To start, you’ll need to grab a working turntable or tape player. Again, if you have neither, you can easily get one from an online seller. When you have your analogue player, check that it works.
Next, get a cable with two RCA plugs at one end and a mini ⅛ inch stereo plug at the other. Connect the RCA plugs to the Tape Out jacks on your turntable or tape player. Then, plug the other end into the Line In jack on your PC’s sound card.
From there, download and run Audacity. Inside the audio editing program, locate the microphone icon on the menu bar. Right beside the microphone, there is a dropdown menu of audio inputs. From this menu, select your audio input. It should appear as a Line In device. Following that, do a quick test run to ensure the sound is being recorded properly. Next, locate the equalizer underneath the menu bar. Make sure the meter is green throughout. If it’s not, adjust the Audacity input slider.
To start recording, click on the record button in Audacity and then turn on your source player. Rather than pausing between tracks, let the tape play in its entirety. Even if you need to switch sides, just keep recording and then split the recording later. This will prevent fluctuations in volume and quality.
At the end of the recording, press the stop button in Audacity and then turn off your source player. After that, edit the file in Audacity to improve its final quality. Finally, select File and then choose Export from the resultant dropdown menu. Then choose your export format and fill in any meta details to export the finished track.
How to Convert Analog Video to Digital
Most people have not only analog audio media but also analog video media. You’ll also want to digitize these. This is actually quite easy to do and the steps are as follows:
First, select the appropriate player for the media you have. To convert VHS tapes, you’ll need a full deck player. However, to convert film to digital, you’d need to record it with a camera. When you’ve got your player, grab a SCART cable and connect the three cords on one end to the three Output ports on your player. After that, plug the USB on the other end into your PC. Next, download and install an analog video converter such as Wondershare Uniconverter. Following that, use the software’s instructions to import your analog video, choose an output format, and then convert it. Finally, export your digital video content and enjoy!
Getting Professional Help
Sometimes, it’s not always possible for you to convert your media by yourself. In that case, you can always enlist the help of a professional. For a small fee, they can convert your audio and video for you. To go down this route, you’ll need to deliver your tapes and records to an in-store drop off point. Alternatively, you could find an online provider and ship your tapes or records to them. After 4-12 weeks, you’ll receive your files as a USB stick, DVD or a cloud link.
Not only can a professional save you the effort, but they can also repair damaged tapes and do international format conversions.
Transcribe or Caption Your Media Files
To conclude, converting your VHS tapes and LP records is a great way to preserve them for future generations. Even better, it can also allow you to add many creative solutions to them. For example, you can easily get global subtitles, closed captions and transcripts to your files. Adding closed captions, would make your videos accessible to viewers who are deaf or hard-of-hearing. Furthermore, global subtitles would open your videos up to an international audience. Moreover, if it’s an interview, transcription will make it much easier to index for future reference. And you can get professional transcripts done with our transcription service.