How to Transcribe an Interview Yourself: Get Topnotch Interview Transcripts
Transcribing an interview? Follow these steps to capture every detail accurately. Learn best practices from audio prep to final proofreading from experts at Rev.

Writers, researchers, lawyers, and others know that conducting interviews is often essential to getting the full story. Yet a raw interview is of little use. Scanning through it takes a lot of time and effort. You can’t quickly move back and forth between sections to analyze possible connections between them.
This makes it difficult to pull out the most important elements. You won’t be able to tell whether you need to perform more interviews to collect further data. To make the most of an interview, you need to create a written version, known as transcription. Here’s how to transcribe an audio interview.
How to Transcribe an Audio or Video Interview
Transcribing an interview is a labor-intensive and time-consuming task, especially if you’re not used to doing it. If you’re like many people, the hours you spend creating an audio transcription could be better spent on other tasks that are more directly related to your field.
Interview transcription services, like those offered by Rev, take the task off your plate. Just submit the audio file or URL, and we’ll go to work. Rev has 60,000+ professional transcriptionists and guarantee 99% accuracy on human transcription services.
How to transcribe an interview in four steps:
- Go to the Rev transcription page and click “Get Started”
- Upload your interview audio file, video file, or URL
- Choose additional transcription features (optional)
- Check out and receive your finished transcript
1. Go to the Rev transcription page and click “Get Started”
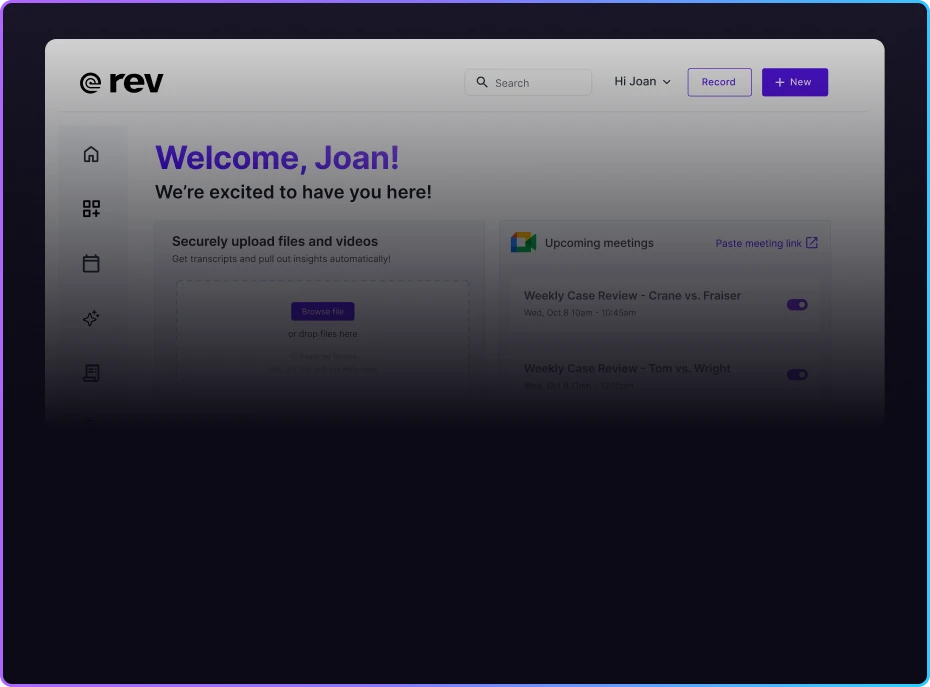
Start with the Rev.com transcription page and click “Get Started.”
2. Upload your interview audio file, video file, or URL
You can either upload a file from your computer or paste a URL to your interview.
3. Choose additional transcription features (optional)
Rev offers timestamps, “Rush” transcripts (faster turnaround time), verbatim transcripts (all of the filler words like “um”), and Instant First Draft (immediate machine-generated transcript).
4. Checkout and receive your transcript over email when it’s finished
It depends on the length of your file, but transcripts are usually delivered within a day.
If you want a more affordable option, Rev also offers machine-generated interview transcriptions for only $0.25 per audio or video minute.
We also include access to a variety of editing tools, including our world class transcript editor. These tools let you review and annotate your completed transcript as needed, right alongside the audio file.
How to Transcribe Interviews Yourself
There are two ways to transcribe an interview. You can do it yourself, playing back the audio and typing the transcript as you go. This typically takes about four hours for every hour of audio. The easier option is to hire a transcription service and receive a professional transcript in just 12 hours for as little as $1.99 per minute of audio.
Here are the steps to take if you plan to transcribe an interview yourself.
1. Block Out Time
The amount of time it takes to manually transcribe audio to text depends on many factors. If all goes well, the average person can transcribe one hour of audio in about four hours. If the audio recordings are muffled or there is background noise, it could take even longer. Other factors that affect how long it takes to include a hard to understand speaker or a lack of familiarity with any jargon or slang that is used.
2. Choose a Transcription Style
There are two basic styles of audio interview transcription:
Verbatim Transcription
Verbatim transcription means that you write exactly what you hear. Every filler, interjection, stutter, and so forth is transcribed. For example, the speaker might say, “I, um, went to the store and, like, bought some m-m-milk,” followed by a laugh.
You would transcribe the sentence exactly as said and include the laugh in brackets at the end. Note that verbatim transcription is typically the most difficult, as it requires strong focus and extraordinary attention to detail. Learn more about clean verbatim transcription with our guide.
Non-Verbatim Transcription
Also known as a smooth transcription or an intelligent transcription, a non-verbatim transcription removes fillers, vocal tics, and the like. Using the above example, you would type “I went to the store and bought some milk.” You can choose the level of editing you want.
For example, maybe you find emotional expressions like laughing or crying relevant, so you decide to include them, but you cut out verbal tics. Whatever transcription “rules” you decide to follow, make sure you apply them consistently throughout the entire document.
3. Cue the Audio File
Whether you used traditional tapes or a digital recording device, you will need to frequently start, stop, and rewind the audio. Choose a playback method that provides easy to use controls, then cue the audio to the beginning of the interview.
4. Start Transcribing
Begin playing back the audio file and type as you listen. Be prepared to pause frequently so you can catch up. You will probably need to rewind and listen again to numerous areas. This lets you be sure that you created an accurate transcription of what was said. Pay attention to the editing rules you decided to follow. Make sure that your transcript is consistent as you go along.
Choose a label for each speaker, so that the transcript always shows clearly who is speaking. In general, it’s best to write out each person’s full name the first time he or she speaks. Then use the person’s first name, initials, or a title such as “Interviewer” in subsequent references. Type the name or title followed by a colon (Margaret:), and then what the person says.
There may be sections of the audio that are unintelligible. If you rewind a few times and simply cannot determine what was said, insert the word “unintelligible” in brackets and keep going. If you are pretty sure you know what was said, but can’t be certain, make your best guess. Place brackets around the words that you aren’t positive about.
5. Edit the Transcript
Different fields have different editing conventions. For example, medical transcripts are generally edited differently from oral histories. Regardless of what field you are in, though, editing is the time for you to make sure that the transcript is crystal clear.
Be sure to clarify any confusing elements. Check your punctuation, spelling, and grammar. Write out all the words that you previously abbreviated. If there were any breaks in the interview, go back and notate them inside brackets at the relevant points.
6. Review the Transcript
When your transcript is finished, including edits, playback the entire interview from the beginning. Read along from the transcript, looking for any errors. If you find something that needs to be corrected, pause the recording and make the correction. Your transcript is not finished until you can follow along error-free.

