PowerPoint Closed Captioning: How to Add Subtitles to Videos in PowerPoint
Microsoft’s PowerPoint is a powerful and versatile presentation tool. Unfortunately, it previously lacked a simple way to generate closed captions for video narratives. Fortunately, releases after 2016 now have the means to add captions to videos in PowerPoint.
The WebVTT Format for PowerPoint Videos
WebVTT is short for the Web Video Text Tracks format. It is primarily used to provide subtitles or captions to video content through the <track> HTML tag. To use WebVTT inside PowerPoint, the related information is stored within a file with a .vtt extension.
This document consists of text segment sequences. Each one is connected to a time cue that creates a proper alignment with the video’s soundtrack. As a result, speech and sound effects appear as text at the bottom of the screen.
Creation Of A WebVTT File
To add closed captions in PowerPoint presentations, order a WebVTT file from Rev.com by uploading the video file you need captioned. You can also upload a URL of a video on the internet.

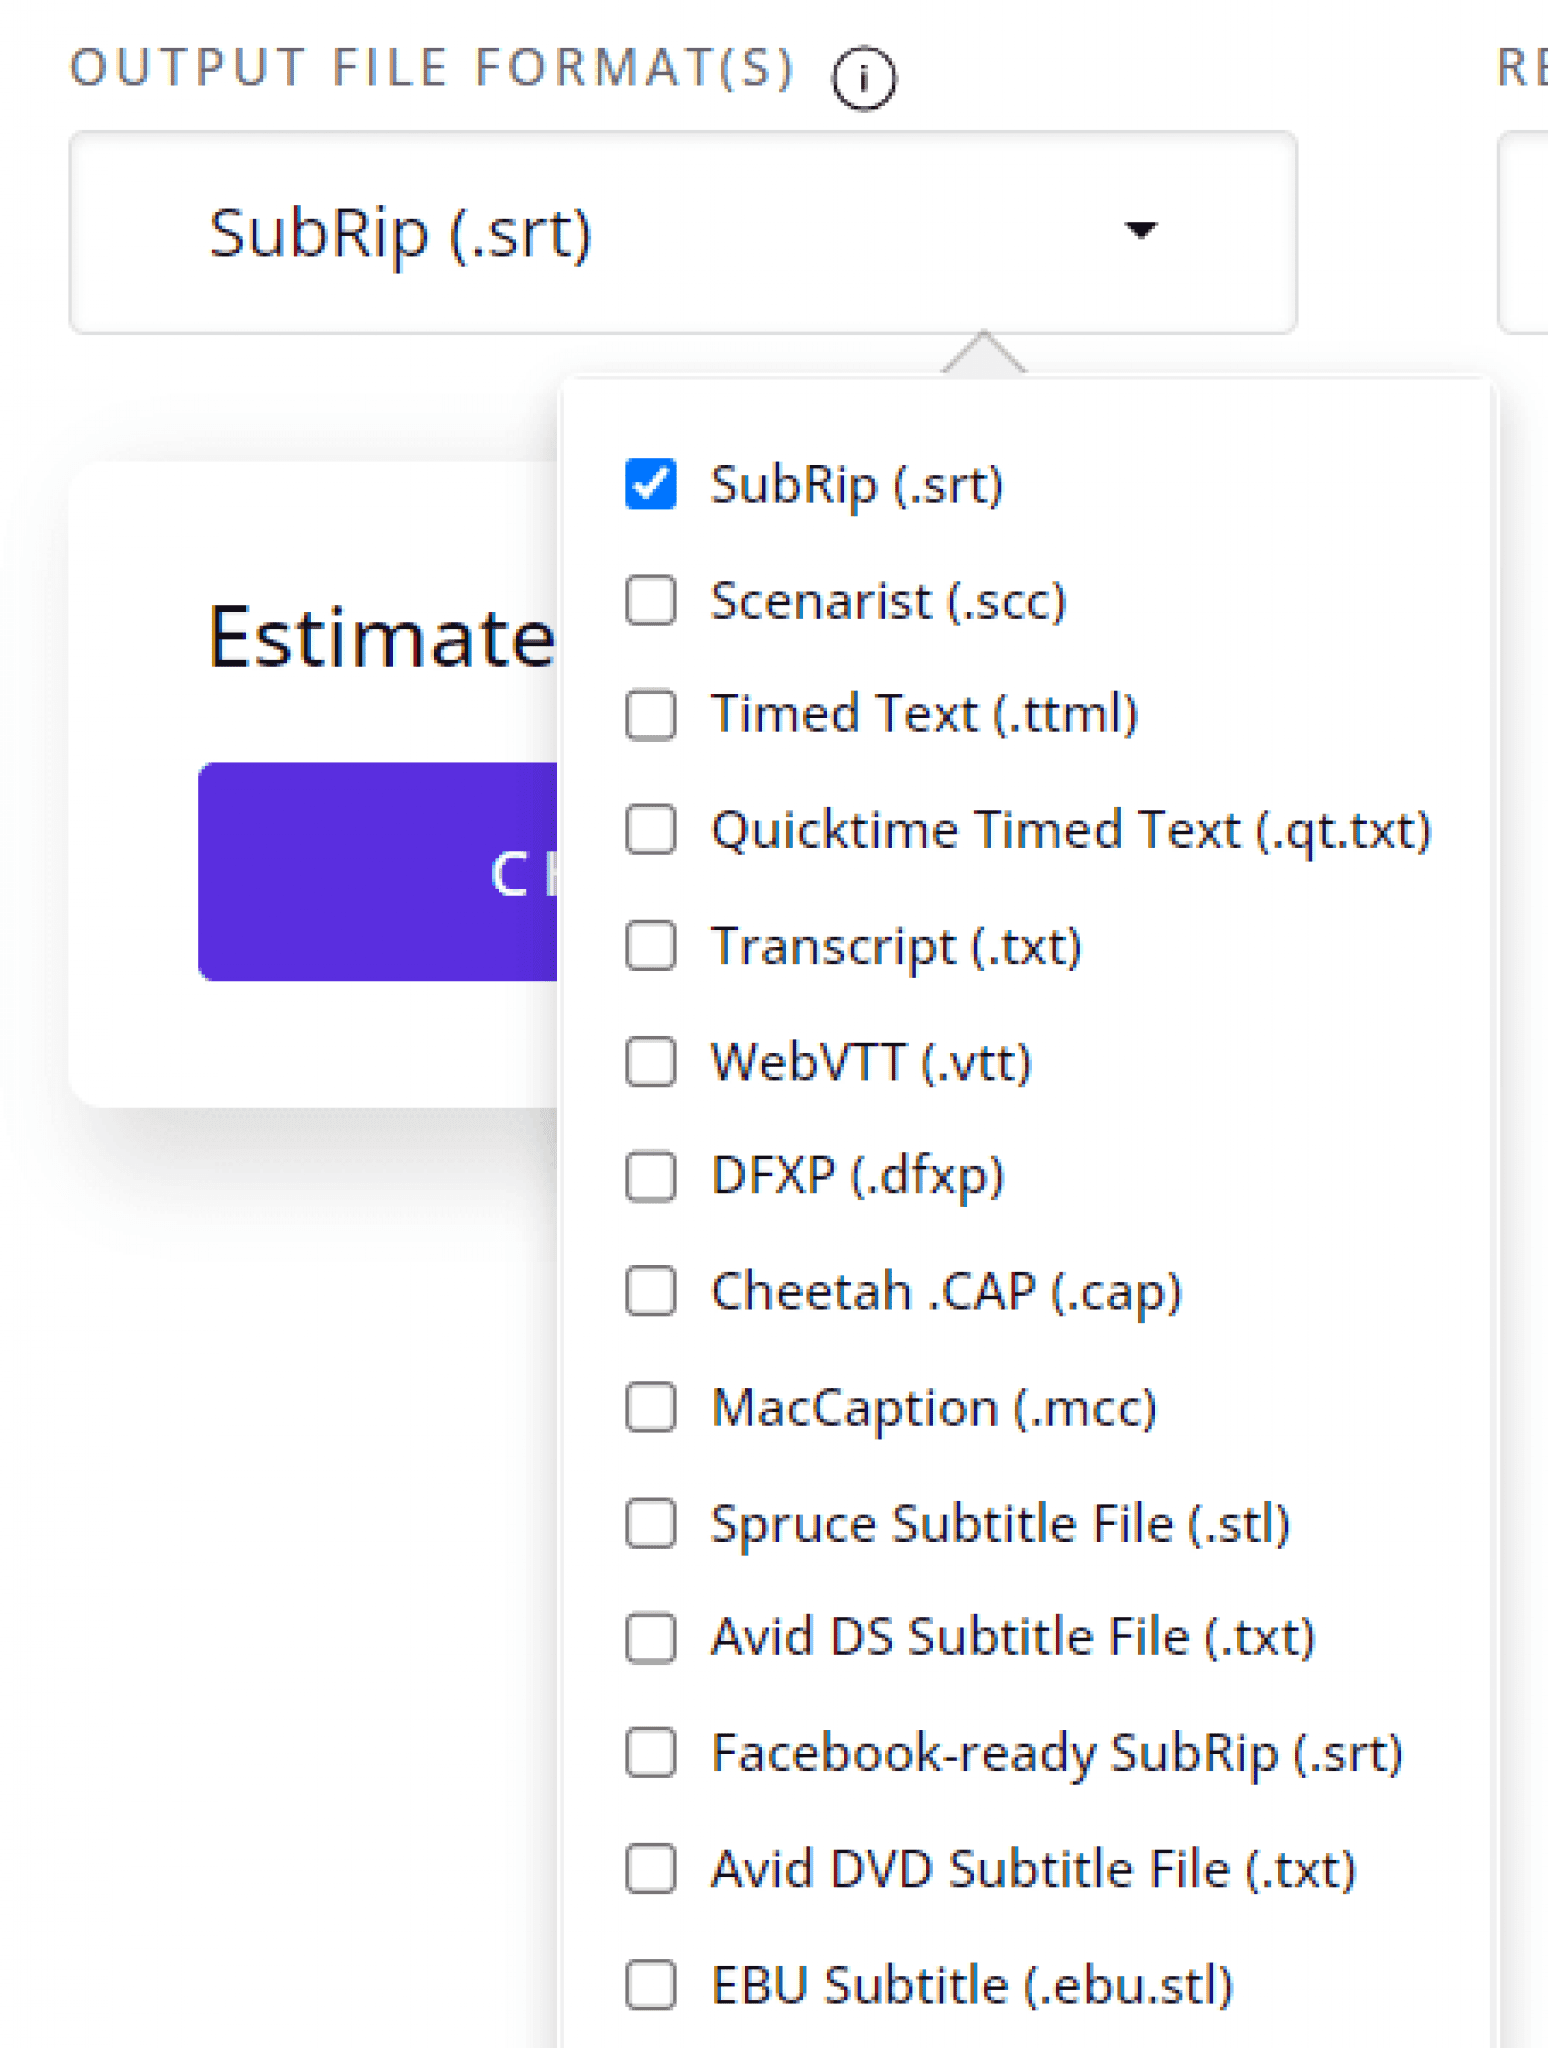
On the checkout screen, be sure to select “WebVTT (.vtt)” as your “Output file format”. Then click “checkout” and the Rev professionals will start captioning your video file with 99% accuracy, guaranteed.
PowerPoint Compatibility Check
Before a .vtt file is installed, a compatibility check is required to ensure the proper software version is in use. It must be the Click-to-Run release, which is the only one that supports WebVTT. This version is determined through PowerPoint’s Account option.
From the main menu click File, then Account. If the Update Options feature is enabled, then .vtt files are permitted. If not, then the version is MSI-based.
An abbreviation for Windows Installer Technology, MSI-based versions of PowerPoint don’t accept the newer WebVTT format. Instead, they rely on an older subtitle add-in for Microsoft called STAMP.
Sync WebVTT Files to PowerPoint
Follow these steps for PowerPoint 2016 or newer:
- In Normal view, open the slide with the video.
- From the Playback tab, click the Insert Captions option. This brings up a similar menu selection.
- In the provided dialog box, select the .vtt file to use.
- Click Insert to complete the process for the slide.
- Repeat the steps for other video and audio slides that require subtitles in PowerPoint.
- Verify if the proper captions appear under the right videos.
Edit or Remove Closed Captions
Regardless if it’s done manually or through a transcription service, closed captions have the capacity to be edited. The first step is to return to the Playback tab and click Insert Options. Next, select the menu choice to Remove All Captions.
Make sure an original copy of the .vtt file is available to edit. Once complete, follow the steps under “Sync WebVTT Files to PowerPoint” to add the closed captions back in.
Global Language Subtitles
Rev also provides translated subtitles in multiple languages, for anyone making a presentation for a global audience. Learn about all of our subtitle language options here.
Audio-Only Presentations
Currently, WebVTT is only used for videos within PowerPoint presentations. Subtitles for audio clips still rely on the STAMP add-in. This requires citations to be imported from Timed Text Markup (TTML) file. You can also order a TTML file from Rev.com.
It’s recommended to utilize the proper procedures to generate TTMLs and add them to PowerPoint presentations.
The addition of closed captions to a PowerPoint presentation allows more viewers to embrace the content. This is even when the sound is turned off. Thus, don’t wait to have the slides transcribed.
Order a WevVTT or TTML caption file for PowerPoint


Subscribe to The Rev Blog
Sign up to get Rev content delivered straight to your inbox.