


How to Import an Edit Decision List (EDL) into Final Cut Pro X
Learn how to pull selects from a Rev Transcript, export an Edit Decision List (EDL), and make a selects sequence in Final Cut Pro.

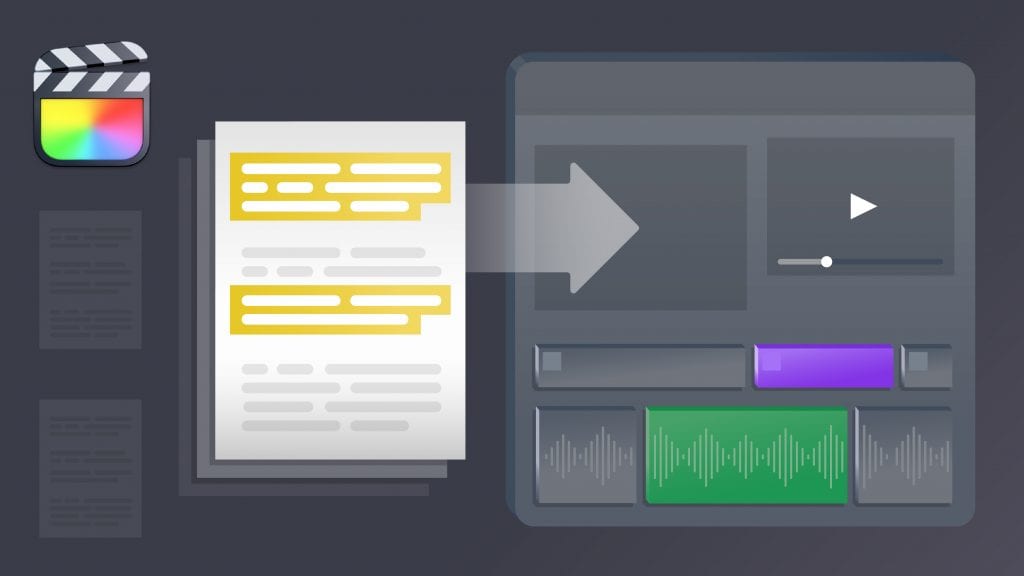
We recently announced the new Selects workflow for video editing; highlight your transcripts, export an Edit Decision List, and import into your video editing software to create a new timeline and selects sequence of your clips. While the process is more straightforward with Adobe Premiere Pro and Davinci Resolve, it’s crucial for many video editors to learn how to import an EDL into Final Cut Pro.
Unfortunately, Final Cut Pro X does not support importing an EDL file natively into their editing platform. In order to import your Rev selects sequence (.EDL) into Final Cut Pro, you will need a FCPXML file. Currently, to get an XML version of your EDL file you will need to convert it within either DaVinci Resolve or Adobe Premiere pro (or another EDL to XML converter if you have one handy).
In this guide you’ll learn step by step how to get your EDL file from Rev, convert it to FCPXML in DaVinci Resolve, and import the file into Final Cut Pro.
Export an EDL from the Rev Transcript Editor
To get started, you’ll need to first have a Rev account and get access to the new EDL export format.
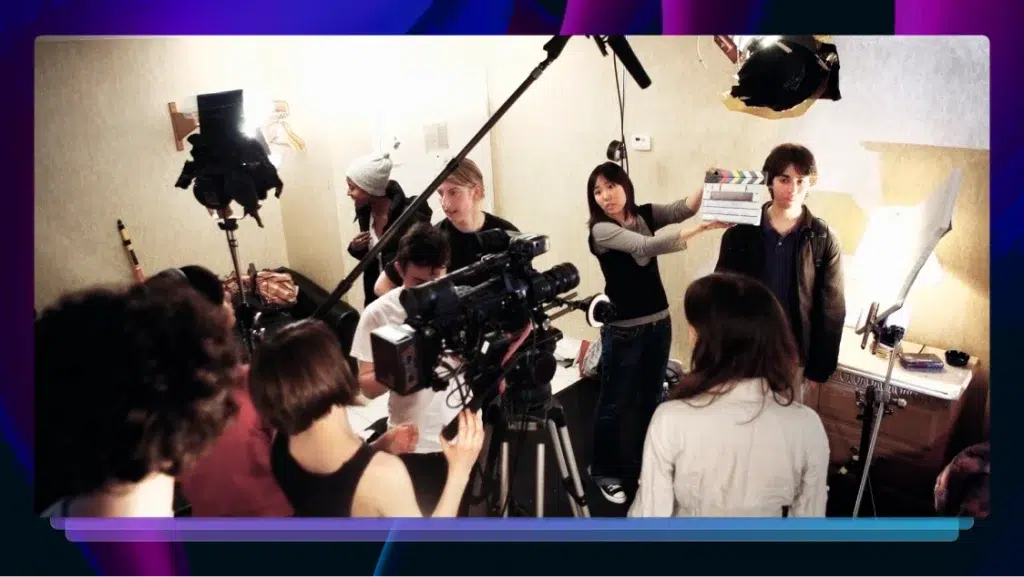
Then, get your video transcribed. Now, you can highlight the golden moments in the text and export an EDL from the Rev Transcript Editor.
Convert an EDL to XML in DaVinci Resolve Studio
To convert your EDL file to FCPXML in DaVinci Resolve Studio, have your EDL and media file handy (and in the same file folder for easy linking).
First, open DaVinci Resolve Studio. Then, import your media file.
Now, go to File > Import > Pre-conformed EDL…
Select the EDL file and click Open.
Now, a new timeline is created that keeps the entirety of your media file, but includes the cuts at the beginning and endpoint of your transcript selections.
To export the timeline as an XML, go to File > Export > Timeline…
Select a FCPXML format from the dropdown list and click Save.
Import the FCPXML into Final Cut Pro
Open Final Cut Pro. Go to File > Import > XML.
Select your new .FCPXML file and click Import.
You now have a new timeline with the entire media file, but with cuts at the beginning and ending timecodes of your transcript selections.
Edit Faster in Final Cut Pro and Pull Selects With Rev
Video editing with transcripts has never been easier. With Rev transcripts, you can highlight the key moments, export an EDL file, and quickly have a selects sequence ready in your video editing software.
Get AI transcriptions or human transcripts now.