


How to Add Captions & Subtitles to Videos in Moodle
Learn how to add captions & subtitles to videos in the eLearning platform Moodle. Captions improve accessibility and it's easy to get professional captions.


Moodle, which stands for Modular Object-Oriented Dynamic Learning Environment, is one of the most robust e-learning systems in the world. It is rather popular due to its flexibility and the fact that it’s free to download.
The platform is designed to provide administrators, educators, and learners with an open-source platform to cater to their training and learning needs. Currently, Moodle has about 199 million users and over 150,000 Moodle sites have been deployed across the world.
Subtitling and captioning videos ensures their accessibility to persons with disabilities. In this post, we explain how to add Moodle captions and subtitles.
How to add captions & subtitles to Moodle videos
1. Go to the Rev Captions page and click “Get Started.” You can then upload your video file or video URL to be professionally captioned.
Rev guarantees 99% accurate captions and has over 50,000 professional human captioners who can usually deliver captions in 24 hours or less. Be sure to select “VTT” or “WebVTT” as your download format, which is the caption file type most compatible with Moodle.
2. Once your finished caption file is emailed to you, log in to your Moodle account.
You’ll need to log in to your account to upload your videos in your account.
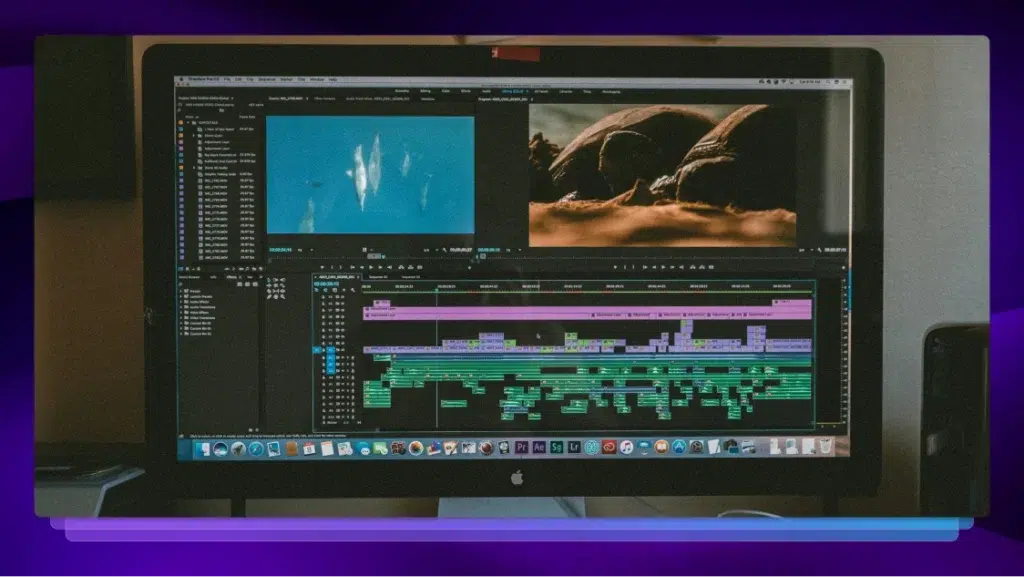
3. Upload your videos to Moodle so that you can add the subtitles and captions.
This adds videos to your account so you can go into the “subtitles and captions” options for your videos.
4. On the video tab, click on the “subtitles and captions” section to upload the caption or subtitle file.
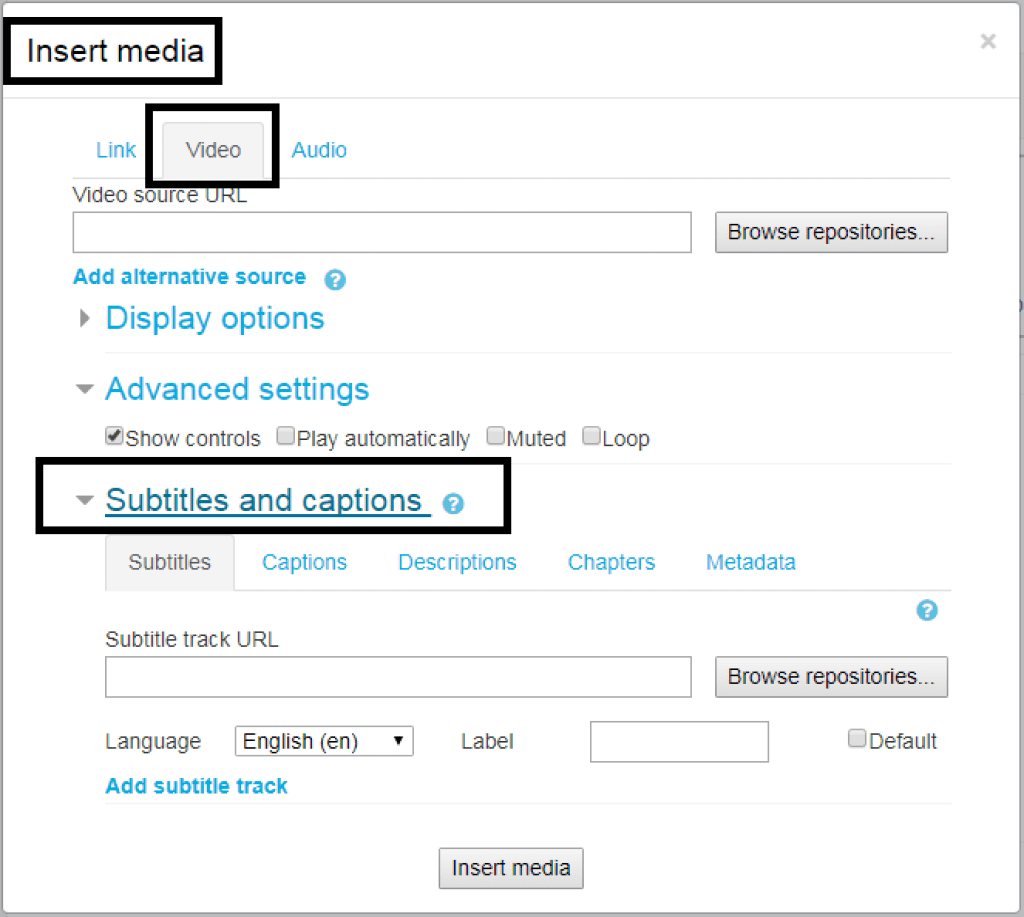
5. Upload your .vtt caption file in the section shown in the image above.
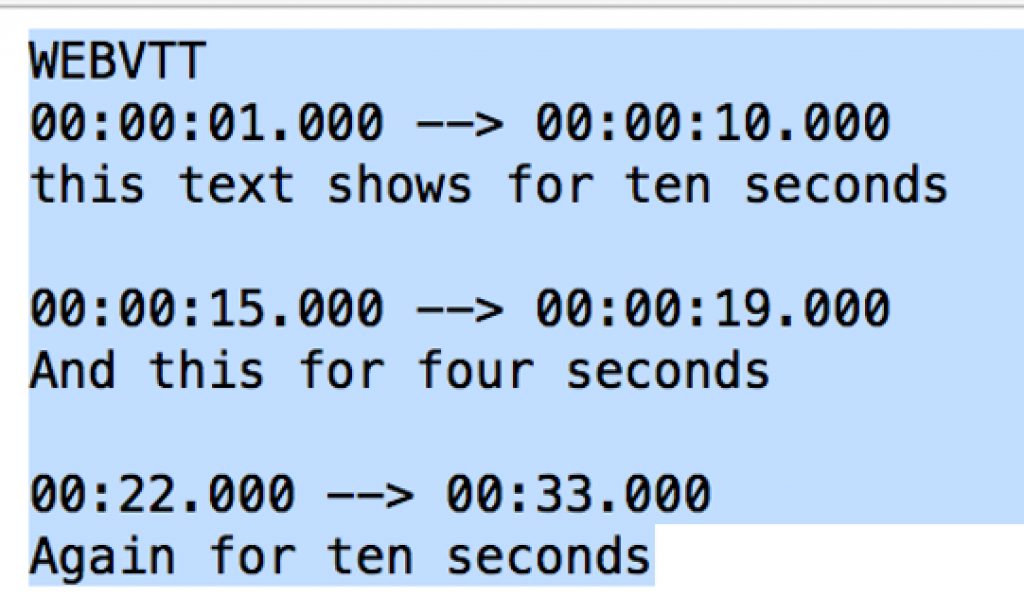
Moodle uses VTT or WebVTT caption format, where there is a blank line between caption frames that indicates the end of a sequence as shown in the image below:
Compared to .srt and other formats, .vtt is great for the following features:
- You use different tags on different speakers. Each speaker can have a unique subtitle style.
- You can use basic HTML tags to format the captions on your Moodle videos or portions of it. Basic formatting options include bolded, italicized, and underlined text.
- The subtitles and captions can be aligned to the right, left, or center. You can format the text direction so that it runs horizontally (left to right) or vertically (from top to bottom).
- WebVTT supports paint-on, pop-on, and roll-up captions.
- You can style the captions or parts of it using cascading style sheets (CSS)
6. Once you’ve uploaded the captions and subtitles click on the ‘insert media’ tab to merge the video with the .vtt caption file.
And you’re done! Your captions should now be showing on your Moodle video.
Why add subtitles or captions to your videos?
According to the World Health Organization (WHO), 5% of the world’s population suffers from disabling hearing loss. It only makes sense that organizations and learning institutions add captions and subtitles to cater to such people.
While the terms subtitles and captions are used interchangeably, they are quite different. Subtitles only display the narration or dialogue on the video. You can also use subtitles to translate your video from one language to another. On the other hand, captions include the narration as well as other audio effects. These may include background noises such as music playing and any other noise that is an integral part of what’s on the screen.
There are different ways through which you can add subtitles and captions to the video. If you prefer doing it yourself, you would need to watch the video multiple times, transcribe it, and add timestamps.
You can also use YouTube to add automatic captions to your videos. While this is an easier option, the captions from YouTube are considered to be below the accepted accuracy standards. You would still need to review the transcript to authenticate its accuracy.
The easiest and most effective way of getting accurate captions is by outsourcing the job to a professional captioning company. By hiring such a company, you will be taking advantage of a variety of experts while not compromising your budget. They will also provide you with a quality transcript within a short time and edit the work if need be. Here’s how it works:
- Publish the video on YouTube or other platforms such as Vimeo.
- Share the link of the published video with the captioning company.
- Sign up or sign in to your account and follow the prompts to pay.
- An email containing the captions file will be sent to you.
- Make sure the captions are in .vtt format before you upload them.
If you have any more questions on ordering a professional caption or subtitle file for Moodle feel free to contact support@rev.com.