


5 Post-Production Workflow Tips for Filmmakers and Editors To Know
Here are five tips to help you create a successful post-production workflow. Each tip includes key steps to help you and your team edit your film.

Between story editing, video editing, music scoring, and more, post-production is the most expensive phase of production. It involves hundreds of people, scattered across multiple teams, along with myriad interdependent tasks that complicate post-production.
Heading into post-production without a clear plan jeopardizes all of the work you’ve put into production up to this point. A poorly planned process will eat into your ROI, delay your project, increase your film security risks, and create confusion throughout the team.
The good news is that a clearly defined post-production workflow solves these issues and simplifies your project. Here are five tips to help you create a successful workflow. Each tip includes key steps within post-production to help you and your entire team get on the same page.
The Importance of a Clear Post-Production Workflow
Once filming wraps, you’ll have hundreds of hours of raw footage to comb through. All of this content has to be viewed and sorted to create a final version that matches the vision you had in pre-production.
As you know, editing in post-production can take weeks, months, or even years to complete, depending on the final product. For example, the 1994 documentary Hoop Dreams was released after spending three years in post-production. A combination of funding issues and increased run time caused post-production time to balloon. This documentary was a large undertaking, and others like it benefit from a clear workflow — there’s less time spent in post-production.
For your part, an organized post-production workflow saves time for your editors, sound engineers, artists, composers, and other members. Teams understand where and when they fit into the overall process, so they can plan accordingly. Post-production flows more smoothly when everyone involved is aware of each step (and status) of the process.
To get started, set up a road map during pre-production when you’re focused on planning. In your road map:
- list all of the post-production tasks you anticipate;
- assign each task a timeline for completion; and
- include a target completion date.
Once the road map is complete, share it with your team. It helps to create the road map early in production. If anything isn’t accounted for, it’s flagged long before post-production starts. This approach helps ensure that your movies are completed and released on time. The sooner you can deliver your final product, the sooner you can start recouping your investment.
Now let’s look at five tips that will help keep your post-production workflow on track. Include these tips within your road map.
1. Organize Footage to Simplify the Editing Process
Whether you’re filming a comedy or a true-crime documentary, it’s important that the story you set out to tell comes across the way you intend it to. For example, you want your film to tell a cohesive story that flows well, and you want your audience to laugh or sympathize at the right places.
The film’s editor has to understand your vision in order to accurately organize the footage you share with them. That way, the final version of the film tells the intended story.
To help with this stage of the post-production workflow, meet with the editors and their teams when you send them your footage. Use this meeting to:
- give editors ideas of what types of footage to include in the final cut;
- create a bin structure and scene bins to organize footage; and
- review script notes to make sure they’re incorporated throughout the film.
Organizing footage early on helps ensure that your project will be delivered on time. Follow the same process for all of your projects.
Keep in mind, if you’ve filmed a documentary or interview, you have the option to transcribe audio notes to text. With our transcription service, you can save time getting organized in post-production. Post-production transcription frees up your time to explore the content you record to find the most important points to share.
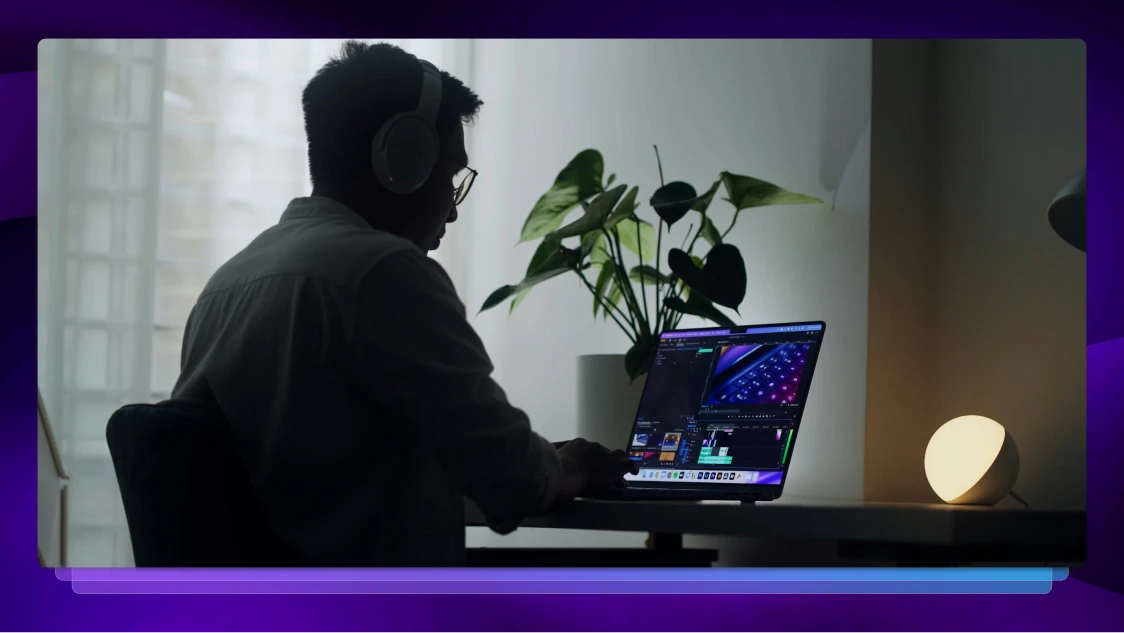
2. Edit Visual and Sound Effects to Tell a Story
Editing visual and sound effects is one of the most important steps of post-production. To make sure what viewers see on scene matches what they hear, visual-effects artists work frame by frame. As a result, this step can easily take the most time to complete. Of course, the length of time it takes depends on the type of film you’re making.
After scenes are organized, meet with sound and visual editors during post-production to talk about what each scene is meant to accomplish. For example, if you film a crime miniseries for TV and want to create a sense of mystery or build suspense early on, use your meeting to talk about the types of sounds you want to hear in the first scene. Do you want to hear some sounds more than others? What types of visual effects will you need to pull this off?
Your meeting will help sound artists create audio that pulls scenes together and facilitate the feelings and emotions you want your audience to experience. Also, ask the sound team to confirm the following:
- They have the required technical specs. This is more important if you’re an amateur or independent filmmaker and you partner with a video production company to help manage your post-production needs.
- Files delivered in the right formats. There are lots of file versions to choose from, make sure you know which type your effects teams prefer.
- Deliverables. Be clear on what you expect the team to deliver and when you expect to receive it.
Since the visual editor connects the editorial and visual-effects teams, their role in your meeting will be to track each shot, match it to sound, and know when to insert invisible effects. Again, getting organized early on makes this step of the post-production workflow move more smoothly.
3. Add Production Effects to M&E Tracks for Foreign-Language Films
Sets are noisy places, which means production effects are a fact of life when you’re filming. You also have to account for the sounds actors make when they’re in a scene, like the sound of a door closing or the sound of footsteps walking across a squeaky floor. These sounds are tied to the dialogue stem, so if you want to remove them, you’re going to need editing, plus Foley and library effects to make your scenes play out the way you want them to.
Since your M&E tracks include only music and effects, these “extra” sounds will be missing from the dialogue of foreign-language films. Add in the production effects you need in your film to the M&E track so that foreign-language films have the same feel as the original English version. Give your editors a description of what you’d like to hear in each scene. That way, the right sounds are added, removed, or left as is.
Regardless of where your audience is located and regardless of their preferred language, the viewing experience is the same. This is important if you want to appeal to a wide audience and create a financially successful final product.
4. Use ADR to Enhance the Impact Dialogue Has
After filming has wrapped, there’s a chance you’ll have to add in additional dialogue. For example, a conversation between actors needs to change or an actor used profanity. Maybe the set was noisy or another noise made the dialogue unusable. With automated dialogue replacement (ADR), you can make changes so that dialogue is easy to understand. Plus, for foreign-language films, you can use ADR to add in new dialogue on top of the original.
ADR enhances your project, but the main drawback of this tech is the cost: It’s very expensive. It’s also time-consuming, and in some cases, it’s hard for actors to recapture the emotion they achieved in the original version. To save time and money:
- Watch the edited film and make notes on where dialogue quality needs to be addressed.
- Make a list of cues for where you need ADR.
- Create a dialogue-requirements document outlining exactly what you want to change.
- Schedule recording time with actors.
This approach organizes the process of improving dialogue in your film and makes sure that actors’ time is maximized while they’re recording. Learn more about cut costs per prodcution hour on our blog.
When ADR Isn’t An Option
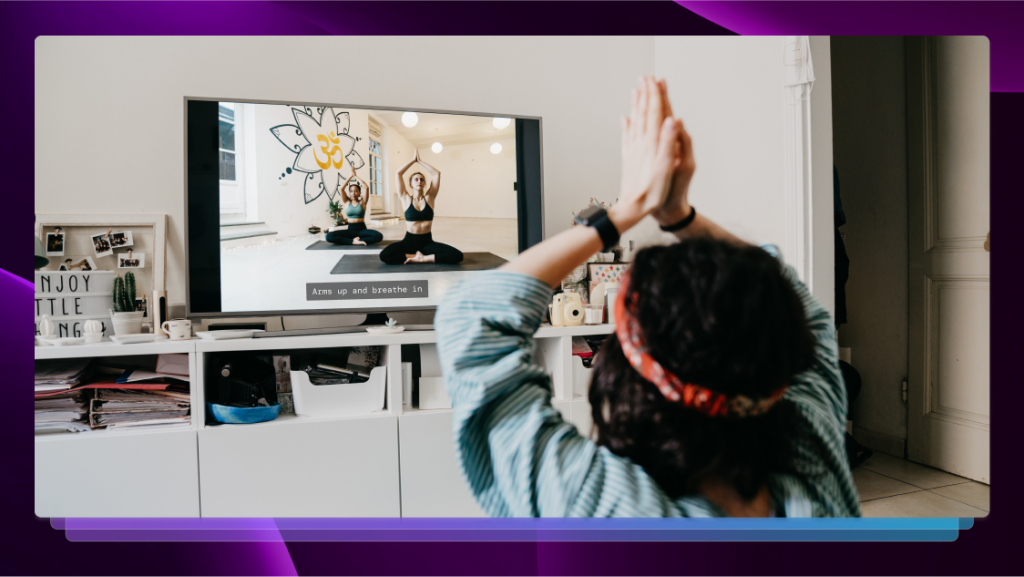
For TV shows or documentaries where it isn’t possible to use ADR because the dialogue isn’t usually replaced, use text on the screen to help your audience understand what’s being said. Use our tool which offers closed captioning:

Dialogue appears as text so that a wider segment of your audience can watch your programs. For people who have to watch with the sound off, text on the screen allows them to watch without disturbing anyone around them.
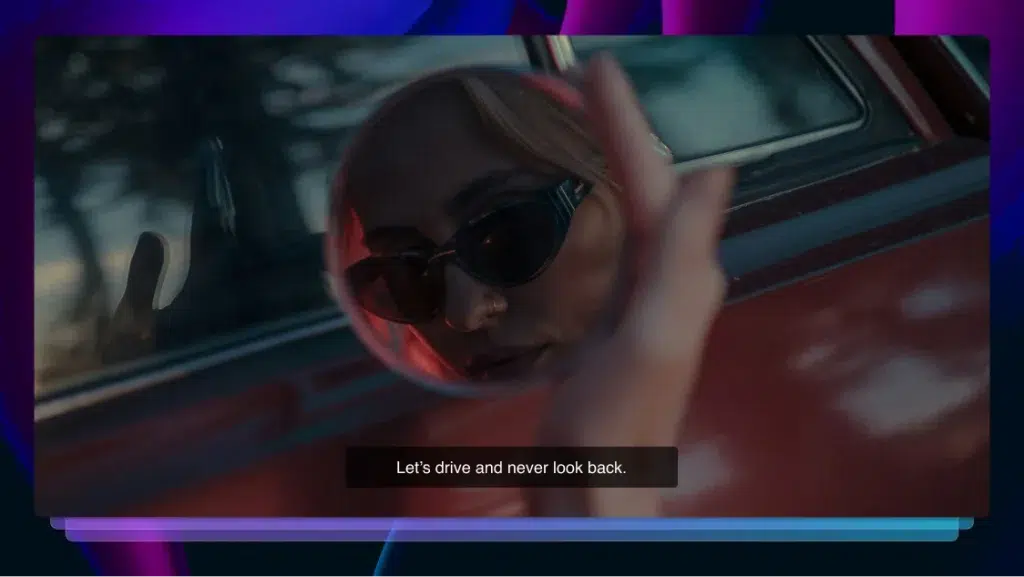
Our closed-caption editor simplifies your dialogue editor’s job by:
- automating caption updates so that proper grammar appears on the screen, the words that appear on the screen match the audience’s local spelling, and more;
- making it easy to download different formats so your final product can be viewed on different platforms; and
- allowing sharing so other team members have access to the editing project if needed.
Overall, your audience has a better viewing experience because dialogue is easy to follow and understand.
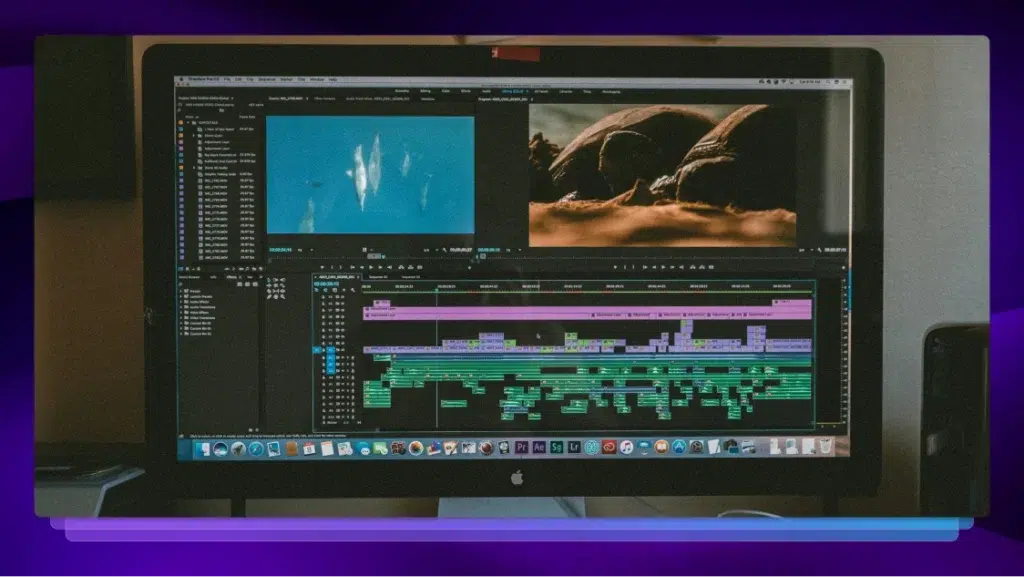
5. Re-record to Create a Balanced Soundtrack
Mixing is another phase of the post-production workflow that’s time-intensive. There’s the task of reviewing all the dialogue plus incorporating ADR sound effects, Foley, and music to create a soundtrack. Many different types of re-recording mixers come together to handle all of these tasks. You can see how mixing gets confusing quickly.
To simplify this phase of the post-production workflow, get mixers to work on specific stems so it’s easier to make changes to the soundtrack. For example, have teams set up for dialogue, music, effects, and other stems you have. Instead of teams focused on tasks, like adding sound effects, you can go deeper by setting up teams that focus on subtasks. So with sound effects work, you’ll have a team working to make sure the dialogue still sounds good with effects mixed in, and another team that makes sure the music doesn’t clash with the effects.
That means there are a lot of people involved in producing the soundtrack, but it’s easier to make fixes or updates when your team has to deal with only one stem at a time.
Review Your Post-Production Workflow
Everyone involved in the production of your film, TV show, documentary, etc. — such as additional filmmakers, editors, or engineers — needs to debrief after each project. Use this time as an opportunity to gather and to share insights into which processes worked and which ones didn’t.
Use the tips we’ve shared as a starting point to make changes to your processes and to guide your debrief meetings. There are a lot of people involved in each step of the post-production workflow, so it’s key to get their insights on the changes you make. Ongoing feedback makes sure post-production runs as smoothly as possible so time and money are spent effectively.
Get started with these tips, and let us know how they work for you. Learn more about workflow automation and building an audience for your film on our blog.