How to Add Caption Files to Videos in Handbrake (Subtitles and Captions)
Using HandBrake? Learn how to add, burn in, or edit subtitles and captions in your videos easily with this step-by-step guide.


While you can open videos with a sidecar captions file, sometimes you need to encode the captions data right into the video file. That way anyone with the video file can view subtitles in a media player—without having to send them the captions files separately.
We discovered a free, simple, and efficient tool to add captions and subtitles to your videos. While this third-party app can do many cool things with video, we’re most excited to learn that it can help you with burn-in subtitles and open captions, as well as closed captions and subtitle tracks.
How to Add Captions to Videos in Handbrake
Yes! With Handbrake, you can add subtitle tracks to several video formats, including (*.mp4). All you need is your video file, an (*.SRT) captions file, and the third-party video software. Here’s how to get started:
1. Locate Your Video File
Whether you’re editing in iMovie, Premiere, Final Cut, etc—export your video file or download your video file to prepare for your captions order.
You can export a low-res video for quick uploading and a hi-res for your final captions encoding.
Optionally, you can export a lower quality version for faster uploading to Rev, and export a high-quality version for the transcoding software.
2. Order your caption file
Order your 99% accurate professional captions file from Rev and download it in SRT file format.
Watch the video to see step-by-step instructions on how to order:
If you’ve already got a subtitles or captions order in Rev, you can download a SRT version from the captions editor in your Rev account.
3. Download Handbrake video software (if you don’t already have it)
Download and install Handbrake, an open-source video transcoder from their official website.
Adding burn-in subtitles, closed captions, or foreign subtitle tracks to videos is easy with Handbrake. For this guide, we’ll show you how to do it on a Mac.
4. Open your video file in Handbrake
Open the Handbrake application. Click “Open Source” and open the video from the Finder window.
5. Open the SRT file in Handbrake
Now it’s time to add your closed captions or subtitle tracks to Handbrake.
First, go to the Subtitles tab.
Then, open the Tracks dropdown menu and click Add External SRT.
Select the SRT file from the Finder window.
Repeat as necessary to load all the desired closed caption and subtitle tracks.
You can add as many subtitle tracks as you’d like! In several languages
In our example, we have SRT files for English Closed Captions and Spanish subtitles.
Be sure to specify the SRT language for any foreign subtitle tracks.
In our example, the SRT Language is set to Spanish for the track with the Spanish foreign subtitles.
6. Choose “Burned-In” for open captions, and skip this step if you want closed captions
If you would like your video file to be encoded with closed captions or subtitles, feel free to skip this step. Closed captions are encoded into the video file, and can be turned on or off by the viewer. When a track is enabled, the captions will overlay the video. When disabled, the captions will not appear.
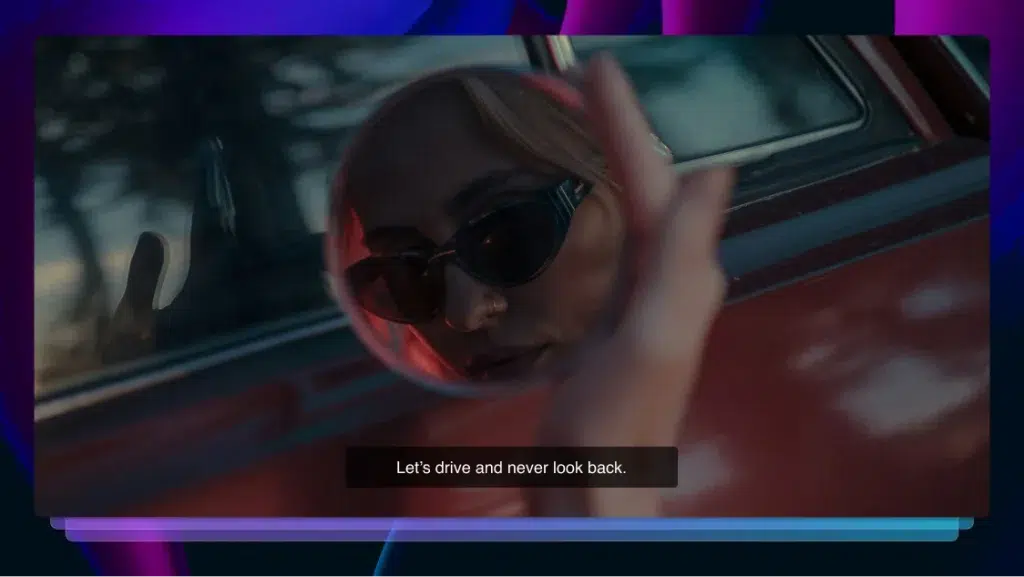
Burned-in captions (or open captions) are hardcoded straight onto the video screen and cannot be turned on or turned off.
It’s also common to burn-in English subtitles during a foreign language sequence for an English-speaking audience. This would require a captions file with carefully selected timecodes.
7. Export the Media File in Handbrake
With your SRT file(s) loaded, you’re now ready to export the video from Handbrake.
You’ll want to ensure that the settings under the Video and Audio tabs are either set to match the source file, or adjusted to your preferred final export settings. (You can save as a Preset for future use).
You can specify the export location by clicking Browse and the export name next to Save As.
When ready, click Add to Queue and press Start.
8. Test the Subtitles in a Media Player
Now, open your video in a media player to test the subtitle track(s). You should be able to open the video on your Mac with Quicktime, iTunes, and VLC.
Testing Closed-Captions and Subtitles
To turn on closed captions and subtitles in Quicktime, go to the View menu, Subtitles, and turn on the English subtitle track.
Subtitle tracks have to be enabled in your media player to be visible.
Once the subtitle track is enabled, the subtitles will appear at the bottom center of the video window.
Testing Open Captions and Burn-In Subtitles
If you Burned-In your captions file, you should see the text rendered onto the video right away.
There shouldn’t be any way to turn on or off the open captions that were burned-in.
Handbrake, the Captions Wizard
Congratulations! You’ve successfully added a captions file or subtitle track to your video. You can now view this video on any media player and see your burn-in captions or enable your desired subtitle track(s).