


How to Add Captions & Subtitles to Cisco WebEx Recordings
As of 2015, there were 3.9 million U.S. remote workers. Today there are approximately 4.7 million people working remotely. Amid the global pandemic, with companies focusing heavily on social distancing, the number of remote workers is rising faster than ever.
As more organizations increase their remote workforce, there remains an ever-pressing need for enhanced internal communication.
Thankfully, there are several smart video conferencing software programs that help teams connect and collaborate. While video conferencing helps teams stay on the same page, some studies show interesting results. Employees will forget up to 50 percent of the information presented in a meeting within only one hour of the meeting. After one week, employees forget as much as 90 percent of the meeting.
What’s the solution? The answer is to invest in a video conferencing system that allows you to record your meetings and to go the extra mile by adding captions or subtitles.
This article offers instructions on Cisco WebEx recordings and how you can add captions and subtitles to your meetings with Rev.
How to record in Cisco WebEx
If you use the Cisco WebEx recording format, here’s some good news. It’s easy to record your meetings and save them to the cloud or to your desktop. Here’s how.
Only the host or an alternate host has access to the Cisco WebEx recording player. When the host, or alternate host, logs in to the meeting, they will see a control bar of options at the bottom of the screen.
To start recording, the host will click on the red circle icon. Once you click on the red circle icon, a pop-up will appear. Click on “record.”
At any time during the meeting, you can click on the red circle icon, and either pause the recording or stop the recording. If you do pause your recording, you can resume it by pressing the same button you pressed to pause the recording. The button will simply change from “pause” to “resume.”
When you’re done with your meeting, click on the same icon and press stop.
How to get the Cisco WebEx recording file
When you’ve finished your email, Cisco will send you an email with your recording link.
If you click on this email with the Cisco WebEx meeting recorder download file, you can save it to your desktop.
Alternatively, you can access your recording file from your Cisco WebEx account and convert your Cisco WebEx recording to an MP4 file.
To do this, log in to your account, turn your attention to the left navigation bar, and click on “recordings.”
You will see a list of all of your recordings. From here, you can access your recordings.
WebEx has additional functionality that allows you to record your meeting to your computer directly, provided your administrator has enabled this feature.
If you want to record to your computer, you have to select the “call using computer” option. When the control box appears and you click on “record,” you’ll want to select “record on computer” from the drop-down. You’ll also need to press “I agree” when prompted to agree to your organization’s privacy policy and security guidelines.
Finally, you’ll need to select a location on your computer to save the recording, and press “save.”
With this option, your file will automatically be saved to your computer, and you’re ready to upload it to Rev to order your Cisco WebWex closed captioning or subtitles.
How to upload that Cisco WebEx recording to Rev for captions or subtitles
While it’s excellent to share recorded meetings, it’s even better to add closed captions or subtitles, especially if you have a global workforce.
You can do this by placing an order in Rev. Here’s how to add captions and subtitles to Cisco WebEx recordings.
If you don’t have a Rev account, you can create one at Rev.com.
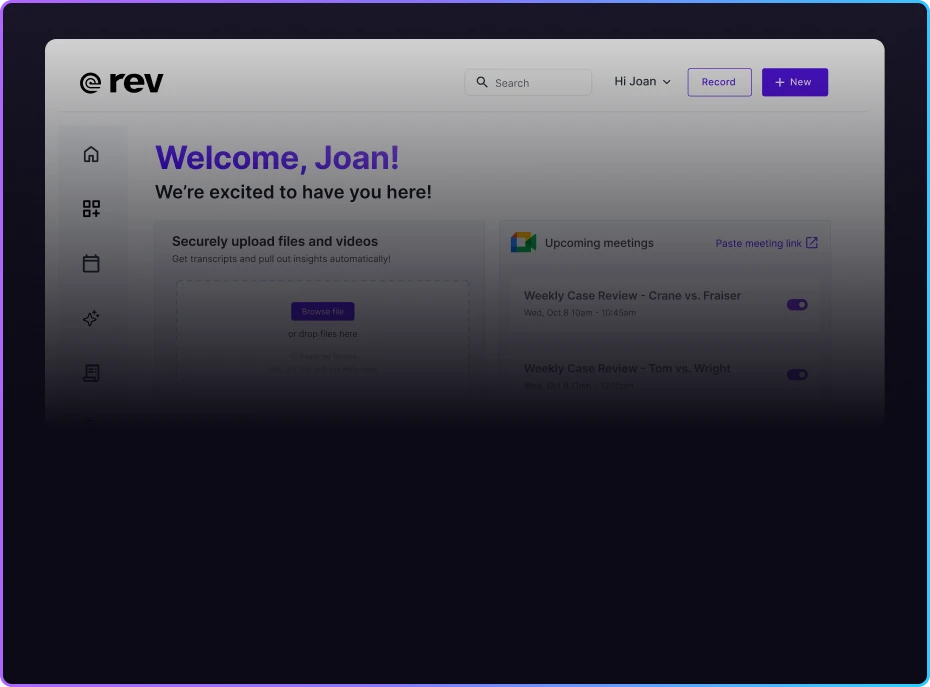
Once you have signed up, log in to your Rev account.
Rev will then offer you three options, including transcription, captions, and foreign subtitles. To add captions, click on “learn more” in the “captions” box. To add foreign subtitles, click on “learn more” in the “foreign subtitles box.”
The process is virtually the same to order captions and Global Translated subtitles. Let’s walk through just one of these processes.
Click on “Place your order” on our AI or human captions pages and then on the next page click “Get Captions.”
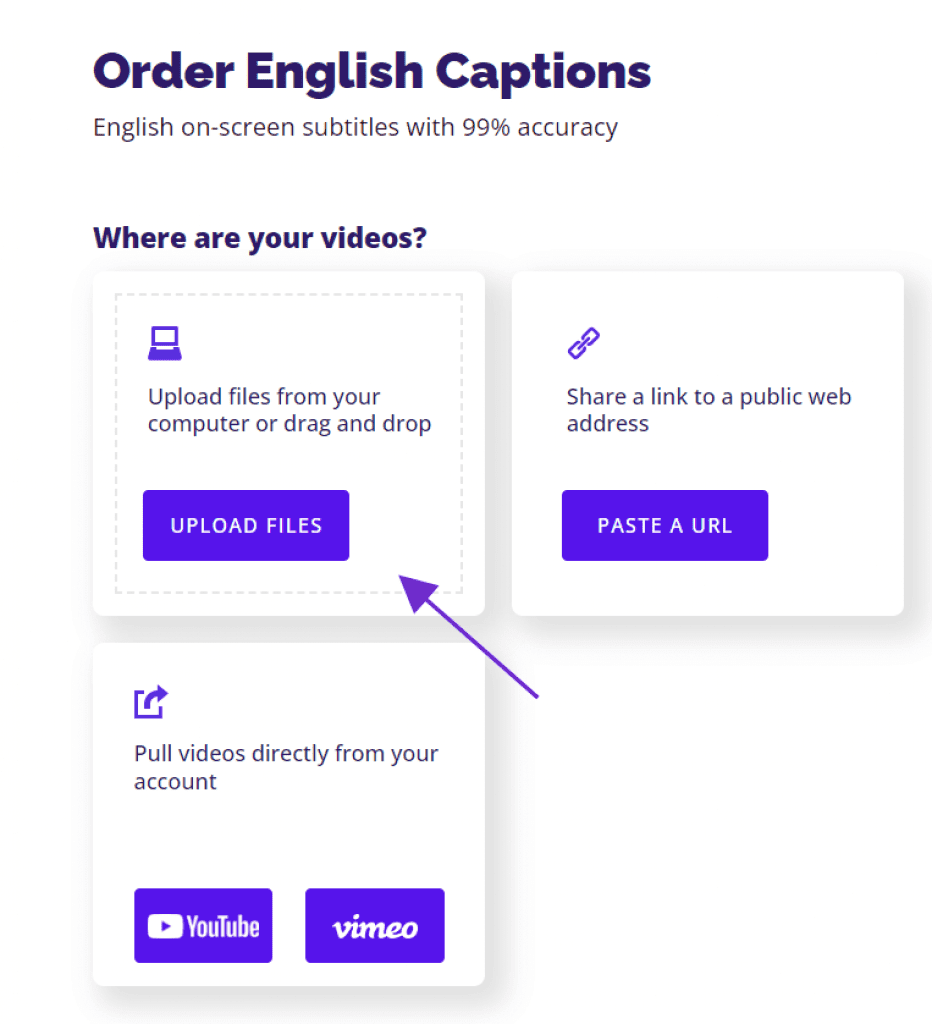
From here, you can upload the video you saved to your computer. As soon as you press “Upload,” it’s time to create your order. Remember with Rev, you don’t have to do any of the captioning work. You are hiring out the hard work to a qualified Rev employee.
On the order page, you’ll see how much it cost and how long it takes for turnaround. Once you order your captions or subtitles, a Rev employee will start working on your order.
Once you receive your order back, you’re ready to share it with your audience. And, that’s it!

Subscribe to The Rev Blog
Sign up to get Rev content delivered straight to your inbox.