Premiere Pro Subtitles & Captions: How to Add
Editing in Adobe Premiere Pro? Learn how to add subtitles or closed captions step-by-step, so your video content remains accessible to all.


It’s simple to add closed captions and subtitles in Adobe Premiere Pro with the right captions file formats. While you could type all your captions by hand, it’s easier to import captions files from Rev.
In this tutorial, you’ll learn how to manage and add Adobe Premiere Pro subtitles and captions. Let’s dive in!
Getting Captions for Adobe Premiere Pro
You can order captions from Rev to use in Adobe Premiere Pro, as well as other sites like YouTube, Facebook, and Vimeo. Rev offers several different services for getting your Adobe Premiere Pro subtitles or captions file, including AI Captions, English Closed Captions, and Foreign Language Subtitles.
Simply export your Premiere project, upload the file to Rev, and place your captions order.
What caption file formats can I use in Adobe Premiere Pro?
Adobe Premiere Pro supports the following caption formats:
For this article, we will primarily be using SRT files.
Importing Closed Captions in Adobe Premiere Pro
Prior to importing your Adobe Premiere Pro subtitles or captions, you should adjust your import settings. You can find this in the “Captions” window.
If you have your import settings switched to Open Captions — for example — it could affect your text appearance and playback. This is discussed more in the following section.
Once you have a caption file, follow these steps to add captions in Premiere.
1. Import Captions File
Click File in Premiere Pro’s upper right corner. You’ll see the Import option within the lower list. Find your file and select it. Press Open.
2. Place the File in the Project Timeline
You should see the file among your other project items. Grab and drag the unit into the Sequence window. The unit should go in the next available space above or below your video file.
3. Enable Closed Captions
You must enable the closed-captions feature within the Program window. Otherwise, your captions will not appear during video playback.
Activate the closed-captions feature by toggling the “wrench” button in the bottom-right corner of the Program window.
Scroll down to Closed Captions Display, then click Enable.
NOTE: It’s possible the captions or subtitles still won’t appear. This is because the settings are different from your captions file, as mentioned in the beginning of this section. If your closed-captions file is CEA-608 / CC1, that’s what you need to select in the settings display.
That’s it! You’ve previously edited the text in the Premiere Pro subtitle file to your desire, making this part a simple plug-and-play. Of course, you can still adjust color schemes, fonts, and positions of the captions themselves.
Adding Foreign-Language Subtitles Using Adobe Premiere Pro
If you have a foreign-language caption file, follow these steps to add subtitles in Premiere:
Adobe Premiere Pro subtitle files can be added to the project in multiples. To add them, simply follow the same steps from the previous example.
It’s visually less confusing to place them close together. Ultimately, though, that is up to the user’s personal preference.
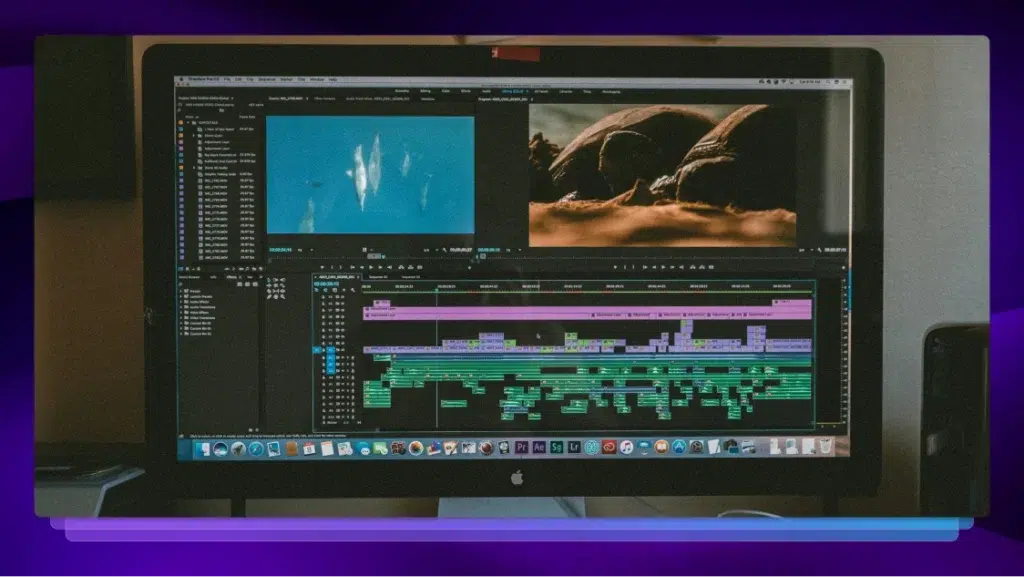
Once your subtitles are in the queue, click and drag them into the timeline as seen in the above screenshot.
ORDER A PREMIERE PRO FOREIGN LANGUAGE SUBTITLE FILE
Editing Subtitles in Premiere
Double-click the desired text in the Sequence section, and the captions should appear highlighted in the editor.
The German subtitles are available for editing to the left of the Sequence. If you’re looking to adjust any fonts, colors, times, or positions – this is where it’s done.
One thing to keep in mind is to ensure that your captions or subtitles are set to the appropriate channel and format. Adobe Premiere Pro subtitles can be set to any of the four available channels within CEA-608: CC1, CC2, CC3, and CC4.
If you have multiple subtitle groups, it’s not recommended to set all captions and subtitles to one particular stream.
Complications with Foreign Characters in Subtitles
For the most part, captions save as “text” files. However, unless your imported subtitles have specific encoding, it won’t show in Adobe Premiere Pro during playback. Instead, you’ll only get asterisks or “blocks” on your screen.
Because of this, it’s often best to import open captions or open subtitles as a Timed-Text Markup Language (.TTML) file. This is previously called a Distribution Format Exchange Profile (.DFXP) file. At Rev, we’ve seen success using this method.
However…
According to the Adobe Support Community, several Premiere users have found a workaround.
It requires you to open the foreign subtitles file in a text editor that allows a BOM (byte order mark) feature.
You have to re-save your file using the UTF-8 encode with BOM enabled. After saving the file with this specific encoding, according to the Adobe community, your foreign subtitles should properly appear in the project.
Exporting Captions and Subtitles in Adobe Premiere Pro
After the video mixdown is ready to go, it’s time to export. Adobe Premiere Pro subtitles and captions can be exported in several ways.
- Export as Sidecar caption files
- Encode into Output File
- Burn Captions into Video
Sidecar Options
In Adobe Premiere Pro, click File at the top left of your computer screen. Highlight Export and choose Media.
You’ll arrive at Export Settings. From there, pick the video format. For example, one standard is H.264. This format allows you to select whether your video captions will render separately.
Under the Captions tab, select Create Sidecar File. Press Export.
If you choose “Create Sidecar File,” you’ll see various format options. This includes .scc, .mcc, .xml, and .stl in Premiere Pro.
Encode into Media File
There’s another method that gives viewers the luxury of toggling on or off captions and subtitles when viewing in a media player like iTunes, Quicktime, or VLC Media Player.
This method allows you to embed the captions information into the video output file. For instance, one available format is QuickTime.
NOTE: Depending on the QuickTime preset, some “file format” options may be restricted.
Inside the viewer’s video program, the user has the option to select whether they want or don’t want to see captions. If foreign subtitles are available, they also appear in the selection list.
That being said, this isn’t the same as burning captions and subtitles into the video file.
Burn Captions into Video
If you burn captions into the video file, everything will render as a complete mix — no sidecar file needed. This option is available in the same area where you choose the export format.
Using this method, all captions will appear on-screen at all times. There is no option to turn them off. This may be ideal for a video where subtitles are needed for the whole thing.
Your Captions Workflow in Adobe Premiere Pro
In a nutshell, this is a short — or not so short — guide to adding Adobe Premiere Pro subtitles and captions. Regardless of whether you’re using sidecar files, encoding captions, or burning subtitles into the video, you can achieve it all with this program. Interested in adding captions to Adobe Captivate instead? We have a guide for that too.
While Rev is definitely ready to take on your subtitle needs, it still pays to know how to work Premiere Pro for yourself.
Nevertheless remember, with Rev, you can easily cut out the manual work of typing and creating captions on your own. Use Rev to get your captions for only $1.99/minute and in every caption format available, at no additional charge.