


How to Add Captions and Subtitles in Lightworks Like A Pro
Learn how to manually add closed captions and subtitles to your video and film projects in the Lightworks editor with Rev caption files.


Learning how to add subtitles in Lightworks 14 is very straightforward. Unlike with some video editing software, with Lightworks, you can’t automatically import a caption file, such as an SRT or SCC file, you can copy and paste your text directly into Lightworks to give your video the text you need in a few minutes.
Because Lightworks accepts text from your clipboard, you may want get the text into your clipboard first. You can use Notepad to view the text of a several kinds of subtitle files, but for this tutorial, we will focus on SRT files. To view an SRT file, you just have to go to the file on your computer and open it up with Notepad.
Then you can view the text, proofread it, and make edits and adjustments. There’s no need to worry about fonts or formatting because you can do all of that inside the program. When you’re ready you can you bring your text into Lightworks video editing software. You can select what you need for each section of the video and use the steps below to add it in.
In this tutorial, you’ll learn how to add captions and subtitles in Lightworks:
- Use Burned-in Captions
- Choose the video track you want to add text to
- Select the kind of title effect you want
- Add your text
- Choose when you want the text to appear
- Add more effects
Let’s dive in!
Easiest Way to Add Captions in Lightworks: Burned-In Captions
The easiest solution for adding captions into Lightworks is having a captioning company do it for you. Sounds crazy, right? Let’s show you how.
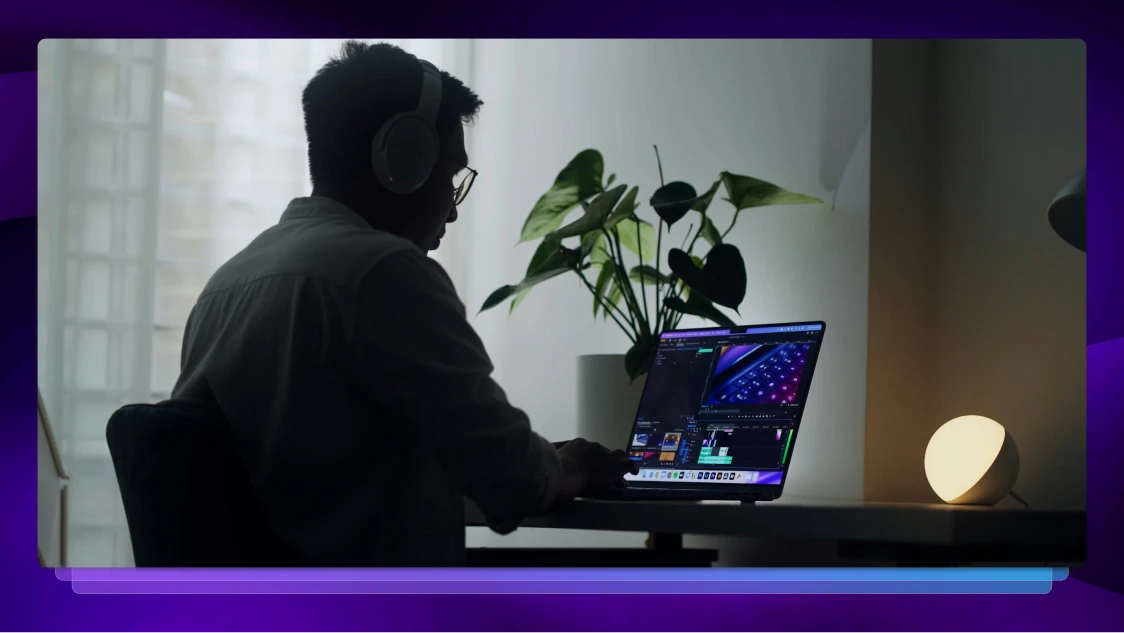
1. Finish Editing Your Video in Lightworks
You’ll want to get your video edited exactly how you want it so that you’re ready for burned-in captioning. When you’ve finished your video it’s time to add captions.
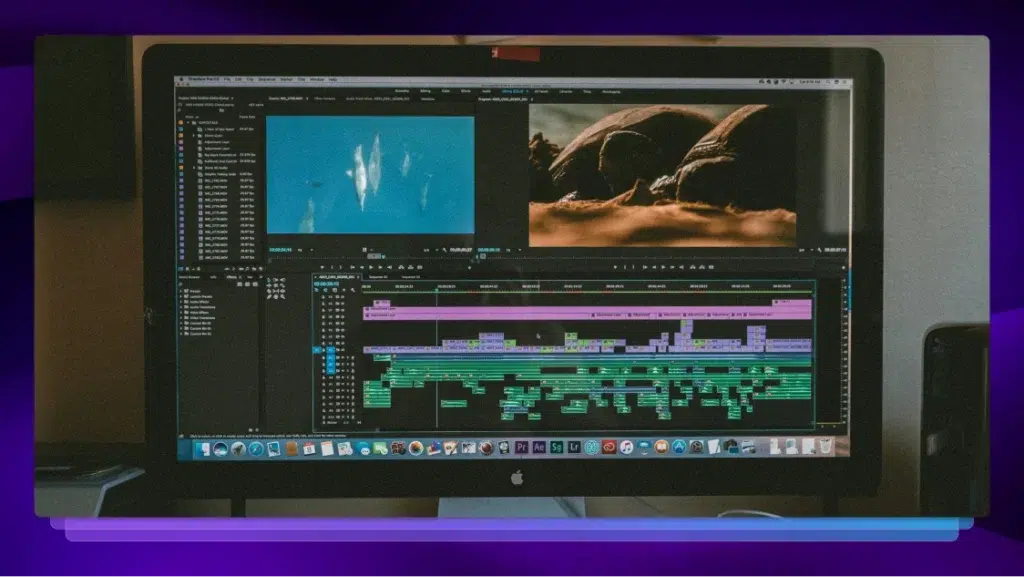
2. Export Your Video from Lightworks and Upload it to Rev
Upload your video to Rev for captioning.
3. Choose “Burned in Captions” at checkout
This option will be available on your checkout screen.
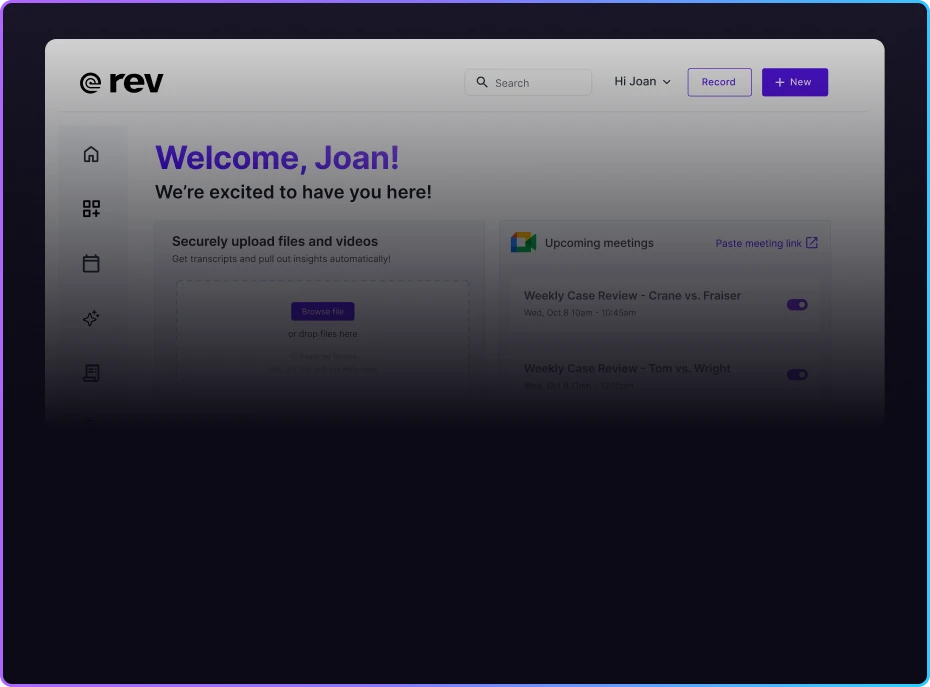
4. Order Your Captions and Rev Will Send You a Fully Captioned Video
When our network of 60,000 professional captioners finish your video, you will be able to download it straight from your Rev account. And you can even edit your captions with our world-class caption editor. Pretty cool, right?
How to Add Captions & Subtitles in the Lightworks Program
Lightworks video editing software gives you the ability to copy and paste or manually input your text. You can then customize how it appears using a variety of effects. Even though you can change all the settings whenever you want, following the steps below are one of the simplest ways how to add subtitles in Lightworks 14.
1. Choose the video track you want to add text to
Right-click on the video bar inside the timeline. Go to Effects, Add, and then click “Titles.”
Option 2: You can go to the bottom right of the timeline and click on Effects. This brings up a box, and you can click on the button next to Category, and select Titles.

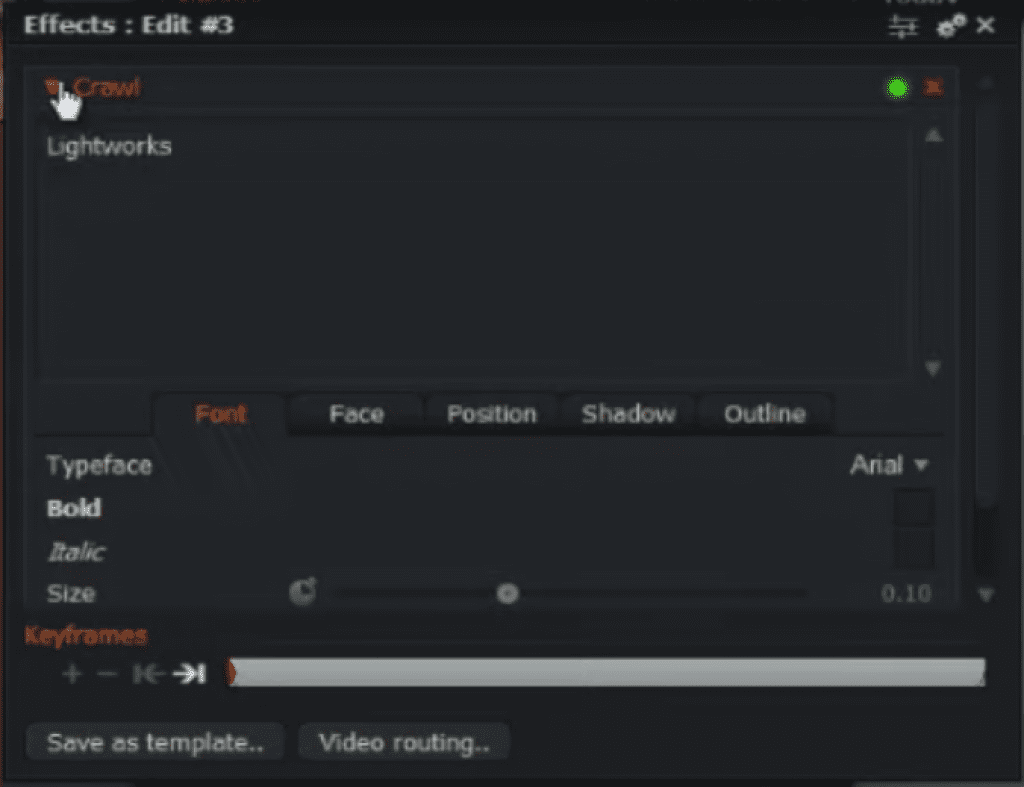
2. Select the kind of title effect you want.
You can choose from different categories of effects such as Crawl and Roll. With Crawl, the title flies in from either side of the video
You can change the speed at which it moves across the screen. To do so, go to Position and navigate to the end of the video. Then choose the speed you want by moving the Progress slider up or down.
For the Roll effect, the text moves up and down instead of from side-to-side. To enable the Roll effect, you can click on Roll, and Lightworks automatically makes the text move up and down through the screen.
For both the Crawl and Roll effects, you can use the tabs that appear on each screen to adjust how the text looks.
- You can use the Face tab to change the color of the text.
- The Position tab lets you change where the text is on the page. You can also just drag the text manually.
- The Shadow tab gives you the option to add a shadow effect around the edges of the text. The Outline tab lets you add an outline to the perimeter of the letters.
- The Font tab allows you to change aspects of the font, such as the typeface and size. You can also choose whether the text is bolded or in italics in the Font tab.
3. Add your text to the video
Lightworks video editing software makes adding text a breeze. You can copy and paste words into the Titles box, or you can type them in manually.
4. Choose when you want the text to appear in your video’s timeline
To do this, you have to add keyframes. Keyframes tell Lightworks when your text appears and when effects get applied to it:
- Click on Position. Next to the X and the You, click on the clocks. When you click the clocks, Lightworks can compute the position of the text and add the appropriate keyframe.
- In the video bar, move the red line to the point in time where you want the text to appear.
- Use the X and Y sliders—or drag the text—to put it where you want it to be at that moment in time.
- Drag the red slider to where you want the text to be repositioned at a later time.
- Then either drag the text or use the X and Y sliders to put the text where you want it to be at that point in time.
- Using the Keyframes timeline, you can see where the keyframes are that you’ve made.
- To delete keyframes you don’t want, you can click the one you want to delete and click the minus sign to the left of the timeline. If you want to delete all of the keyframes, you can click on one, then right-click it, click Select All, and then click the minus sign to remove them all.
5. Add more effects to your text
Click on the Effects tab, and choose between In or Out. This tells Lightworks whether to apply your next effect as the text is coming in or going out.
- Click the dropdown arrow and choose between Fade or Typewriter. After selecting the effect you’d like, you can set how long the effect is applied to the text.
Your Captioning Workflow in Lightworks
Adding captions or subtitles in Lightworks is simple if you follow the steps above. As you explore how to add subtitles in Lightworks 14, you may discover different ways of taking advantage of Lightworks’ suite of effects.
Regardless of which business you’re in, time is money, and the useful tools in Lightworks can save you both. Another great way to conserve valuable time is by letting Rev handle your captions. Let Rev take care of the caption and subtitling grunt work. Then you can focus on making better videos and growing your business.