How to Edit Videos on an iPhone: Video Editing on iPhone, Premiere Rush App, and iMovie Apps


Rev › Blog › Media & Entertainment ›
Basic and Advanced Ways to Edit Videos on Your iPhone
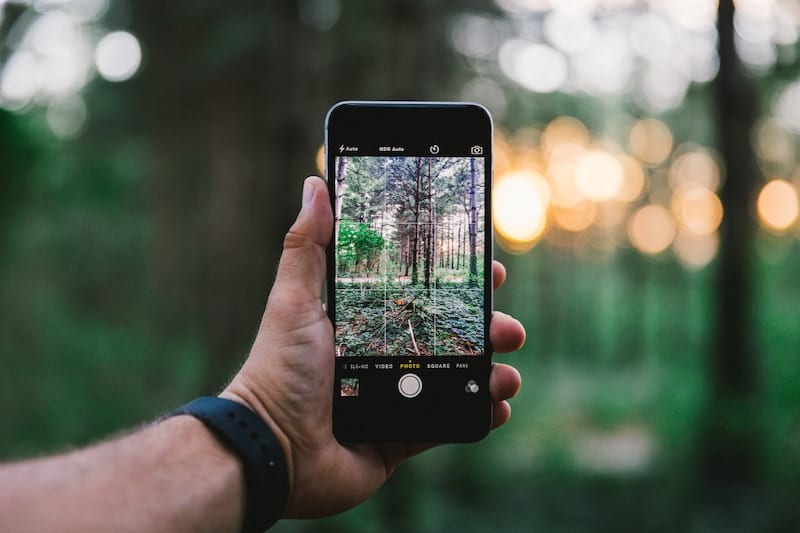
For filmmaking and videographers, we all know that technology is advancing rapidly. And while cameras may be getting bigger and better in some regards, the vast majority of the technological breakthroughs are making cameras faster, smaller and easier for everyone to use.
The Apple iPhone might be the best example of this new wave of digital filmmaking. We’ve seen more and more feature films being shot on iPhones, and every new iPhone announcement upgrades the camera sensor and capabilities exponentially.
So, for those who are curious about embracing this new pocket-sized medium, here are some simple and advanced options on how to edit videos shot on an iPhone.
Basic Video Editing Guide for iPhone
So, before you go out and install more advanced apps (more on that below). First and foremost you can do some basic editing with the tools already built in to your iPhone. If you’ve ever shot some photos with your iPhone, you’ve probably found the basic photo editing options in the Photos app.
Well, if you try out shooting some video, you’ll discover that the same Photos app has some video editing capabilities as well. It’s nothing fancy (just yet), but you can at least change the stop and start times as a way to trim the fat of unwanted video footage. (Plus, this is a great way to free up some storage.)
Five Basic Steps to Editing Video on an iPhone:
- Tap on the Photos App
- Find the video clip that you’d like to work with and tap “Edit”
- Using the slider at the bottom, move the start and stop points of the timeline to trim the video clip
- You can then preview the video to make sure it looks like what you want
- Simply tap “Done” and you’ll be able to save the file as a new video clip.
Advanced Editing App Options & iMovie Editing
Those were just the basics, but if you’re looking for some more advanced editing platforms on your iPhone, there are several options. Your best choice will probably be iMovie as it’s designed by Apple for the iPhone specifically. But if you’d like to try some other apps on your iPhone, here are some solid video editing app options on the app store:
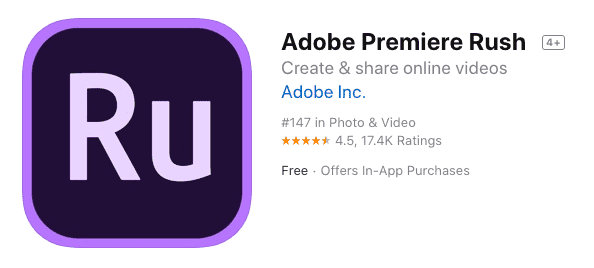
- Adobe Premiere Rush – an all-in-one app for shooting, editing and sharing. For those familiar with Premiere Pro, Rush enables easy editing, includes a multitrack timeline and allows customizable titles.
- Splice – the GoPro app of choice features a solid functionality and the ability to work with video and audio tracks separately.
- Videoshop – a simple-to-use video editor app that includes some basic animated text options. It also allows you to add audio voiceover, add music, and provides other advanced audio controls.
Using Rev.com for Editing & Captioning Videos
Editing videos is much easier when you have transcriptions of your audio. Transcribing your videos to text makes it extremely easy to search through your video and tie specific speech to timestamps. Then you’ll quickly know which timeframe in the video to jump to and edit. Rev offers automatic transcription for 10 cents per minute and 99% accurate human transcriptions for $1 per minute.
Rev also offers video captioning & subtitles for $1 per minute, so you can reach a wider audience with your videos.
Editing Video on iPhones with the iMovie App
Here’s a good beginner’s tutorial for getting started with iMovie. It’s definitely one of the more basic – yet more accessible – editing apps that you can dive into and begin editing your video clips right away. Here are a few of the basic steps to editing with the iMovie app.
1. Create Your Project
To get started, you simply need to download the app and open it. From there, you’ll want to create a new project. You’ll be given the option between creating a movie or a trailer, but for most videos you’ll just want to use the movie template.
2. Upload your video clips
You’ll then be asked to select your video clips to upload. These will be your most recent video clips recorded directly to your iPhone. You can also access any video clips which you’ve uploaded to your iPhone as well.
Select the clips which you’d like to work with. You can select multiple clips at a time. You can also do a quick slider edit of the clips if you only want a small or large section of the clip.
3. Use the iMovie Basic Editing Tools
From there, the basic editing tools in iMovie are actually pretty simple yet effective. Once you select your clip, you’ll have your choice between the following options: Edit, Speed, Audio, Text, or Filters. Inside each option you’ll have sub-options on how to work with your edit.
The default edit option is where you’ll find your basic editing tools which include Split, Detach, Duplicate and Delete. If you’ve worked with iMovie, Final Cut or Premiere Pro (or any other basic NLE editing app) you should be familiar with these tools which you can use by clicking on the points of the video clip that you’d like to edit.
The audio options connect with the iMovie audio library which has some solid choices. The speed changing works great for slow motion. The text has some templates for some basic animation. And the filters are a nice touch for adding a cinematic look when needed. All are pretty intuitive to figure out and fun, so try them out as much as you’d like!
4. Finish and Save
Once you’ve edited your video to a point which you’re ready to review and save, you can tap the “Done” button in the top left hand corner. This will take you to a page where you can play your video in the landscape full screen mode so you can check your work.
From there, you can choose to save your video to your iPhone, or share it directly to your social app of choice.
Related Content
Latest Article
Revcommendations: International Film Favorites
Read the articleMost Popular

Closed Captions in Movie Theaters: Movie Theater Requirements
Read the articleFeatured Article